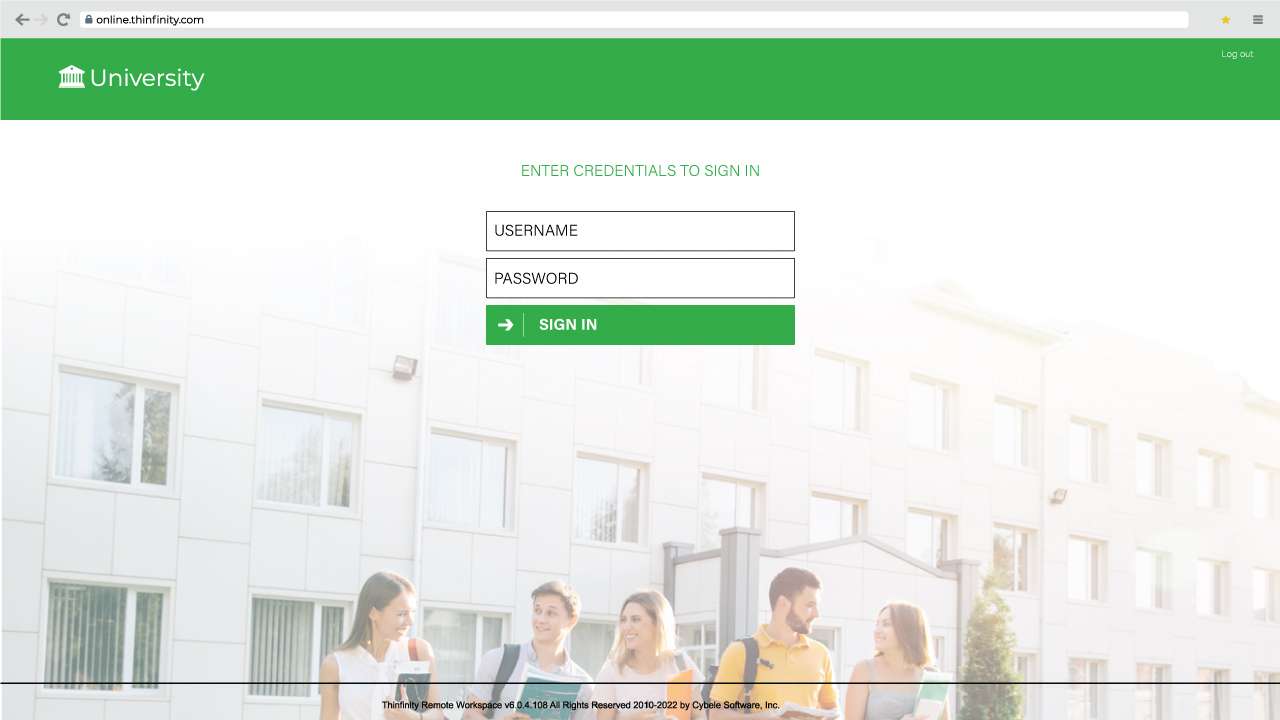
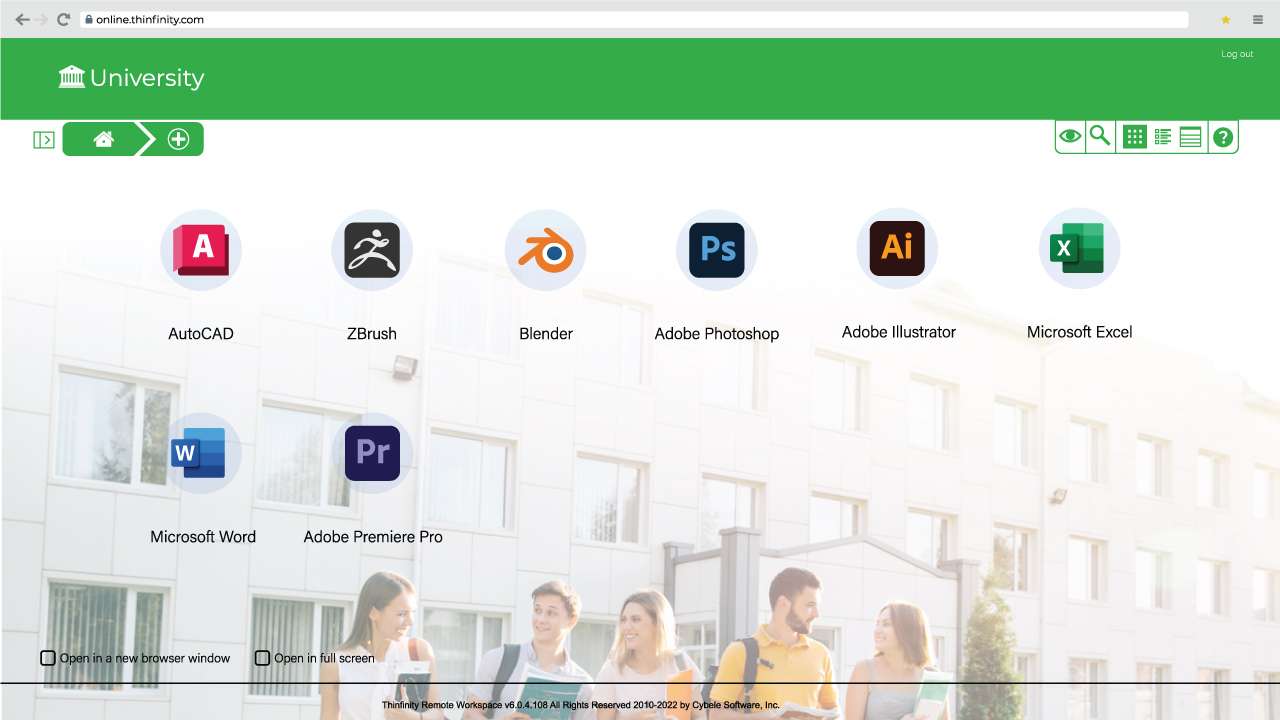
You can accomplish this by either replacing the image files in the directory “C:\Program Files\Thinfinity\Workspace\web\images” or editing the source file in the ‘index.html’. However, the most convenient way of customizing the whole experience is to use web aliases.
Web Aliases allow you to leave the original files unaltered. This is very useful when updating Thinfinity® Workspace to a newer version. Otherwise, after a software update, all modified files will be replaced by the default ones losing all your customizations.
Customize company logo & fav icon – Web Aliases Method
First, create a new folder structure for your custom images under C:\Program Files\Thinfinity\Workspace\web\. We will use the newly created folder named “Customization” for this example. Locate and transfer all your customized files under this directory.
Note: For Thinfinity Remote Workspace Online, change “C:\Program Files\Thinfinity\Workspace\” to “C:\Program Files\Thinfinity\Remote Workspace Online\”.
Next, create a new file named “WebAliases.ini” in “C:\Program Files\Thinfinity\Workspace\bin64”.
On this file, you will create the mappings for the customized images that will replace the default ones. The structure for your INI setting should be set as follows:
| [Alias]
originalfile=replacementPath |
The paths in the “WebAliases.ini” file are relative to the webroot (“C:\Program Files\Thinfinity\Workspace\web”). Where originalFile is the relative path to any web file, and replacementPath is the absolute path to the new file.
For example, if you want to change the logo, which is originally located in C:\Program Files\Thinfinity\Workspace\web\images\idx, your INI setup should look like this:
| [Alias]
/images/idx/productlogo.svg = C:\Program Files\Thinfinity\Workspace\web\customization\New_logo.svg |
For your Favicon, you must create the web aliases to replace the original file located under C:\Program Files\Thinfinity\Workspace\web\. Follow the example below:
| [Alias]
/favicon.ico = C:\Program Files\Thinfinity\Workspace\web\customization\New_favicon.ico |
For your reference, you can find a complete example for all the customizations available through Web Aliases in your newly created INI file:
Styles customization
Updating the styles will require some basic CSS knowledge. Make a backup copy of all files before applying new changes.
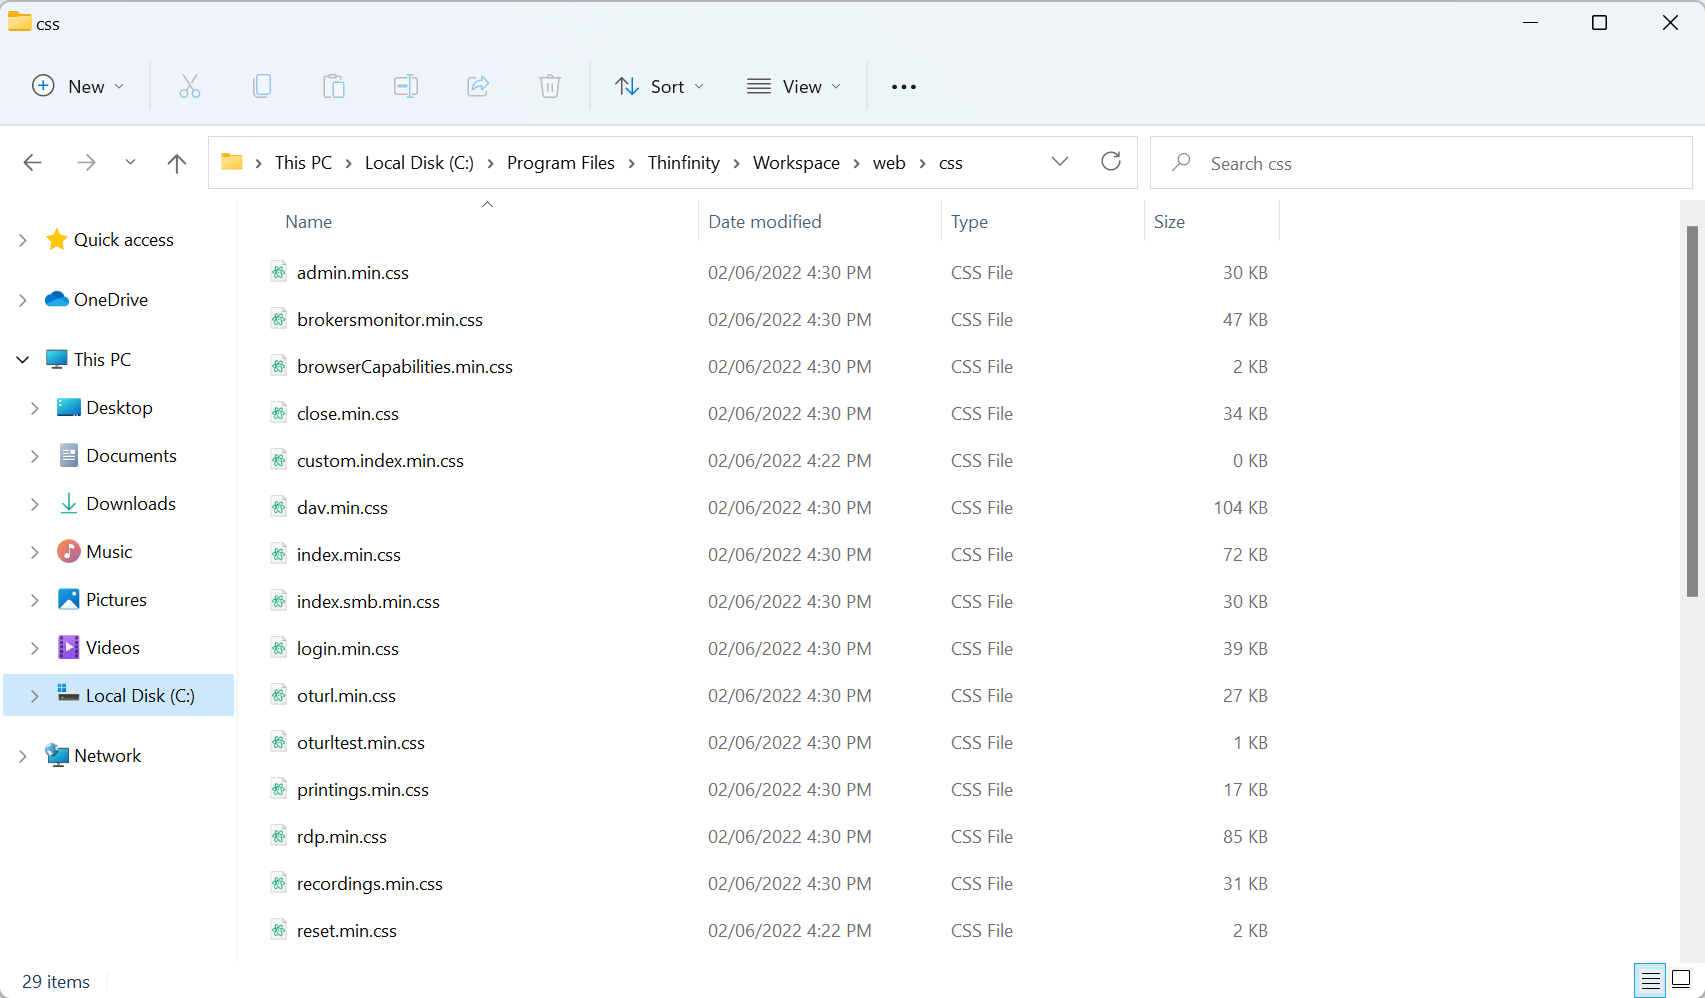
CSS files can be located under: “C:\Program Files\Thinfinity\Workspace\web\css”
Open the file you would like to work with and make any changes as required. Once you are done, simply save the changes, and you should be good to go.
Note: If you don’t have any CSS knowledge, we recommend asking your Web Designer for assistance on how to modify existing CSS setups properly.

If you found this article interesting and want to know more about Thinfinity Remote Workspace you can write to us or schedule a 15-minute demo call with one of our Sales Engineers.

