
In this new post, we will show you “step by step” how to configure SAML on the Onelogin portal and how to add this authentication method in Thinfinity® VirtualUI.
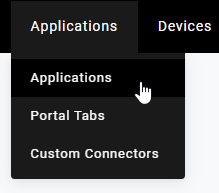
1. Open your Onelogin Administrator’s page, and click on ‘Applications’ and then click on ‘Applications’ :
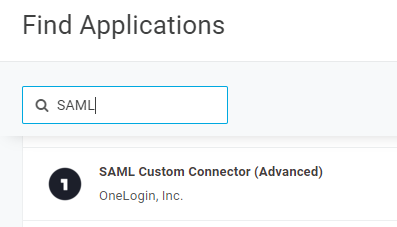
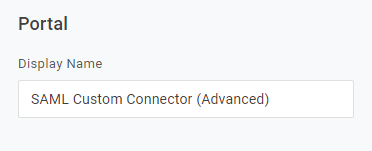
2. Click on ‘Add Application’, search for ‘SAML’ and click on ‘SAML Custom Connector (Advanced)’
3. Give your application a name and press ‘Save’
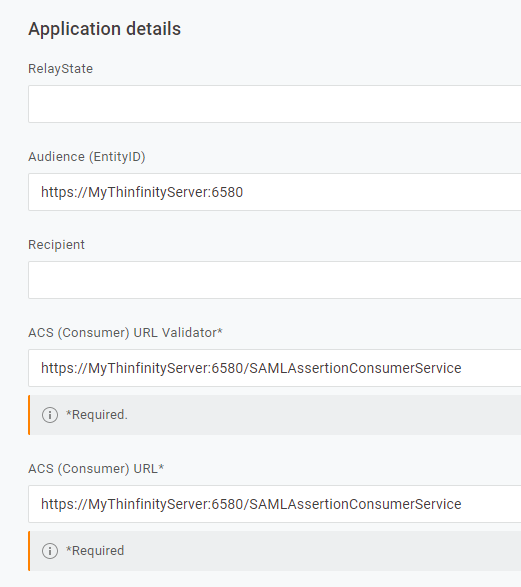
4. Edit the newly created Application, and click on the ‘Configuration’ tab.
Enter the following information in the fields displayed :
Where ‘MyThinfinityServer’ is the URL used for your Thinfinity Server.
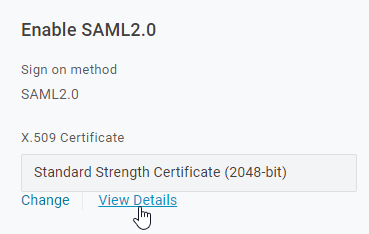
5. Click on the ‘SSO’ Tab and click on ‘View Details’
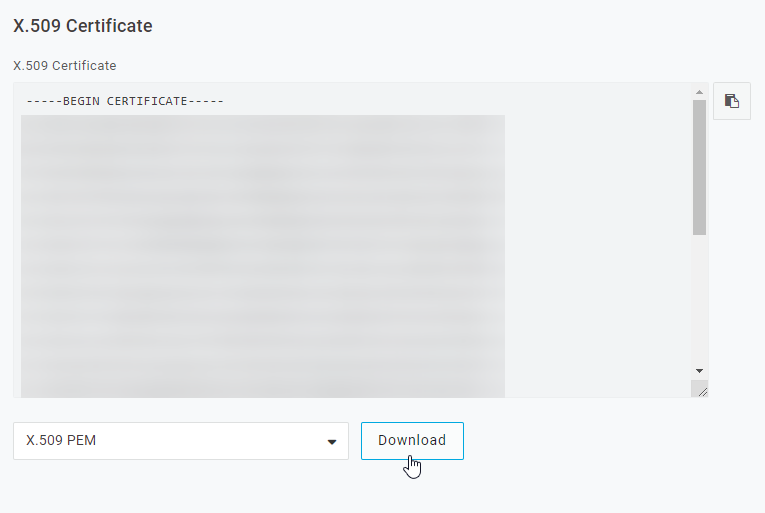
6. Click on the ‘Download’ button, which will download the certificate used for the SAML authentication.
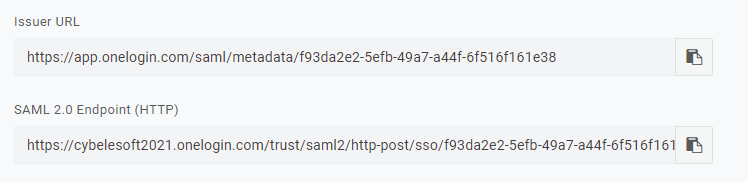
7. Go back to the ‘Configurations’ tab, and copy the URLs under “Issuer URL” and “SAML 2.0 Endpoint (HTTP)” :
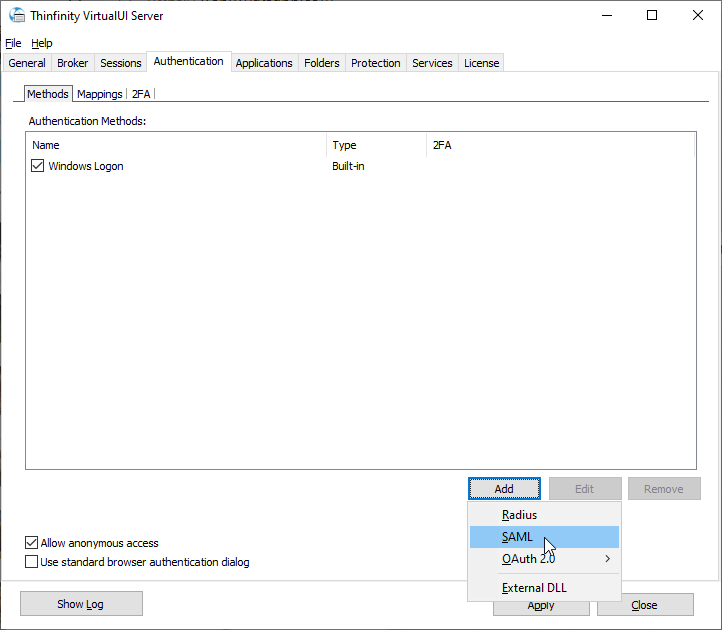
8. Open the Thinfinity® Server manager, navigate to the ‘Authentication’ tab, click on ‘Add’ and ‘SAML’
9. Configure the following fields :
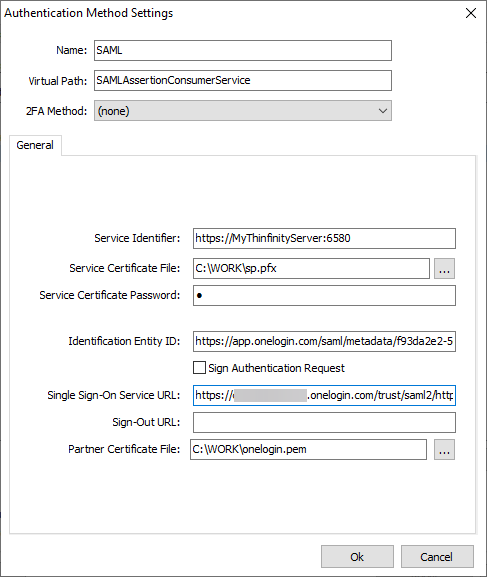
- Service Identifier = Audience (EntityID)
- Service Certificate File = Your certificate file
- Service Certificate Password = Your certificate’s password
- Identification Entity ID = Issuer URL
- Single Sign-On Service URL = SAML 2.0 Endpoint (HTTP)
- Sign-Out URL = This value is optional
- Partner Certificate File = X.509 Certificate provided by Ping Identity
10. Click ‘OK’ and then ‘Apply’
11. Back in the ‘Authentication’ tab, switch to the ‘Mappings’ tab and map your email address to the local AD user or group:
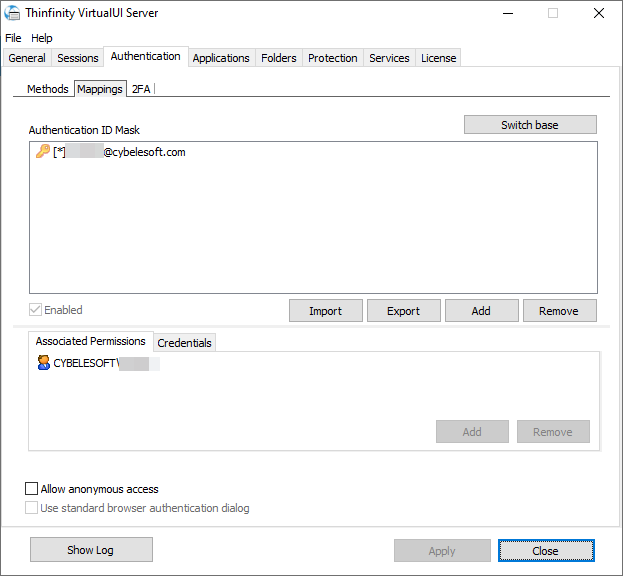
As an example, we mapped an email address to an AD user, but you can also use a wild-card.
For instance, you can add “*@cybelesoft.com” as “Authentication ID mask” and map this back to the ‘Cybelesoft\Domain Users’ group in your AD.
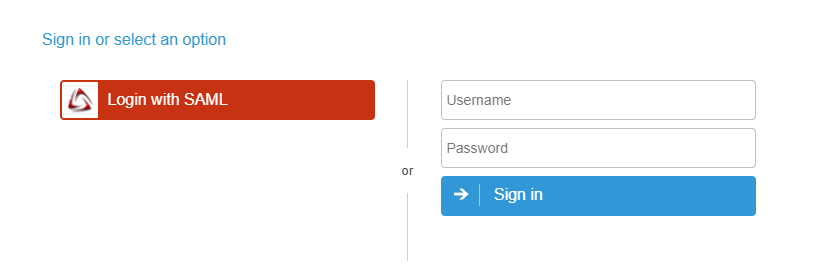
Now after applying the changes to the Thinfinity® manager, go to the Thinfinity® site, and you should be able to see the ‘SAML’ authentication method listed:
If you have any questions regarding the SAML configuration, you can leave a comment below or send us an email at [email protected].
Regards,
The Cybele Team