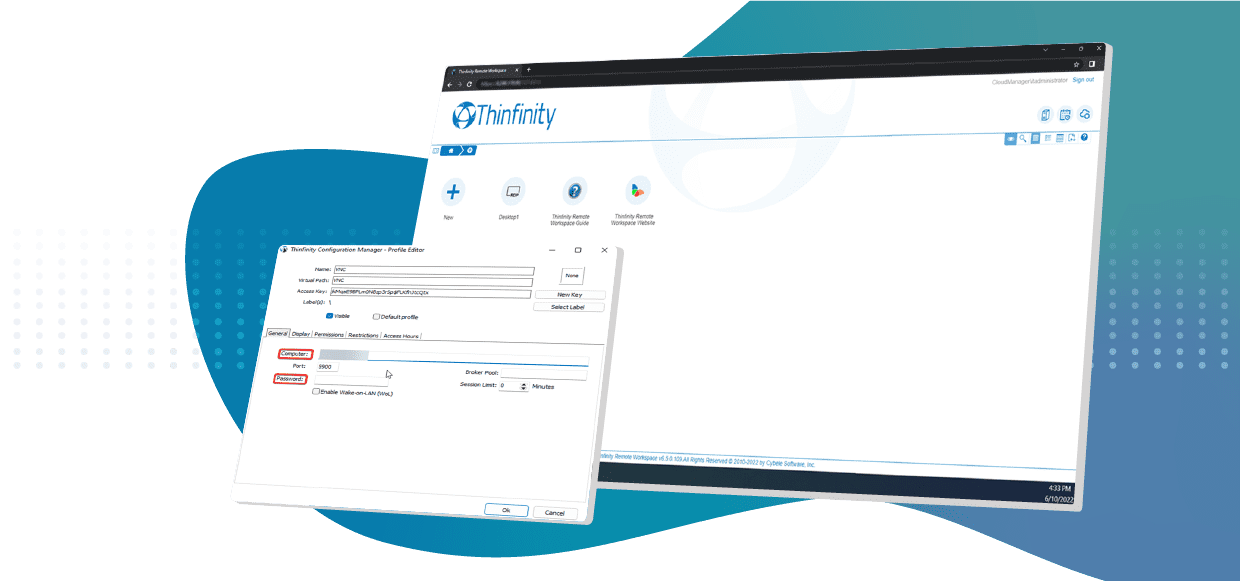
We´ve released a new version of our Windows-based Terminal Emulator. If you´re running the latest build you can now create secure connections supporting TLS 1.3.
Need an upgrade from previous versions? Contact us at [email protected].
How to create a TLS 1.3 connection
In this guide, you’ll find the steps to create a TLS 1.3 connection using our z/Scope Classic v6.6 solution.
In this case, we’re going to set up a public AS400 terminal server connection as an example.
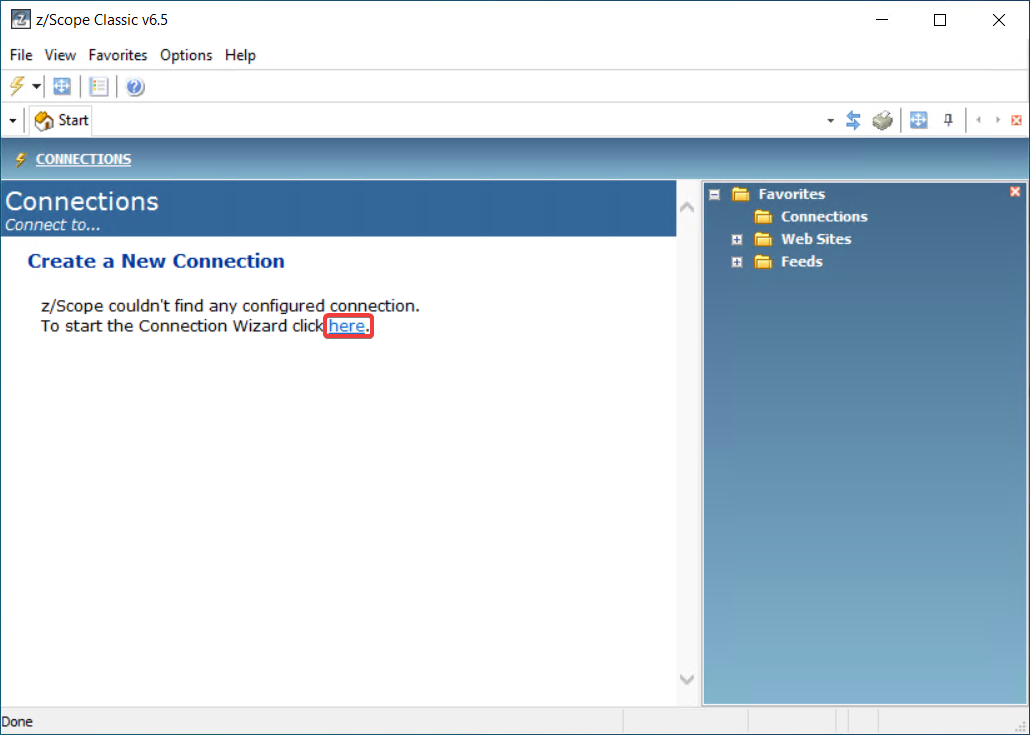
First off, after downloading z/Scope Classic, you will be prompted to create a new connection on the main window. Click on “here” as shown below:

On the next screen, click Next:
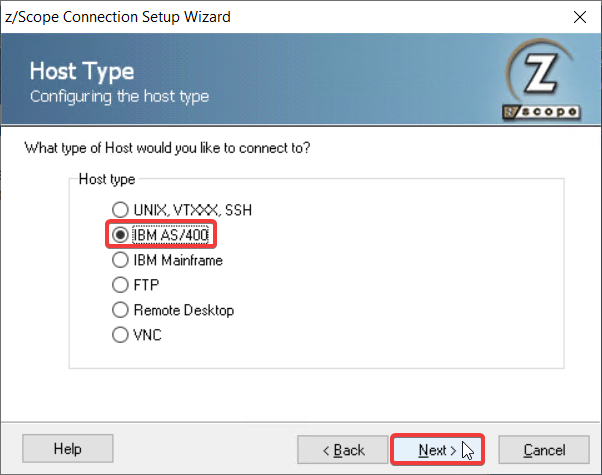
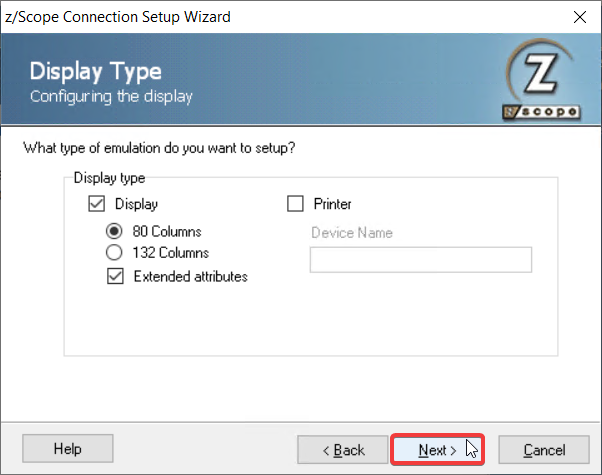
In here, you would need to select the right type of terminal server that you wish to connect to, thise case being an IBM AS/400 host connection, afterwards hit Next.
You have the option to set up a Printer name, otherwise hit Next again.
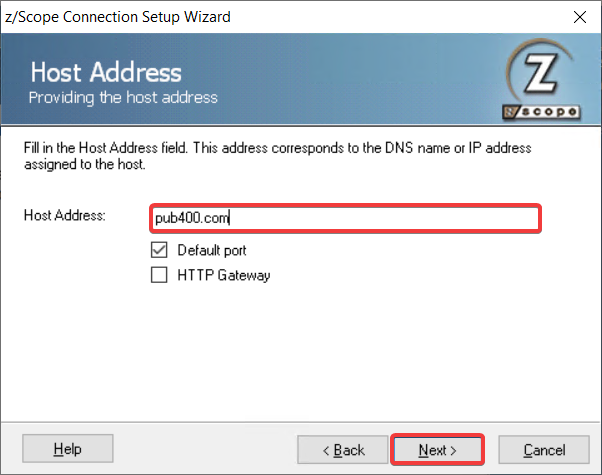
Then you would need to type the Host Address belonging to the terminal server you wish to connect to, this case being pub400.com. Then click Next one more time.
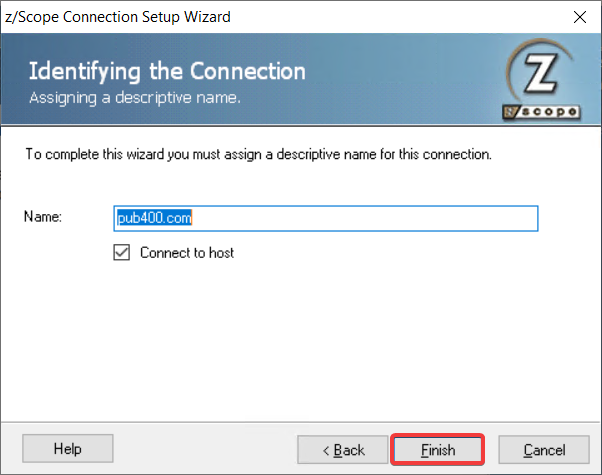
You are able to set up a descriptive name here, it can be the same as the Host Address shown previously. Then you can click on Finish.
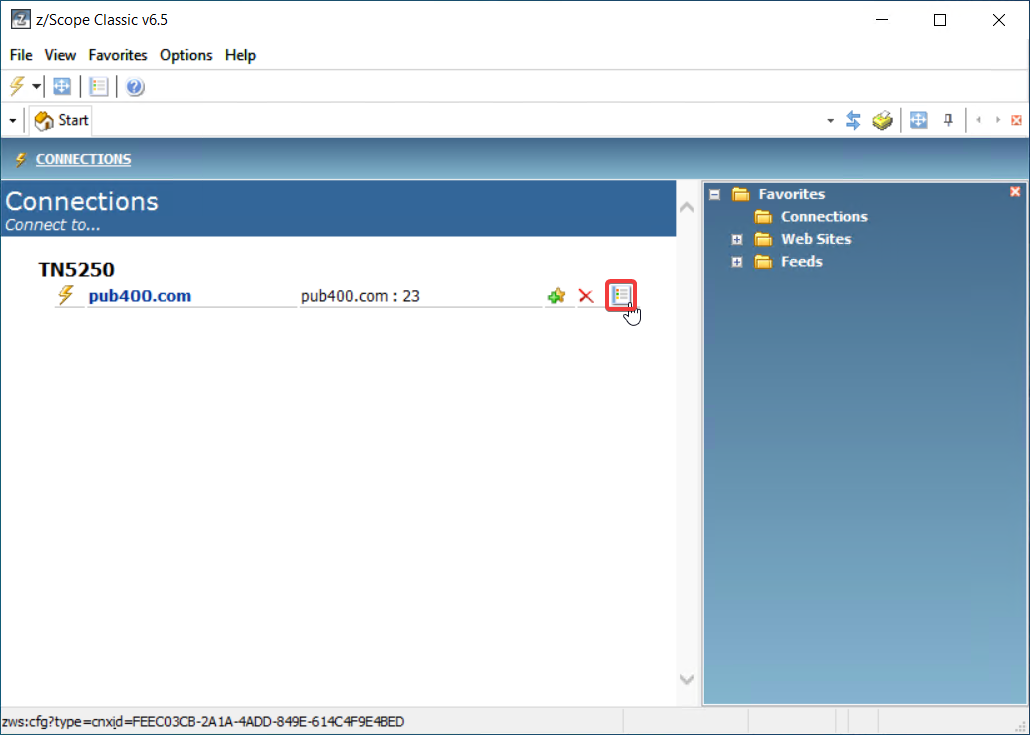
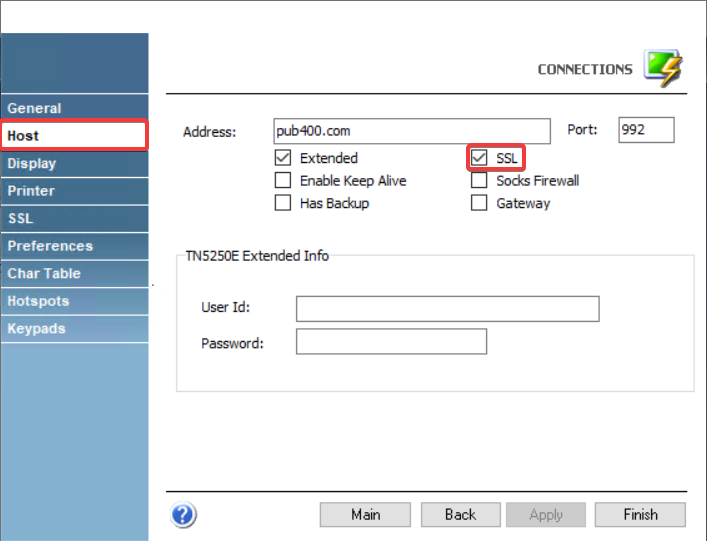
After the connection is created, you should see it on the main window of z/Scope Classic. You would need to click on the third button next to it called Connection Settings as shown here:
In the new window that shows up, go to the Host tab where you’ll see more options for said connection. In this case we’re just checking the SSL option. In other cases, you may wish to set up the right port after clicking on the SSL option:
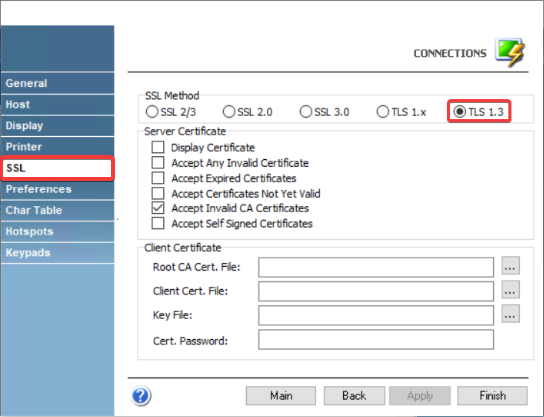
After clicking on the SSL option shown previously, you’ll see that a new SSL tab shows up on the left side of the window. Go to it, and then you’ll see the option to enable TLS 1.3. Make sure you check it and then you can hit Apply, then Finish.
And that’s it! Now you have your terminal server connection configured with the new TLS 1.3 option.
Should you have any questions, contact us at [email protected].