
Today we will show you how to set up a Secondary Broker to receive incoming VNC connections.
- Install the Secondary Broker
The secondary broker is triggered from a registry key. You must install the broker services first and then edit a registry key to change its behavior. Below you will find step by step instructions on how to configure it:
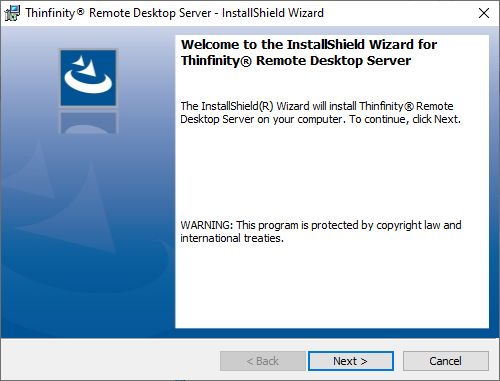
Run “Thinfinity Remote Desktop’s Installer”. Accept the License Agreement and click “Next >”
Select the “Broker and HTML5 Services” option and click on “Next >”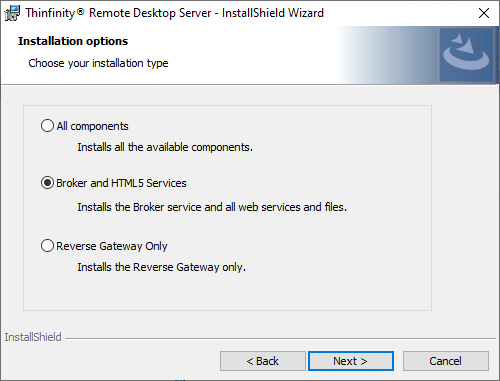
Choose the Installation destination folder and click on Next >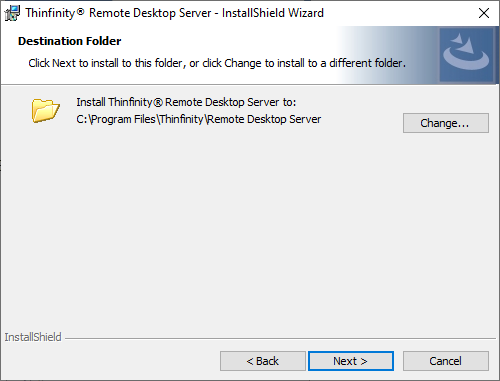
Finally, click on “Install” to begin the installation of the Thinfinity Remote Desktop Server components.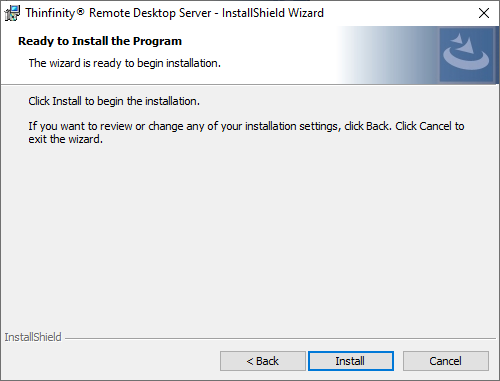
The secondary broker should now be installed.
2. Enable the Secondary Broker Option.
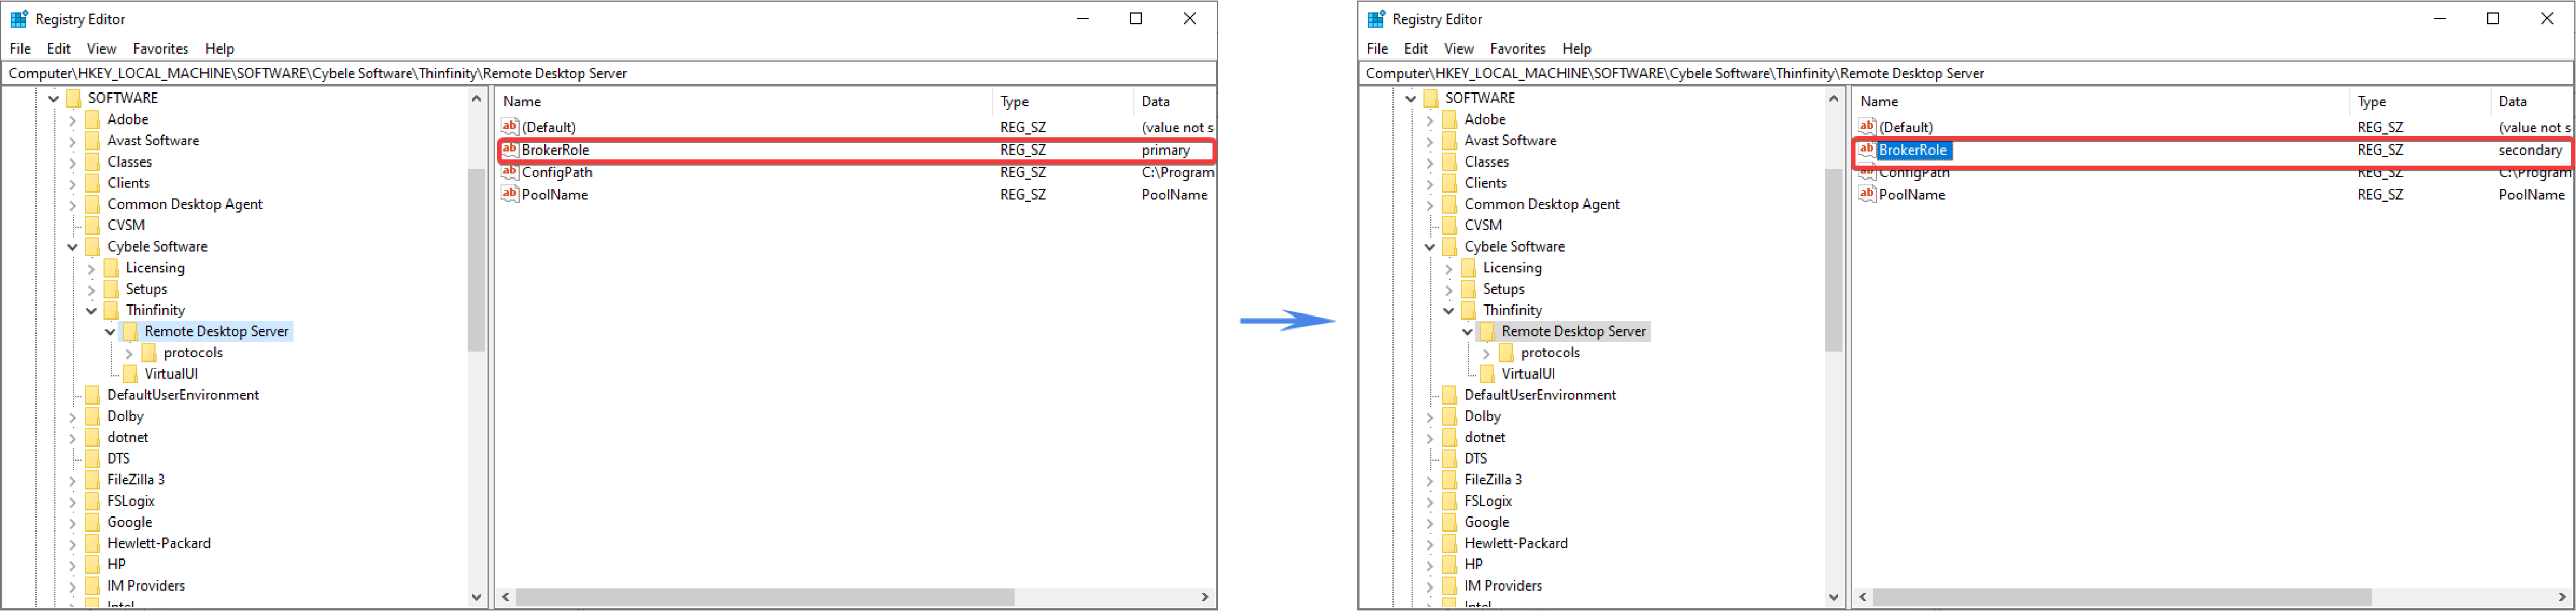
Open the registry (run: regedit) and search the following directory: Computer\HKEY_LOCAL_MACHINE\SOFTWARE\Cybele Software\Thinfinity\Remote Desktop Server.
Double click on BrokerRole and replace “primary” for the value secondary”.
3. Configure Pool, NetworkID, and Gateway.
Open the Thinfinity Secondary Broker Administration Panel (Start > Thinfinity >Thinfinity Remote Desktop Server), and configure the required parameters: Pool, NetworkId, and Gateway URL.
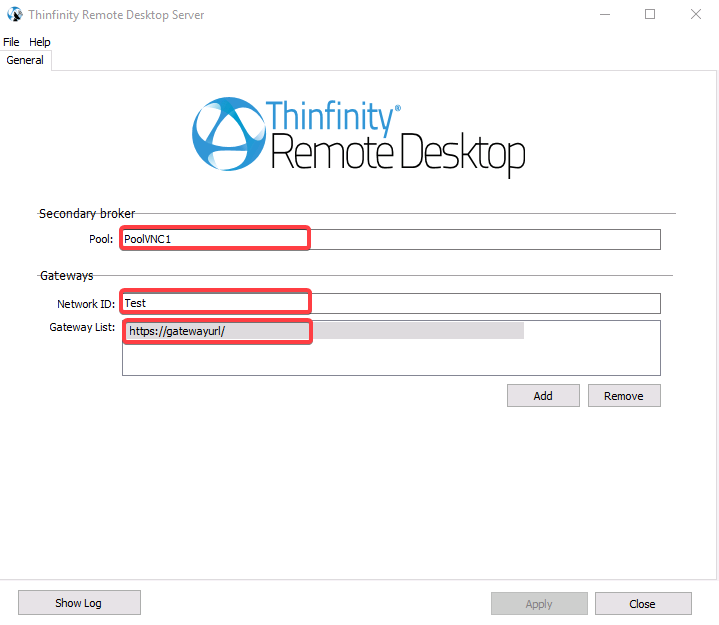
- Pool: Write here the name of the pool that the secondary broker will use.
- Network ID: Enter here the exact name of the Network that the secondary broker will use.
Gateway List: Input the URL of the Thinfinity Remote Desktop Gateway. Click on “Add” and complete the URL information. Always specify the security protocol (HTTP/ HTTPS) and the connection port. (e.g. https://My_Gateway_DNS:443)
Finally, click on “Apply” to save the changes.
You can click on “Show Log” to verify the status of the connection.
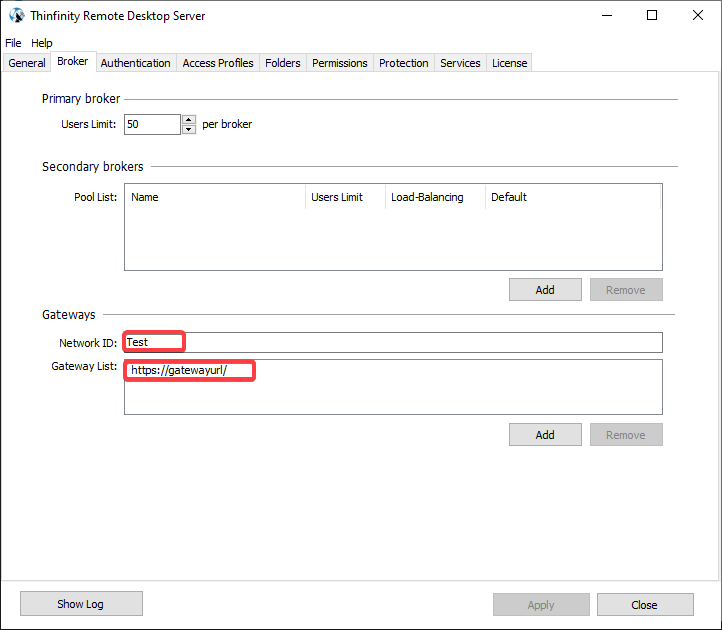
4. Configure the Brokers Tab of Thinfinity Remote Desktop Server.
Open the Thinfinity Remote Desktop Server (Primary Broker) application and go to the “Broker” tab. Type in the Network ID (should be the same configured on the secondary broker) and the Gateway URL.
Click on Add” on the Secondary Brokers section to create a new Pool configuration.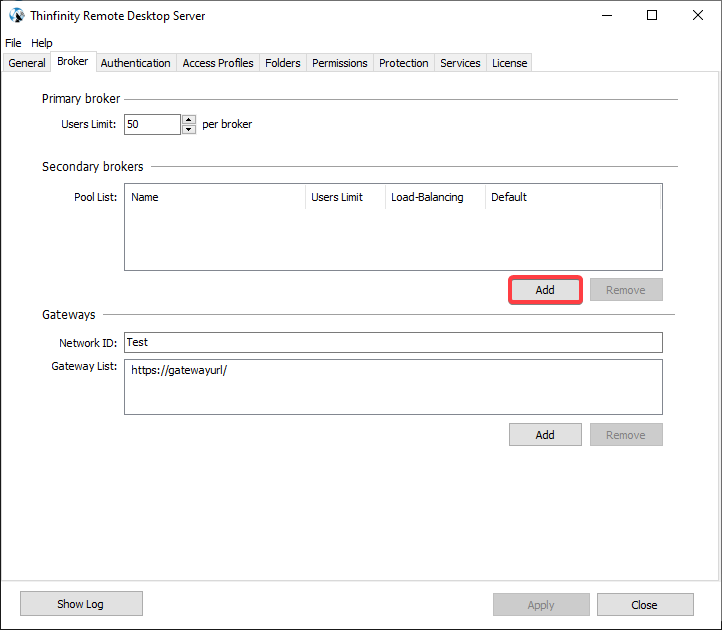
Add the Pool name (same as the one you entered on the Secondary Broker instance) and set up as user limit: 1 (connection) per broker. Then click on OK to save the changes.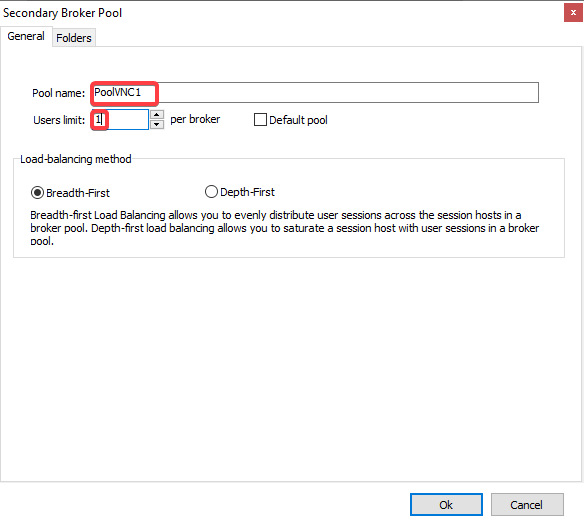
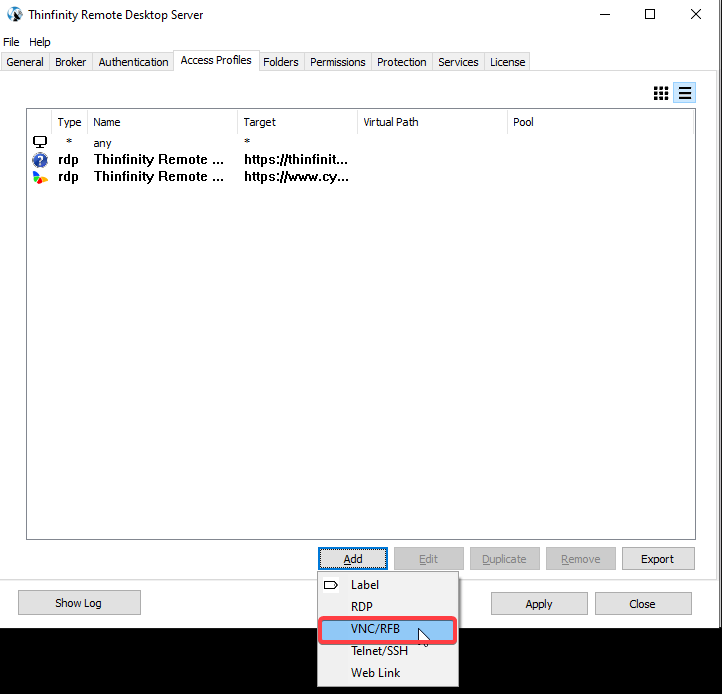
5. Access Profile Configuration.
Go to the “Access profiles” tab and click on “Add”. Select VNC/RFB from the dropdown menu, to create a new VNC connection profile.
Enter the following parameters: Name (Access Profile), computer Ip Address, Connection Port and Password, and the Broker Pool name (same as your secondary broker instance).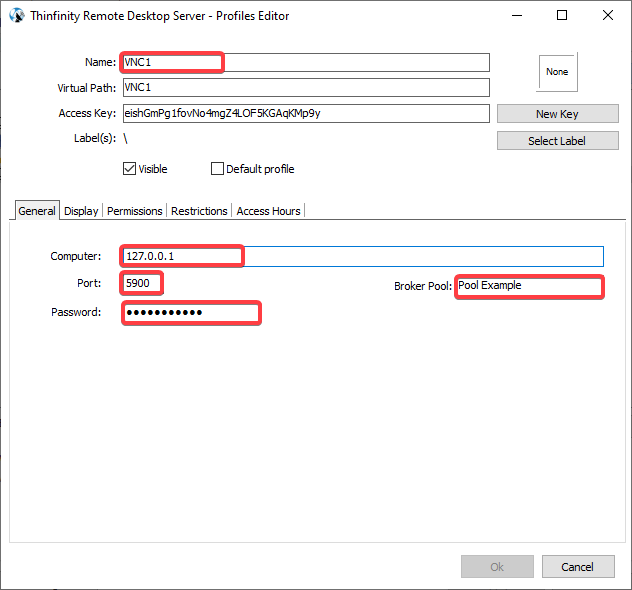
Finally, click on “OK” and then click on “Apply” to save the configuration.
Congratulations! Your VNC connection is up and running.
If you have any questions regarding this blog entry, you can leave a comment below or email us an email to [email protected].
Have a nice weekend!
2011-2021 © Cybele Software, Inc.
3422 Old Capitol Trail – Suite 1125, Wilmington – DE 19808, United States