
Thinfinity® Workspace is the first integrated solution to access applications, desktops, data, and any host from a unified portal.
Installing Thinfinity® Workspace for the first time is pretty simple. There are just a few items you have to take into account. Let’s check the installation steps:
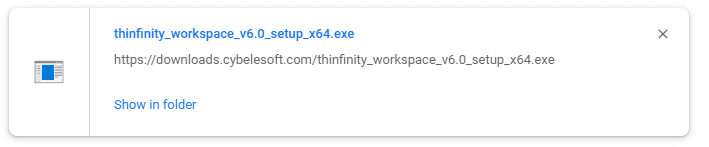
First, you’ll need to install it on a machine that will act as an access point to your enterprise resources. To download the installer, please use the following link.
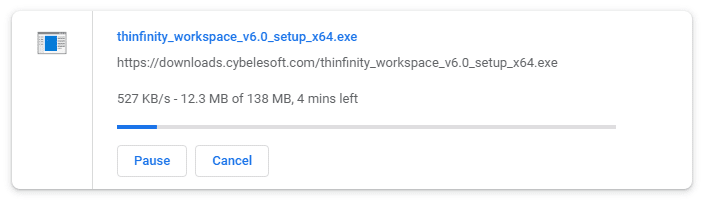
Then, execute the installer on the target machine.

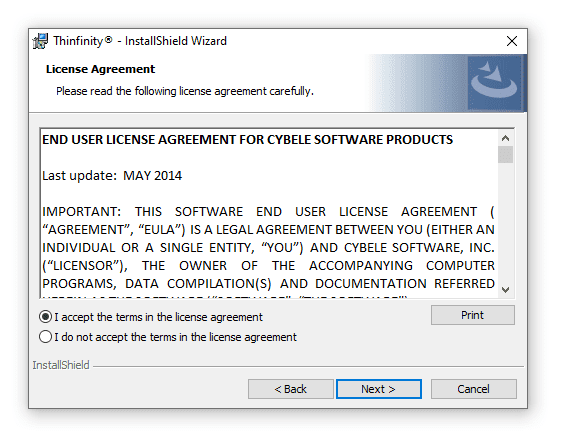
Read carefully and accept the terms license agreement.
Next, you will be presented with these options:
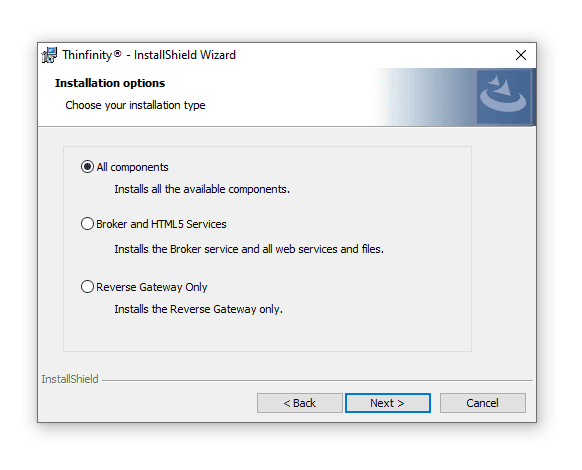
All Components
Choose this option if you wish to set up a standalone installation. Both a Thinfinity® Services and Gateway Services installation coexist in the same computer. Also, this installation can work in conjunction with others in a Scaling and Load Balancing scenario.
Broker and HTML5 Services
Choose this option only if you are using a Scaling and Load Balancing scenario. A Thinfinity® Services installation works in conjunction with at least one gateway installation and other Thinfinity® Services installation(s).
Reverse Gateway Only
Choose this option only if you are using a Scaling and Load Balancing scenario. A Gateway Services installation works together with two or more Thinfinity® Services installations
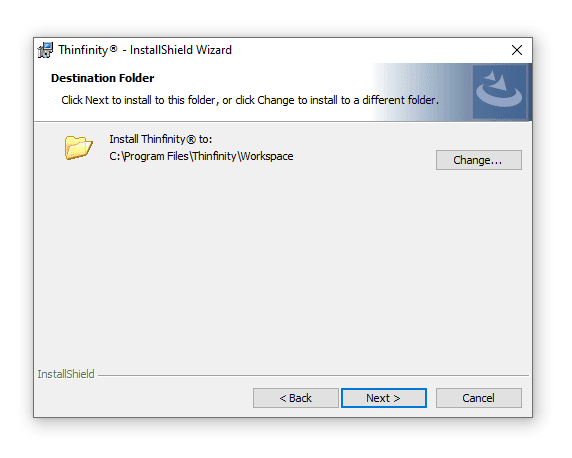
Next, choose the Destination Folder.
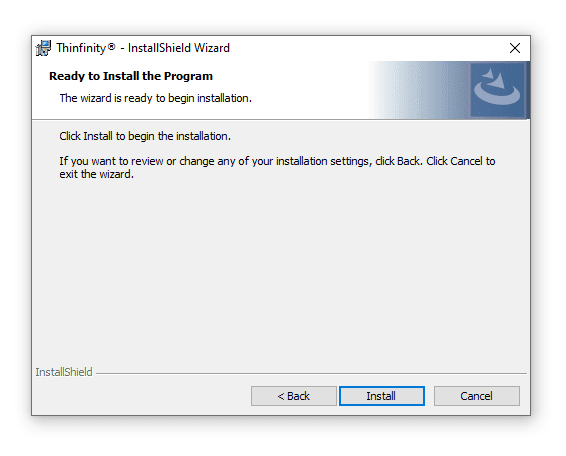
Once the destination folder is properly selected you are ready to begin the install process. Now click on the Install button.
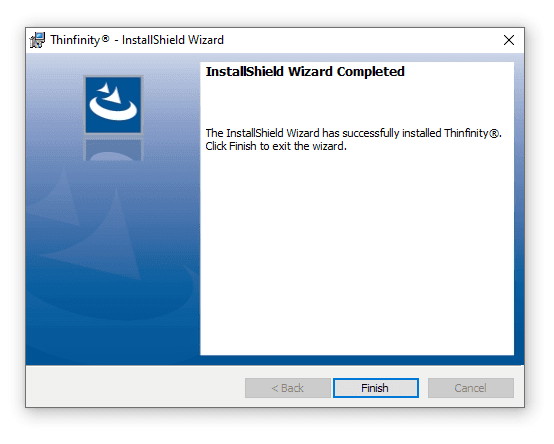
Once the installation process is complete, click finish.
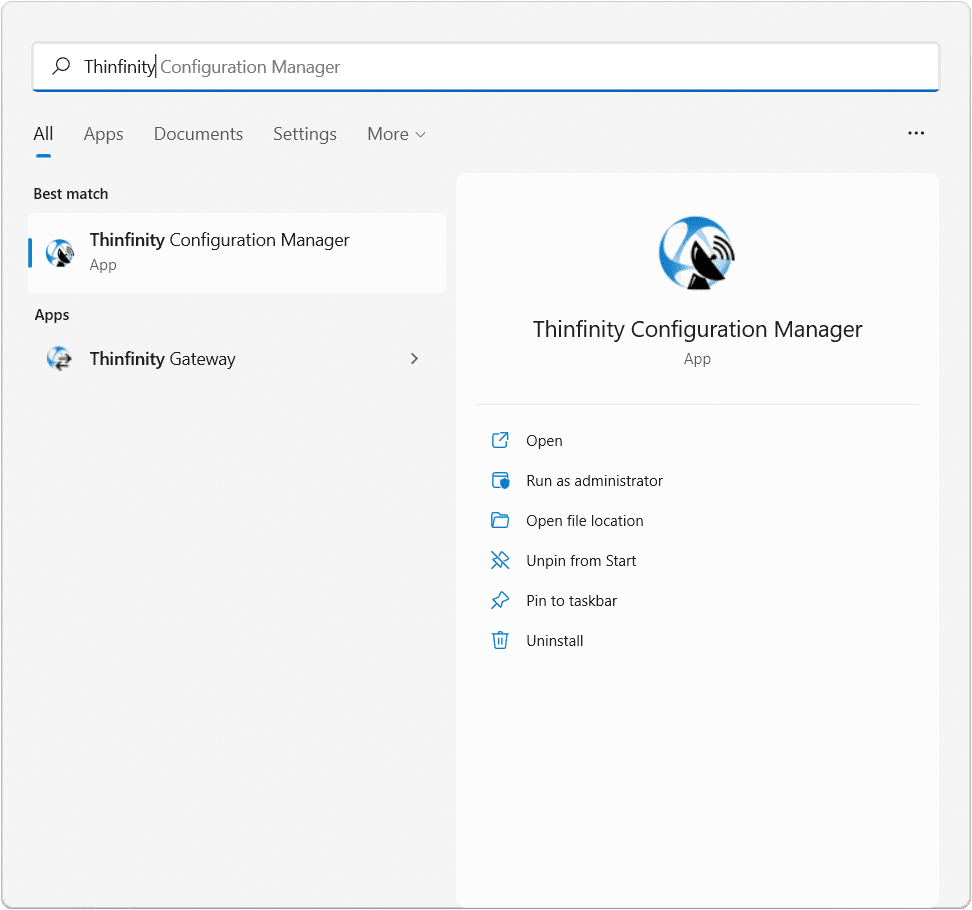
In order to start configuring Thinfinity Workspace, look for the “Thinfinity® Configuration Manager” located in the Start Menu:
Open the application. The first screen will prompt you to activate the product by following the corresponding registration method based on your needs. For online activation, your host needs to be connected to an open internet network. Otherwise, an offline activation should be applied instead.
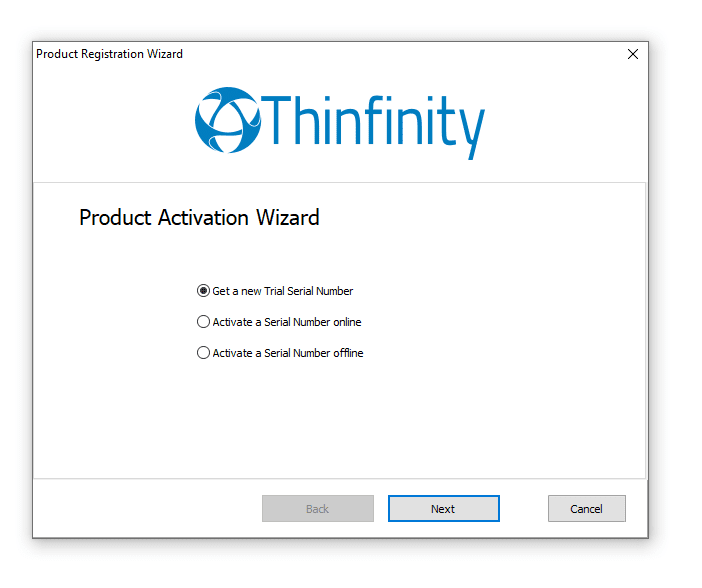
If you wish to try the product out for your initial steps, you can create a new Trial serial number straight from the Product Activation Wizard. Please note, you need to have access to open internet to complete the registration steps for this option.
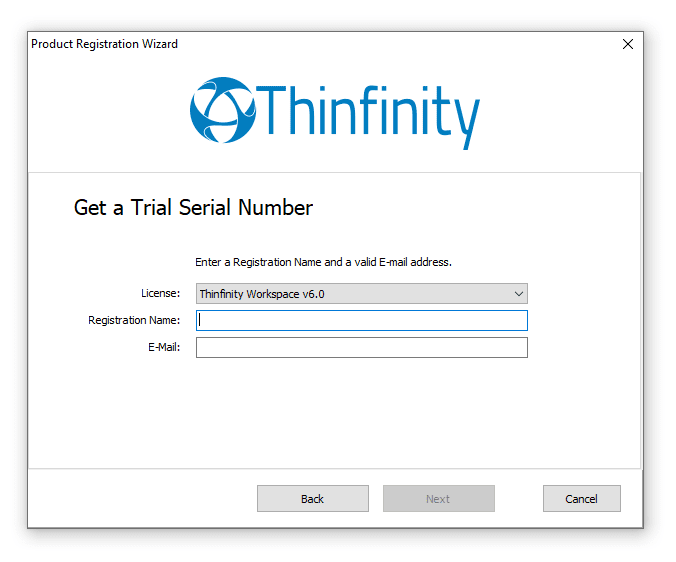
Fill in with the required registration details. A new fully featured 15-day trial license will be issued for testing and implementation purposes.
For more information on how to install Thinfinity Workspace, please refer to the documentation available on the following link.
Stay tuned for posts on how to set up your first connection. If you have any questions, please leave us a comment!