
Introduction
Thinfinity Workspace on Google Cloud Platform (GCP) goes beyond the ordinary, offering cutting-edge tools like Zero Trust Network Access (ZTNA) security, effortless scalability, and the freedom to design a Desktop as a Service (DaaS) tailored to your needs. It’s not just about hosting desktops and applications—it’s about reimagining how they’re delivered, accessed, and managed.
At its core, GCP provides a reliable and innovative foundation for cloud computing, with its global infrastructure, pay-as-you-go pricing, and advanced security features. Known for its flexibility and performance, GCP allows organizations to deploy applications and desktops with ease, ensuring low-latency access and seamless scalability. Together with Thinfinity Workspace, GCP becomes a powerhouse for delivering modern, secure, and efficient virtual environments to users anywhere in the world.
Why Use Thinfinity Workspace on GCP?
Google Cloud provides a powerful foundation for hosting virtual desktops and applications, and Thinfinity Workspace enhances this by streamlining delivery, security, and management.Key Benefits
1. ZTNA Security: Redefining Secure Access
With Thinfinity Workspace, security is built on Zero Trust Network Access (ZTNA) principles. This means every access request is authenticated and encrypted, minimizing risks:- Granular Permissions: Assign precise access controls based on user roles.
- Unified Authentication: Seamless integration with identity providers for secure login.
- End-to-End Encryption: Protect sensitive data in transit.
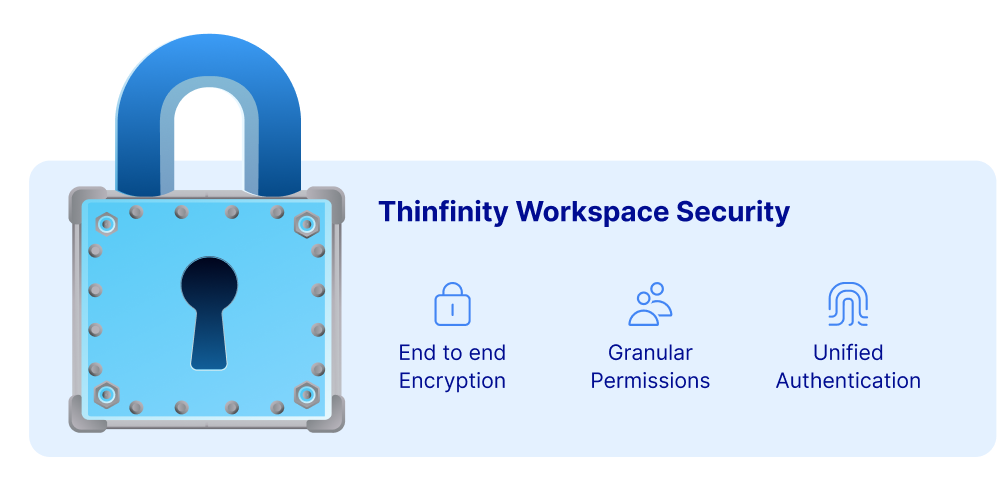
ZTNA ensures your virtual desktops and applications are always secure, no matter where they’re accessed.
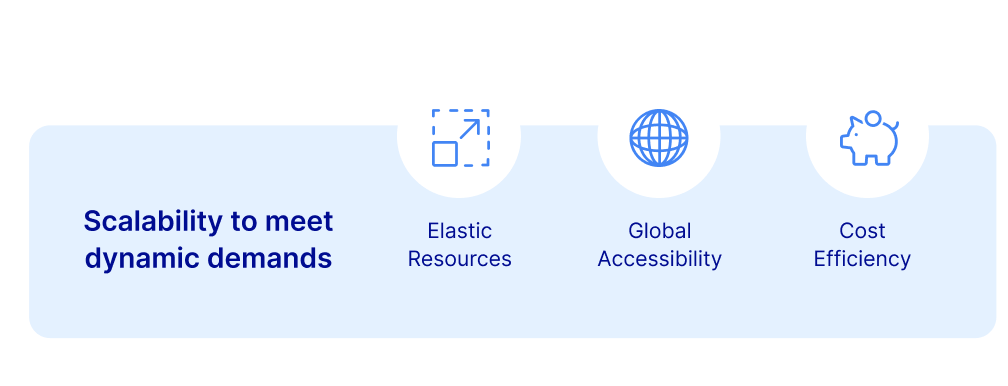
2. Scalability to Meet Dynamic Demands
Thinfinity Workspace leverages GCP’s scalable infrastructure to adapt to any business need:
- Elastic Resources: Scale up or down instantly based on user demand.
- Global Accessibility: GCP’s global infrastructure delivers low-latency access for users worldwide.
- Cost Efficiency: Use GCP’s pay-as-you-go pricing to optimize operational costs.
Whether for a small team or a global workforce, Thinfinity Workspace grows with your organization.
3. DaaS: Simplifying Desktop Delivery
With Thinfinity Workspace, you can establish a Desktop as a Service (DaaS) model on GCP, offering secure, cloud-based desktops to users:- Browser-Based Access: Users can access their desktops from any device without complex installations.
- Centralized Management: Administer desktops, applications, and user permissions from a single interface.
- Streamlined IT Costs: Eliminate the need for extensive hardware investments.
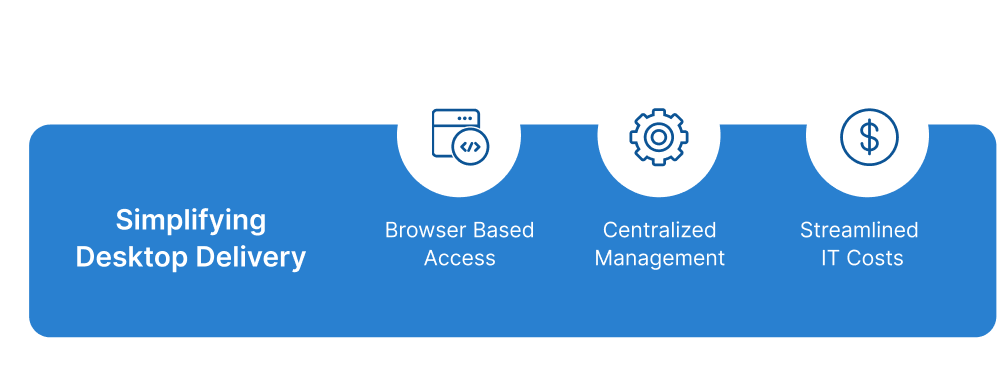
DaaS simplifies desktop delivery, boosting agility and security for organizations managing virtual environments.
For MSPs, it’s an opportunity to build fully white-labeled DaaS solutions, delivering tailored and secure desktop services to customers.
Hosting Applications and Desktops on GCP with Thinfinity Workspace
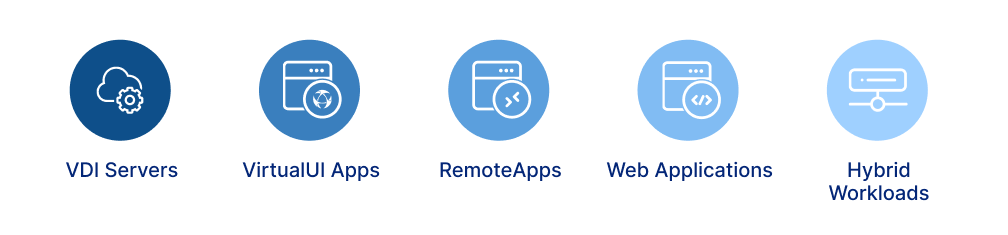
Thinfinity Workspace enables seamless hosting of a wide range of workloads on Google Cloud Platform (GCP), providing unmatched flexibility and scalability. With Thinfinity, organizations can efficiently deliver:
- VDI and Session-Based Servers: Provide secure, scalable virtual desktop environments to meet diverse user needs.
- VirtualUI-Enabled Applications: Modernize legacy Windows apps by delivering them through a web browser for enhanced accessibility.
- RemoteApps: Publish individual Windows applications for secure, easy-to-use remote access.
- Web Applications and SaaS: Host and deliver cloud-native web apps and SaaS solutions with optimized performance on GCP.
- Hybrid Workloads: Combine on-premises and cloud resources to create a flexible, scalable infrastructure.
Thinfinity Workspace integrates seamlessly with GCP’s infrastructure, offering secure browser-based access, scalable resource management, and a unified platform to deliver modern and legacy applications alike. This makes it an ideal solution for businesses embracing cloud-first or hybrid strategies.
Getting Started
If you’re ready to start deploying Thinfinity Workspace on GCP, follow our step-by-step guide to prepare your Google Cloud environment:
This guide provides detailed instructions on setting up your GCP VM, configuring essential settings, and preparing the environment for Thinfinity Workspace deployment.
Whether you’re hosting virtual desktops, VirtualUI-enabled applications, or RemoteApps, this tutorial ensures a smooth start.
Why Thinfinity Workspace on GCP Is Your Best Choice
- Seamlessly Bridge the VDI Gap on GCP with Thinfinity Workspace:
For organizations deeply integrated with GCP, Thinfinity Workspace offers a robust, secure, and scalable solution for virtual desktop and application hosting, effectively closing the VDI technology gap. - Enhanced Security:
Implement Zero Trust Network Access (ZTNA) to ensure your environment is protected against unauthorized access. - Global Scalability:
Leverage GCP’s powerful infrastructure to scale your VDI deployment effortlessly. - Simplified Management:
Manage your entire setup with ease using Thinfinity’s intuitive platform. - Desktop as a Service (DaaS):
Build a comprehensive DaaS model on GCP, maximizing flexibility and efficiency while keeping costs in check. - This solution is designed to meet the specific needs of GCP-reliant organizations, providing a seamless integration that enhances security, scalability, and cost-efficiency without compromising performance.
FAQ
Thinfinity Workspace is a cloud-based platform that delivers secure, scalable, and efficient virtual desktops and applications, optimized for Google Cloud Platform (GCP).
It leverages GCP’s global infrastructure for seamless scalability and security, offering a comprehensive DaaS model.
It employs Zero Trust Network Access (ZTNA) principles, ensuring granular permissions, unified authentication, and end-to-end encryption.
It offers elastic resources and global accessibility, scaling up or down based on demand, with pay-as-you-go pricing for cost efficiency.
Yes, it supports a wide range of workloads, including VDI, VirtualUI-enabled applications, RemoteApps, and web/SaaS applications.
Its pay-as-you-go model and streamlined management reduce operational costs, making it a cost-effective choice.
Is as simple as following a step by step guide provided on this document you can get it up and running in less than 20 min
Yes, it allows combining on-premises and cloud resources for a flexible infrastructure.
It supports virtual desktops, legacy Windows apps, individual Windows applications, and cloud-native web apps.
It offers similar features with the added benefit of reducing licensing cost while having seamless GCP integration and ZTNA security.
Thinfinity provides comprehensive support to ensure a smooth experience for its users.