H264 is the most commonly used format for recording, compression, and distribution of high-quality video content in an efficient manner. As such, Thinfinity® Workspace must work with H264 to provide a professional experience for your remote apps and desktops. To activate H264 for Thinfinity, check this step-by-step article.
H264 is a video compression standard capable of providing good video quality at substantially lower bit rates than previous standards without increasing design complexity so much that it would be impractical or costly to implement.
To set H264 up for Thinfinity Workspace — our solution to deliver remote access to all your applications, desktops, and files — You need to enable this setting on the Remote Host where you wish to connect.
This article will guide you through how to accomplish this in just a few steps. First, check the Thinfinity Workspace’s installation steps and complete the instructions.
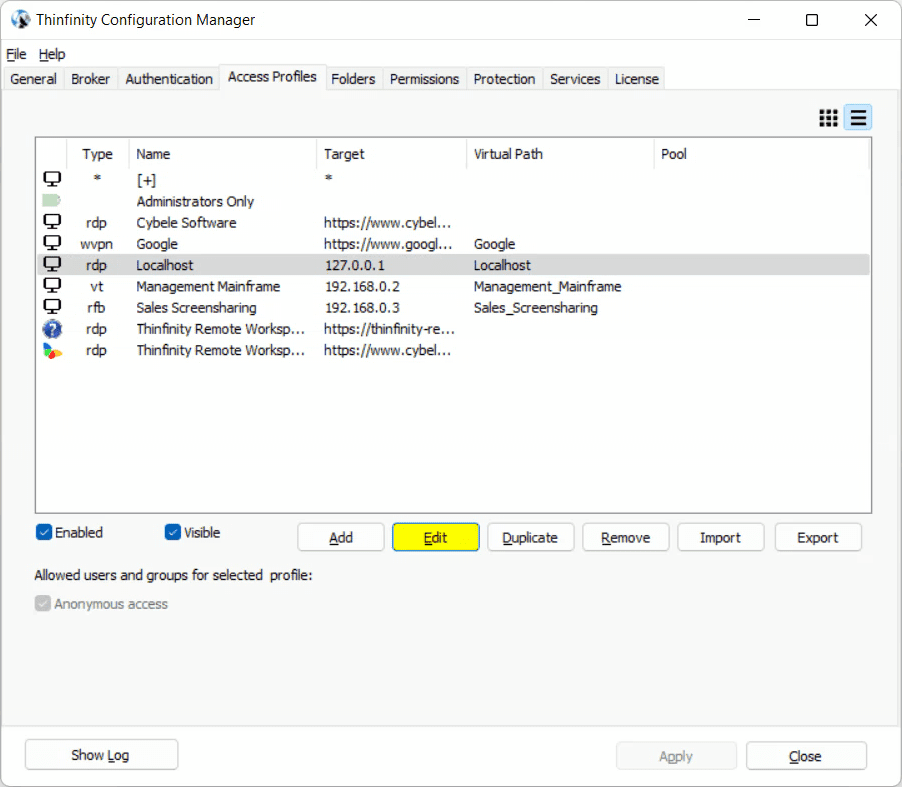
Next, start by opening the Thinfinity Workspace Configuration Manager and go to the Access Profiles tab. Then select the profile you wish to have the H264 feature enabled and click ‘Edit’:
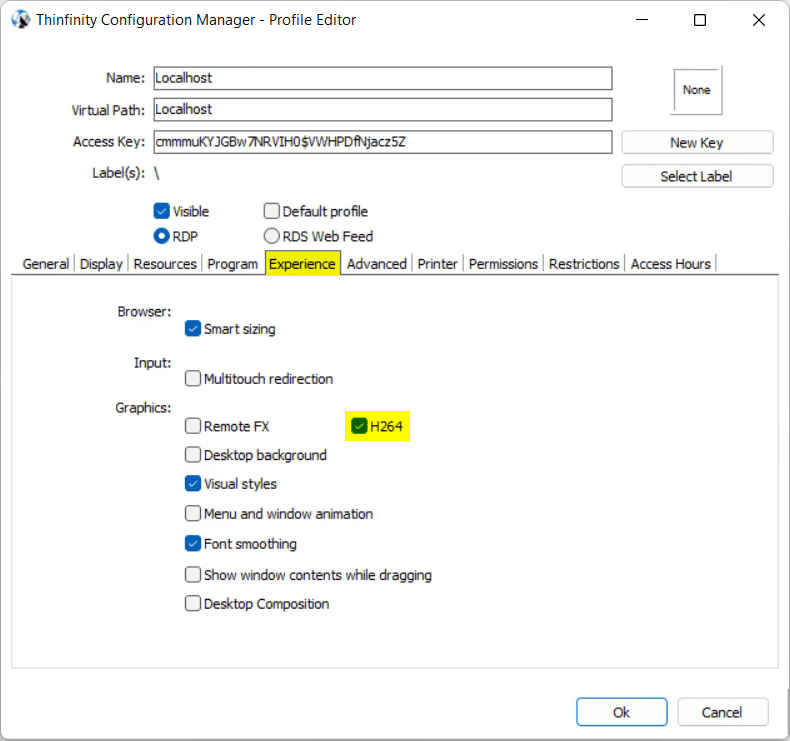
In the Profile Editor of your connection, go to the ‘Experience’ tab and then check the box next to ‘H264’ to enable it. Then click ‘Ok’ and ‘Apply’ the changes on the Configuration Manager:
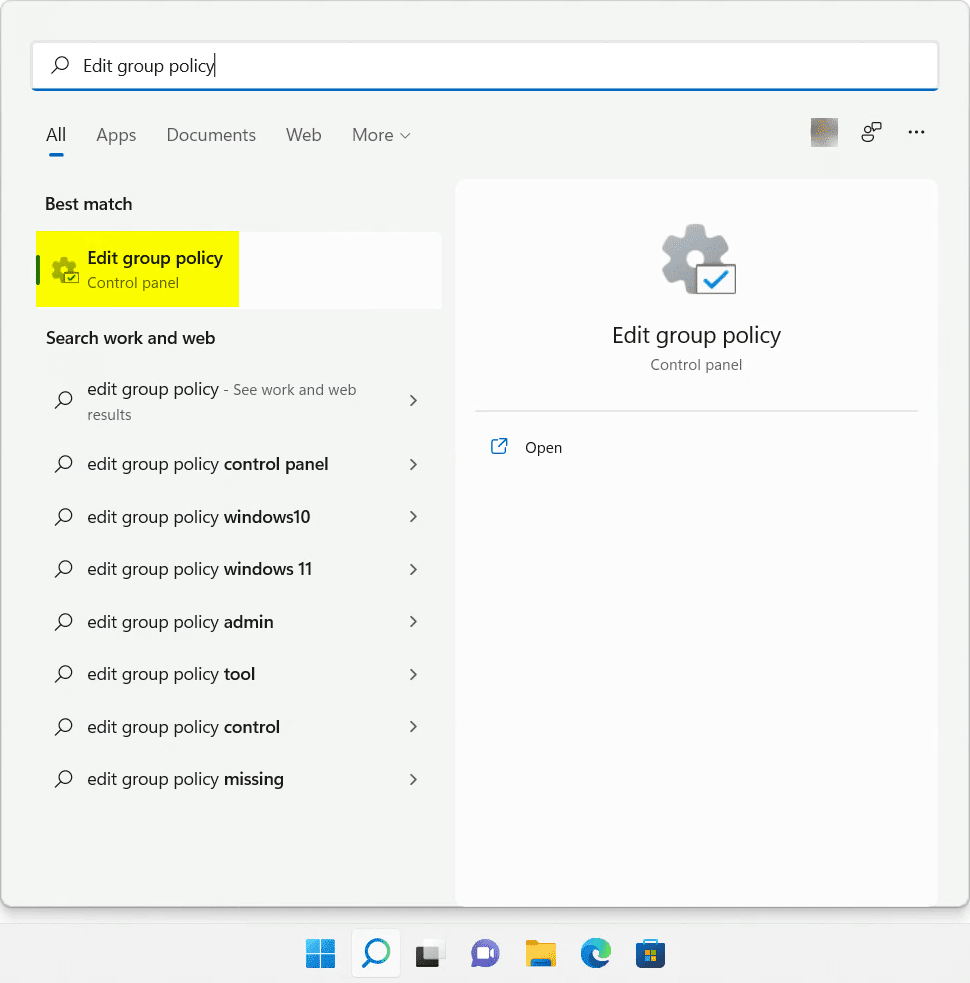
Next up, you need to activate this feature at an operating system level, open the Local Group Policy editor: click Start, then type Edit group policy:
Once on the Group Policy Editor, navigate to this path:
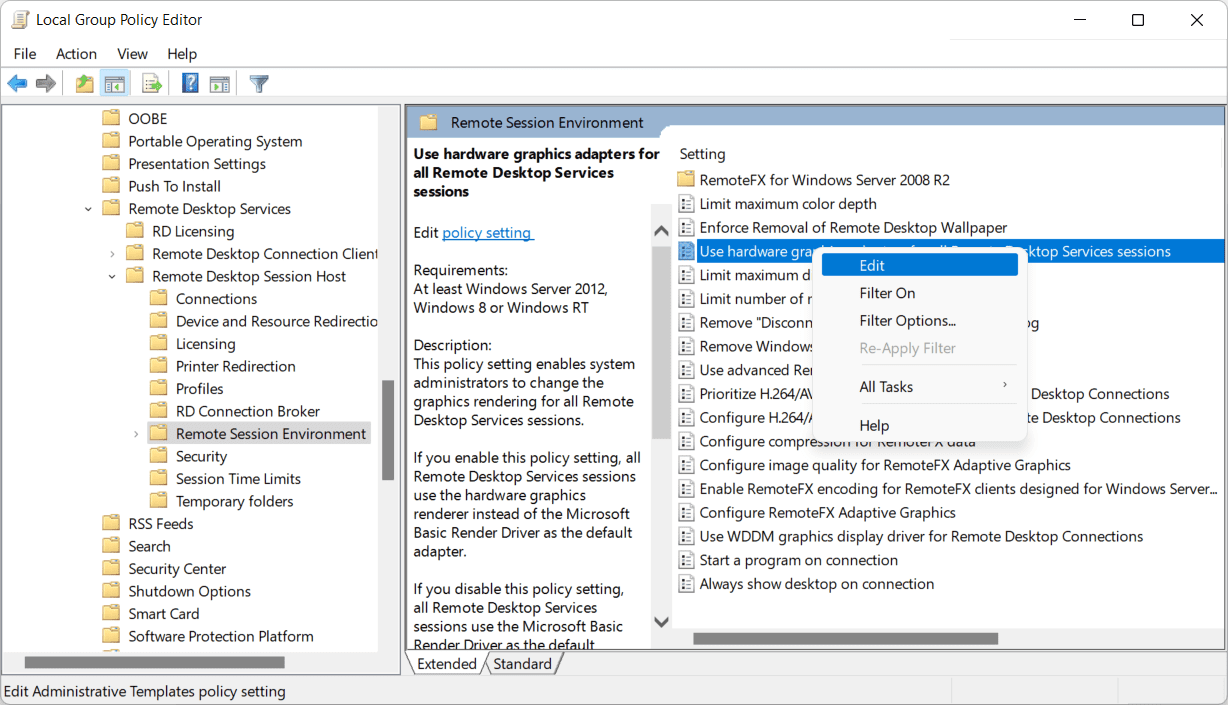
‘Computer Configuration > Administrative Templates > Windows Components > Remote Desktop Services > Remote Desktop Session Host > Remote Desktop Session Environment’
You will have to enable these three policies:
‘Prioritize H.264/AVC 444 graphic mode for Remote Desktop Connections’
‘Configure H.264/AVC hardware encoding for Remote Desktop Connections’
‘Use hardware graphics adapters for all remote desktop sessions’
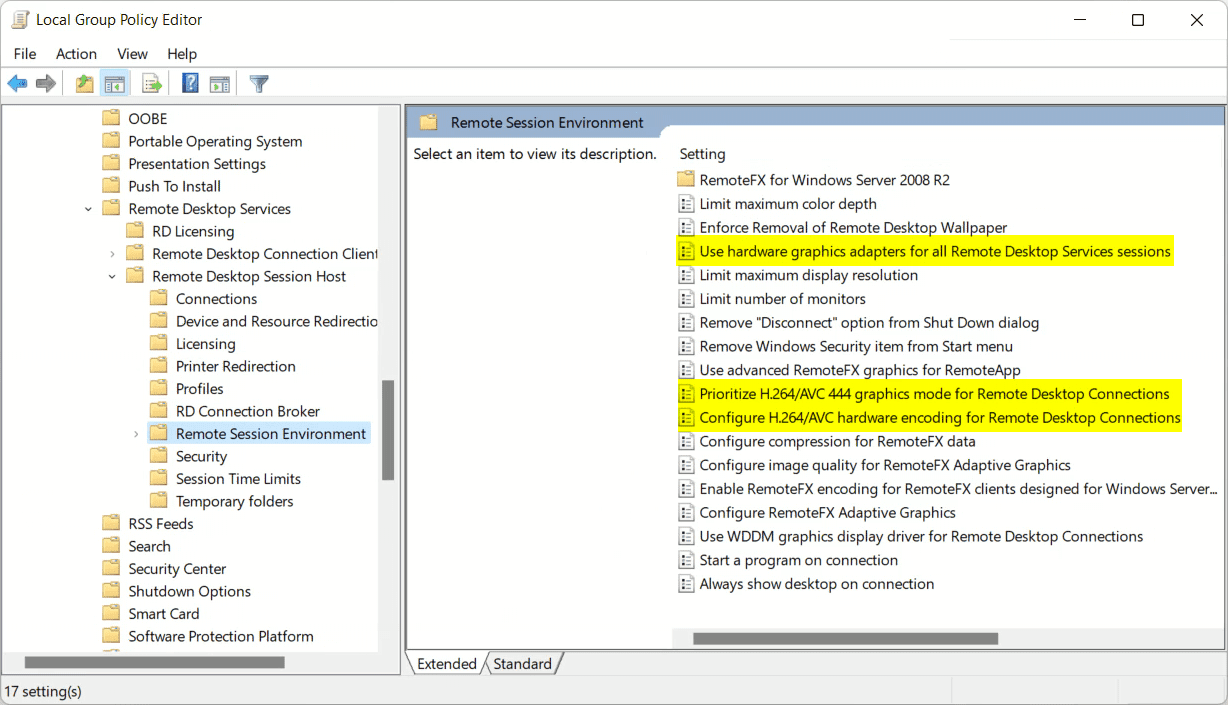
To this end, you would need to right-click on each of them, one at a time, and select ‘Edit’:
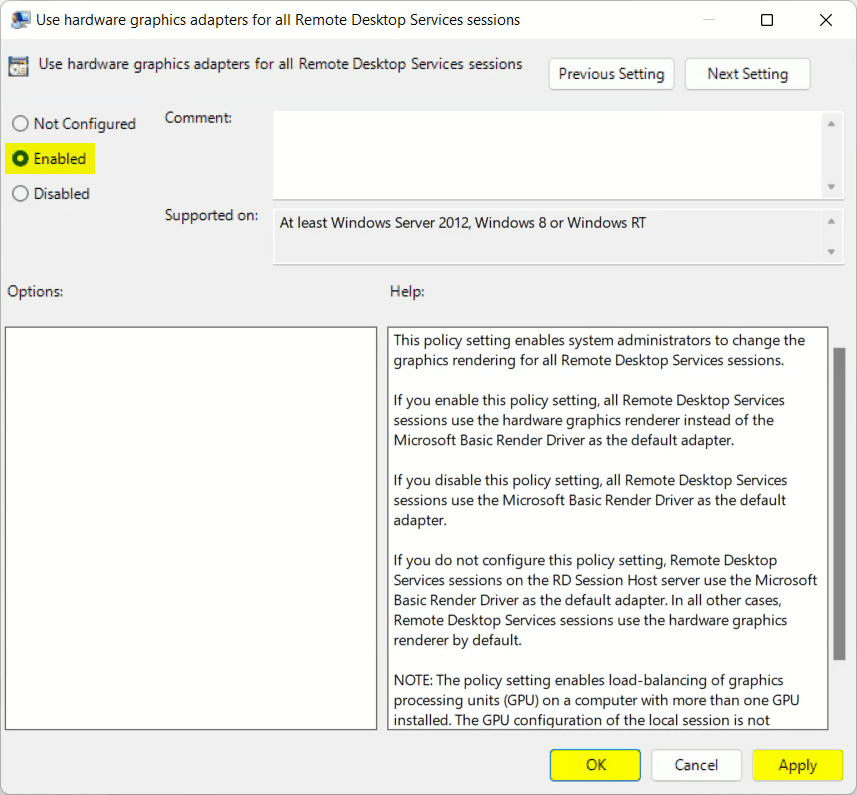
Once you’ve opened a policy window, check the circle next to ‘Enabled’ and then hit ‘Apply’ then ‘OK’. Repeat this process for all the policies shown above:
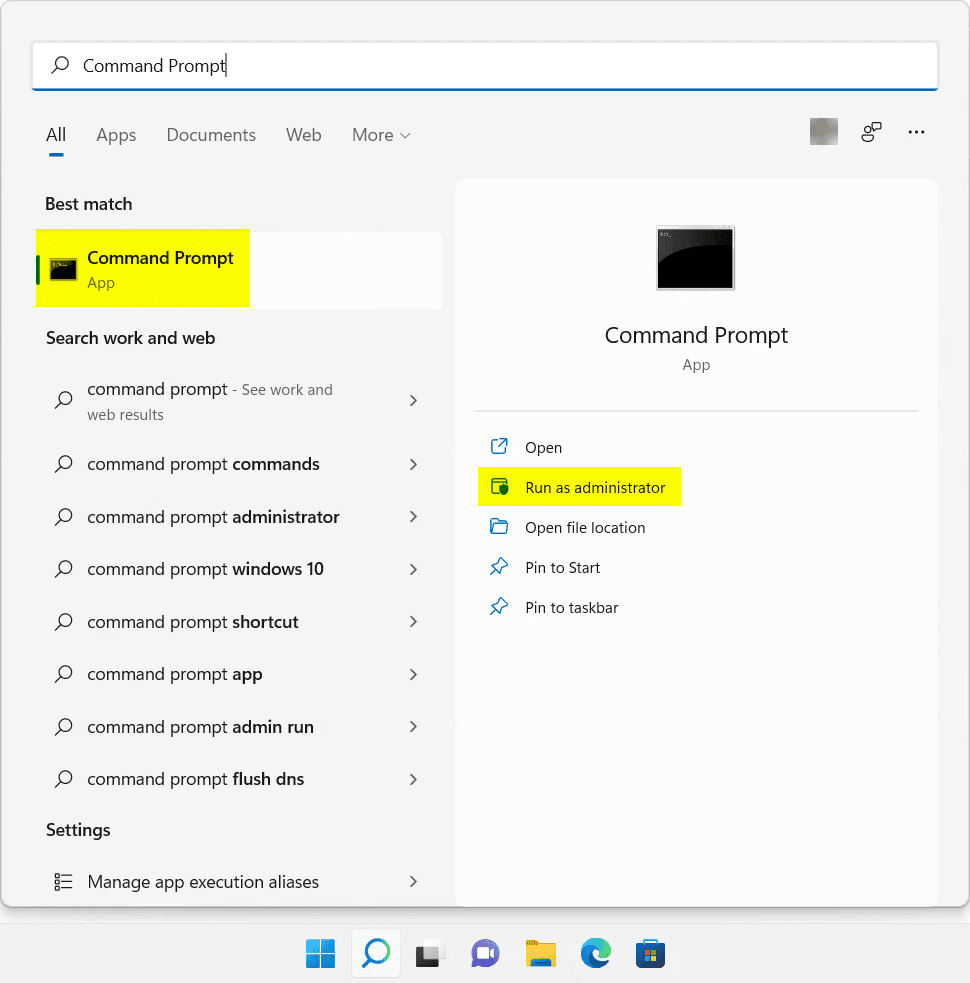
Afterwards, you would need to open a ‘Command Prompt’ window elevated as Administrator to update the changes made to policies:
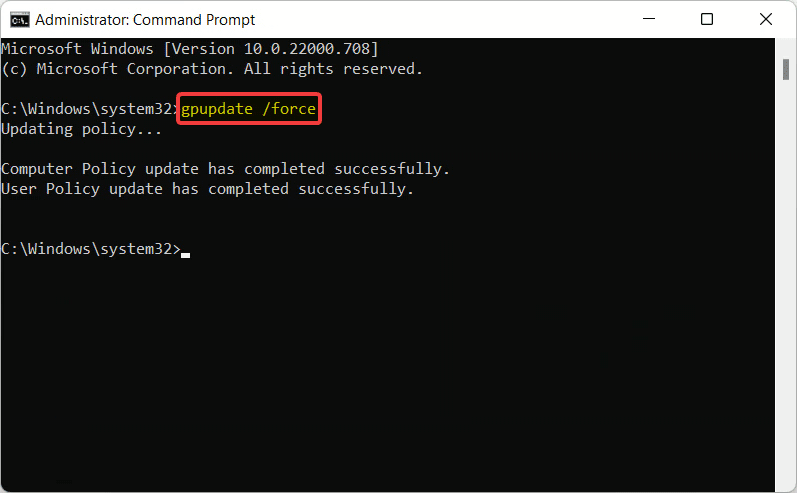
Here you would need to type ‘gpupdate /force’ to finish applying the policies:
You’re good to go! Now you can deliver desktops, GPU applications, and files with high-quality performance for any device.
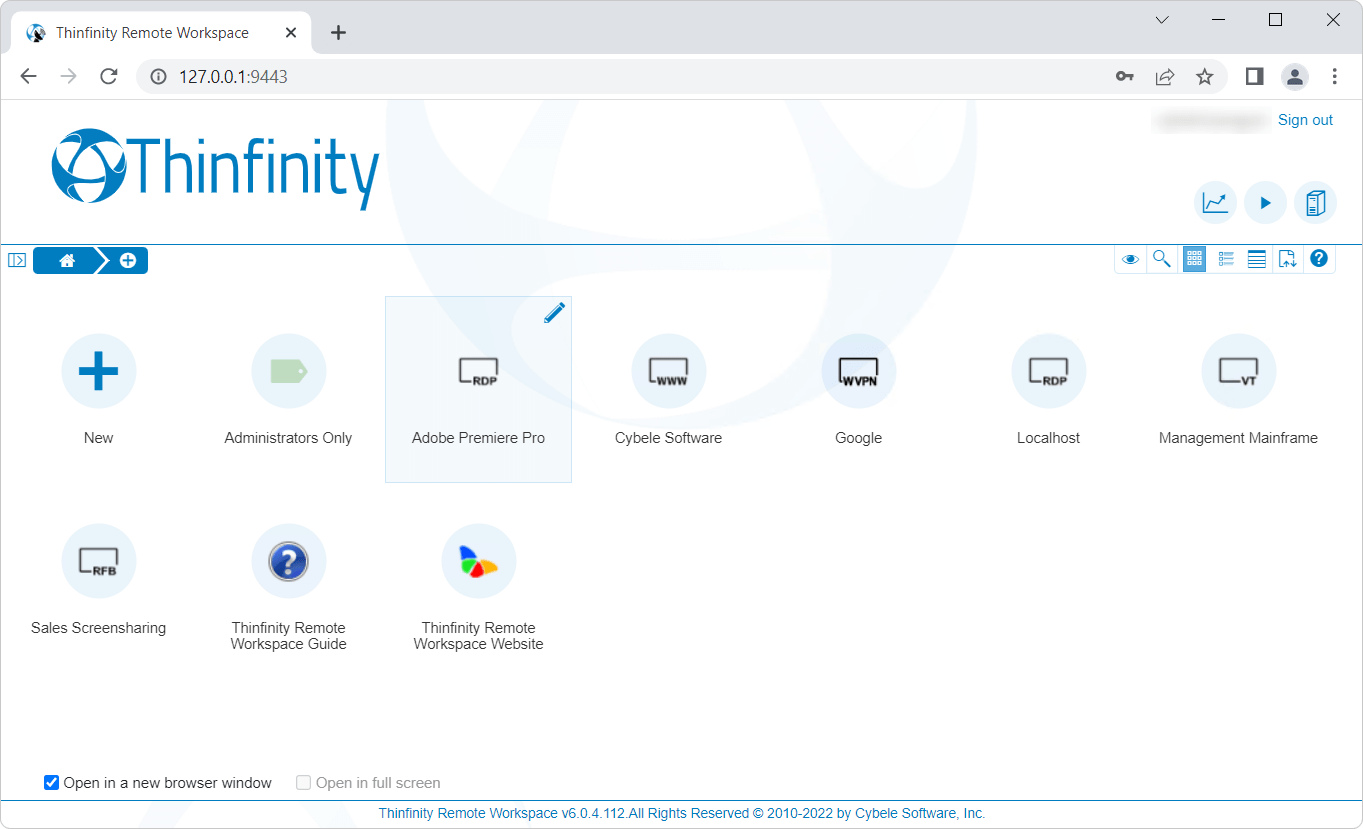
Publishing GPU apps to the web with Thinfinity Remote Workspace:
GPU applications are core to many educational programs. However, not all PCs have the necessary hardware to run them correctly. Some of your students may even want to access these applications from other devices, such as Chromebooks. Learn how you can solve this challenge by publishing your GPU applications as RemoteApps with Thinfinity® Remote Workspace.
If you found this article interesting and want to know more about Thinfinity Remote Workspace you can write to us or schedule a 15-minute demo call with one of our Sales Engineers.