
Active Directory Federation Services (ADFS) is a Single Sign-On solution developed by Microsoft.
It was included in Windows Server OS to provide users with an SSO authenticated access compatible with Integrated Windows Authentication (IWA) through Active Directory (AD).
This tutorial will show you how to configure two of our Thinfinity products with ADFS and OAuth 2.0:
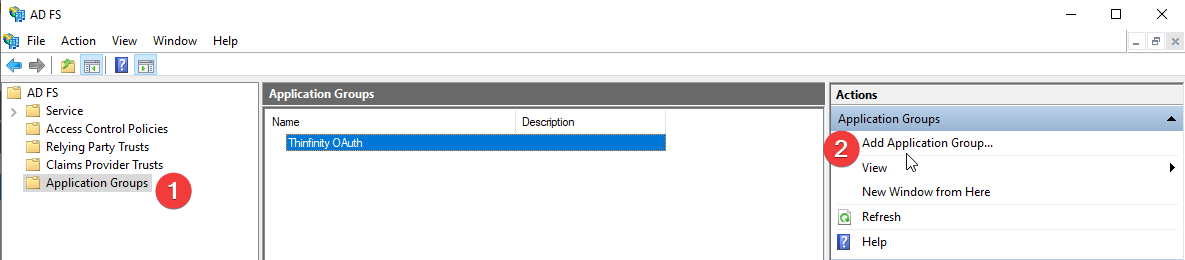
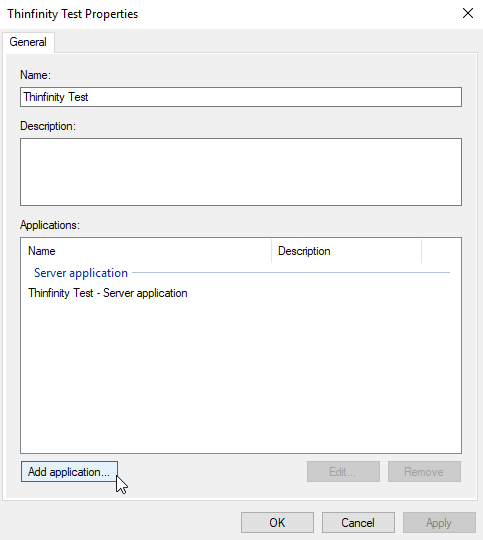
First of all, navigate to your Active Directory Federation Services manager, click on “Application Groups” and then “Add Application Group”.
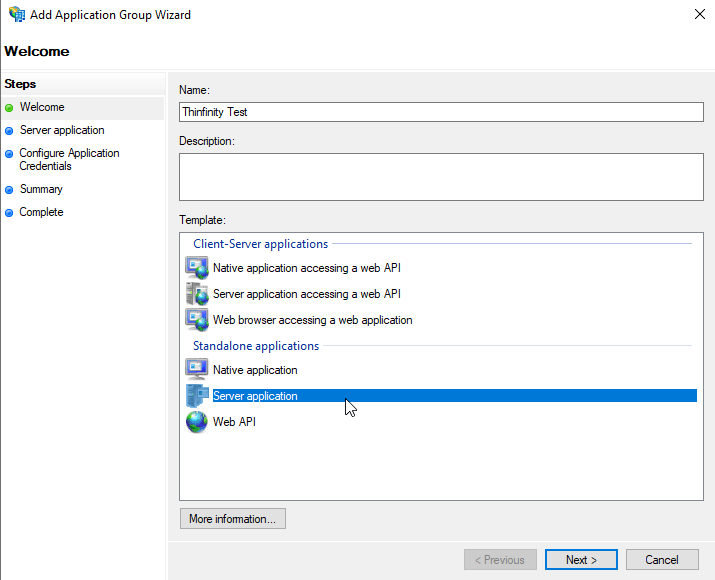
Then we’ll create a “Server Application”. Which will give us a Client ID and Client Secret.
Give it a name and in the Redirect URI field, type in the URL used to connect to Thinfinity and, for testing purposes, add a “ /OAuth “ at the end of the URL, as shown below :
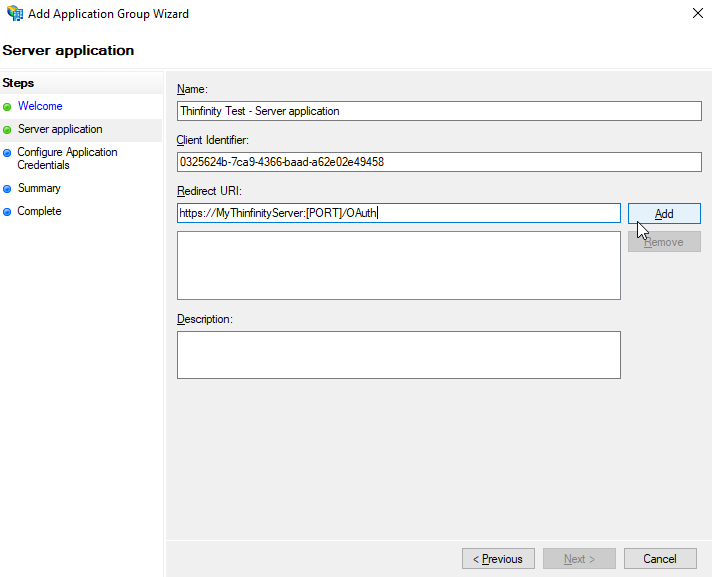
Click on “Add” and then “Next”.
In this next window, click on “Generate a shared secret” and save the secret for future use.

Then click “Next” -> “Next” -> “Complete”
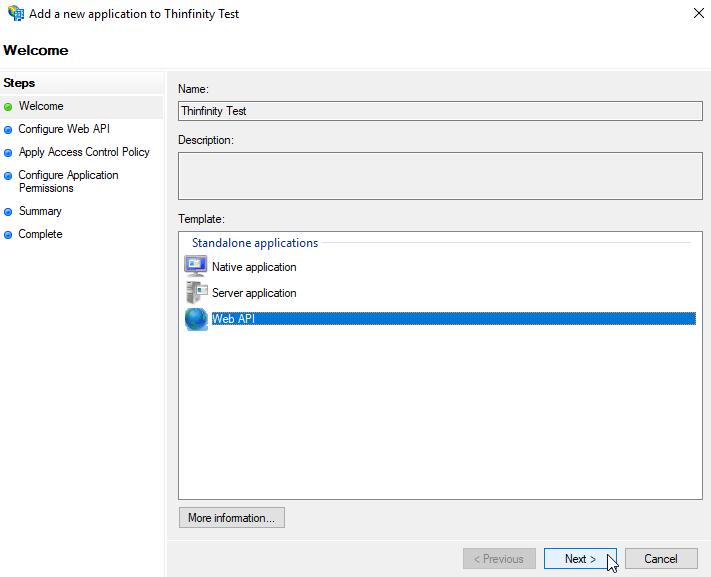
Now we need to add a new application, in the case a “Web API” one.
Click again on “Add Application”, select “Web API” and click on “Next”
We need to give it an identifier name, in this case, for testing purposes, we are going to use
“ urn: Cybelesoft.Application.VirtualUI “
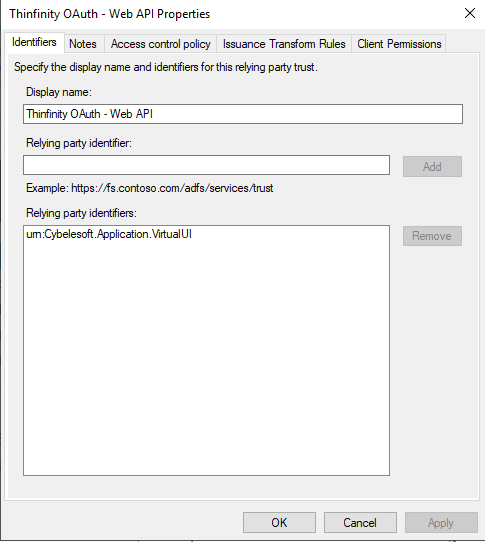
Then click “Next” -> “Next” -> “Complete”
Now we need to modify that Web API we generated, and add a Rule with claims on it:
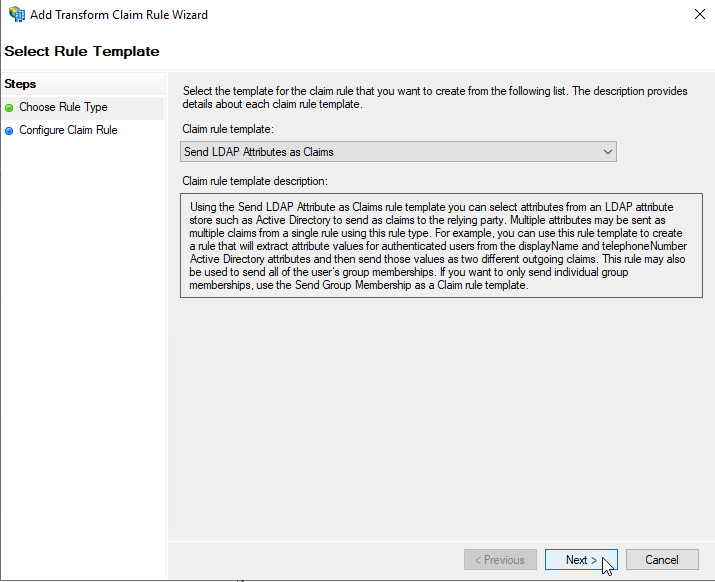
In this case, we are going to use the User Principal Name or “UPN” for the claim:
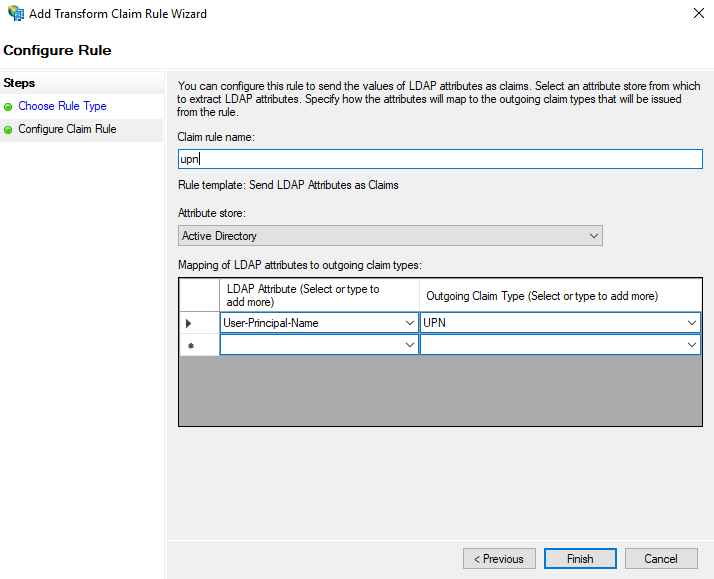
Click on “Finish” and then “Apply”.
Now we need to configure Thinfinity with all the information we configured on ADFS side.
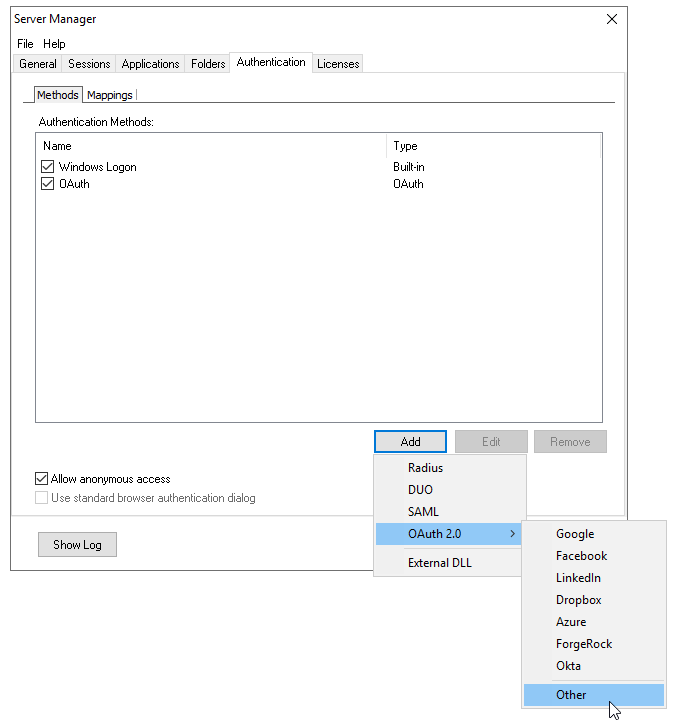
Open the Thinfinity Server Manager and navigate to the “Authentication” tab.
Then click on “Add”->”OAuth 2.0”->”Other”:
Over here we have two different fields, ClientID, and Client Secret:
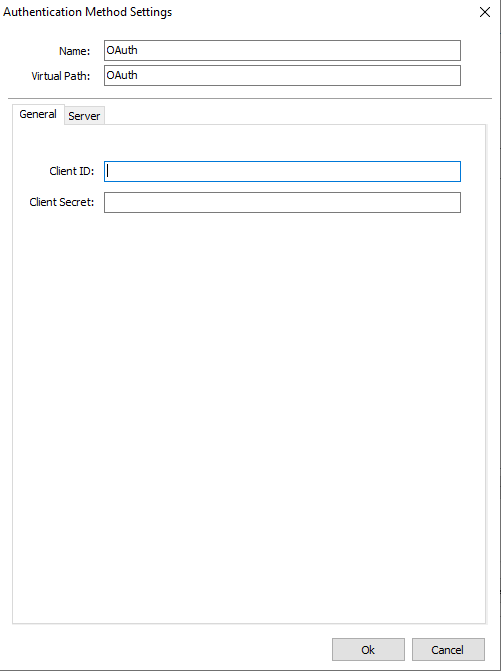
ClientID = Client Identifier configured on the Native Application side of AD FS.
Client Secret = Shared Secret generated on AD FS.
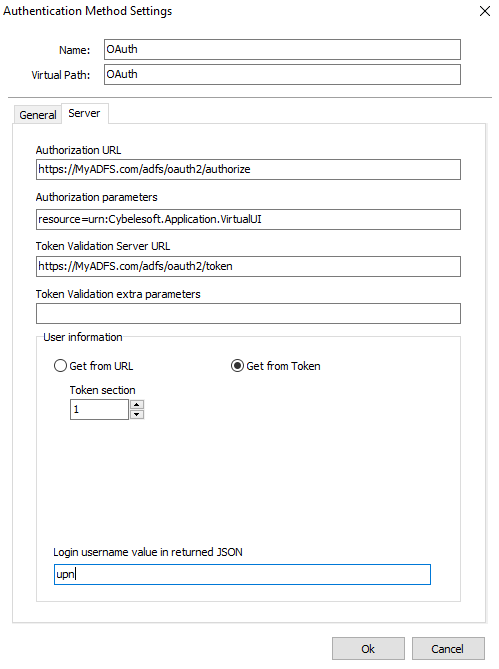
Then, click on the “Server” tab and configure the following:
Authorization URL = This is your ADFS URL with “/adfs/oauth2/authorize” at the end.
Authorization Parameters = This is the Identifier we configured in the WebAPI
Token Validation Server URL = This is your ADFS URL with “/adfs/oauth2/token” at the end.
In the User information field, select “Get from Token”.
end.
Login username value in returned JSON = This is the claim we are going to use in order to log in with Thinfinity. In this case, we are using the “upn”.
Click “Ok”, and then click “Apply”.
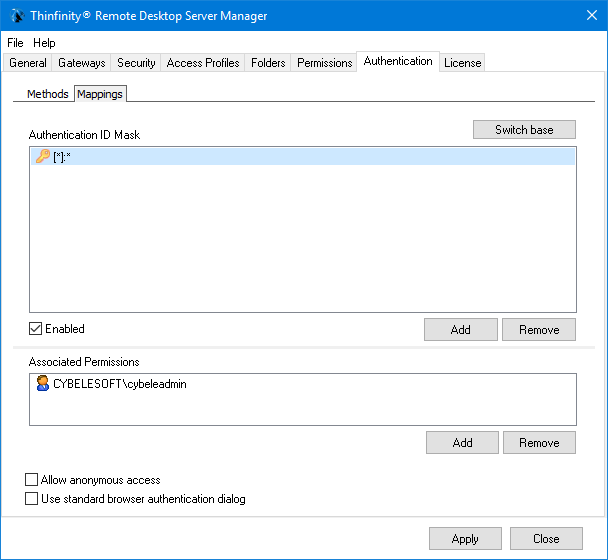
Now we need to configure the “mappings” use for Thinfinity, in order to map an AD FS user, with the local AD instance that Thinfinity uses for permissions in Access Profiles or.
In this case, we are going to use an “*” asterisk mapping, in order to allow all incoming AD FS users to login, using the Access Profiles assigned to my local “cybeleadmin” user.
Click on the first add, type in “*”, and click “Ok”.
Then on the second “Add”, search for a local user you used for permission in the Access Profile or Application.
And that’s it!
The next you navigate to the Thinfinity landing page, you’ll see the option to authenticate using this new OAuth method.