
In this quick tutorial, we will show how to configure Google Oauth2.0 Authentication to get secure SSO access to your desktops and applications with Thinfinity Remote Desktop Server v4.0.
Go to https://console.developers.google.com/apis and create a new project.
Change the name of the project and go to the Credentials tab. Click on “Create credentials” and then click on the OAuth option.
You will then need to add the product description.
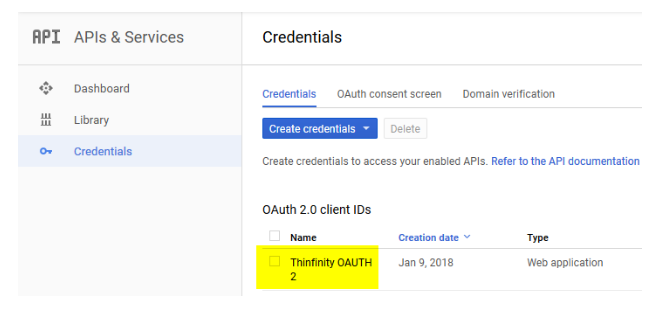
Go back to the Credentials tab and open the newly created OAuth 2.0 client IDs:
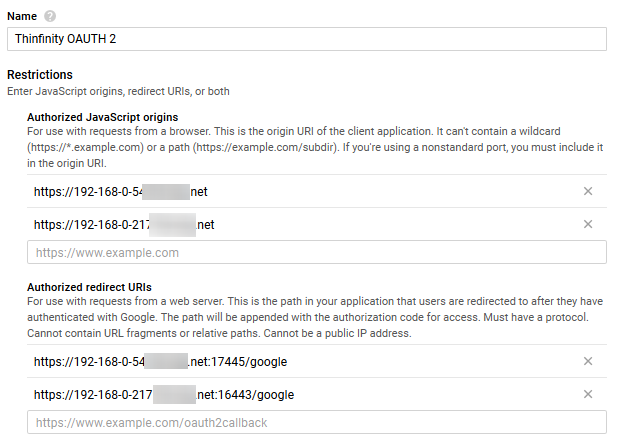
Type in the URL or external IP of the Thinfinity Remote Desktop Server.
And on the “Authorized redirect URLs”, the same URL or external IP plus “/google”, as shown below.
Save it and open the Thinfinity Remote Desktop Server manager.
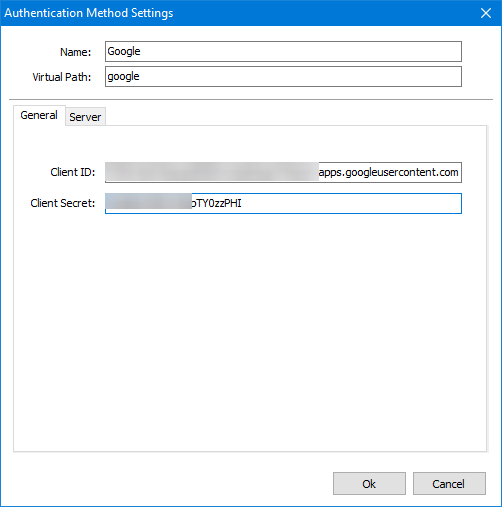
Go to the Authentication tab, click on “Add” and then “Google”
Add the Client ID and Client Secret given by Google ( you can check those in the Credentials tab on the page shown above )
Click OK and you should see it added to the list of allowed authentication methods:
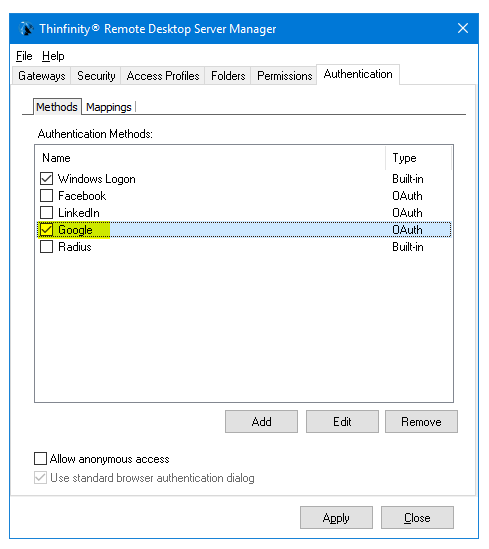
Make sure to check the checkbox to the left of the Authentication method.

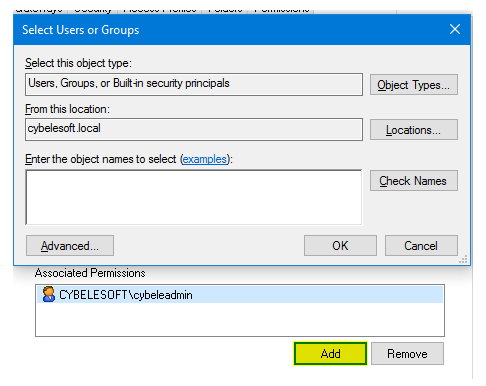
Then, click on the “Mappings” tab.
In here, we have to map the Gmail accounts to the AD users:

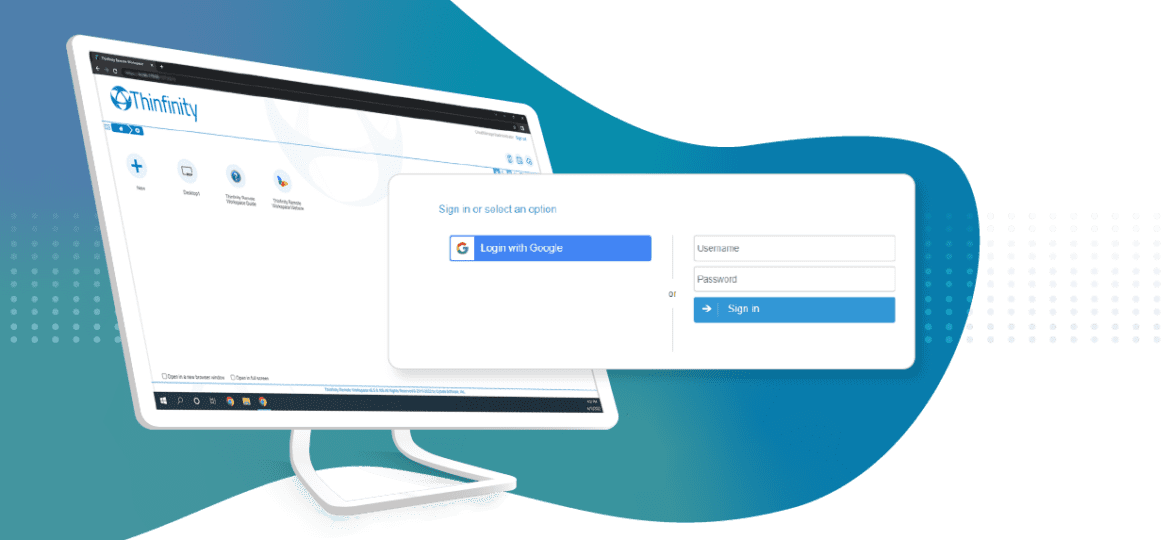
Hit apply and then navigate to the Thinfinity Remote Desktop Server landing page:
You should be able to see the following option:
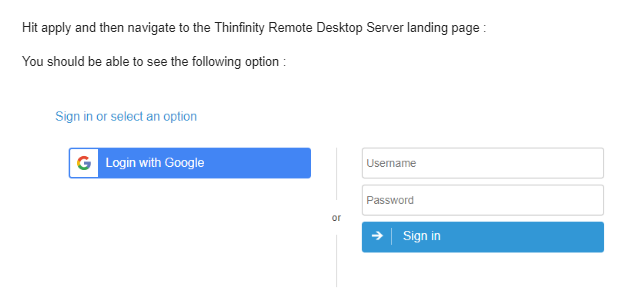
Clicking on the “Login with Google” icon will take you to the Gmail authentication webpage.
Log in with the designated email = user, and you are good to go.
Quick Tip: Learn how to configure Duo 2FA.