This is a quick tutorial to integrate and configure JumpCloud with SAML for your Thinfinity® Workspace deployment.
1) Enter your Jumpcloud MTP dashboard and enter the ‘Organizations’ tab on top and click ‘Launch’ in your organization below to enter the MTP portal.
Then, on the side panel, click on “SSO” and the plus icon afterward.
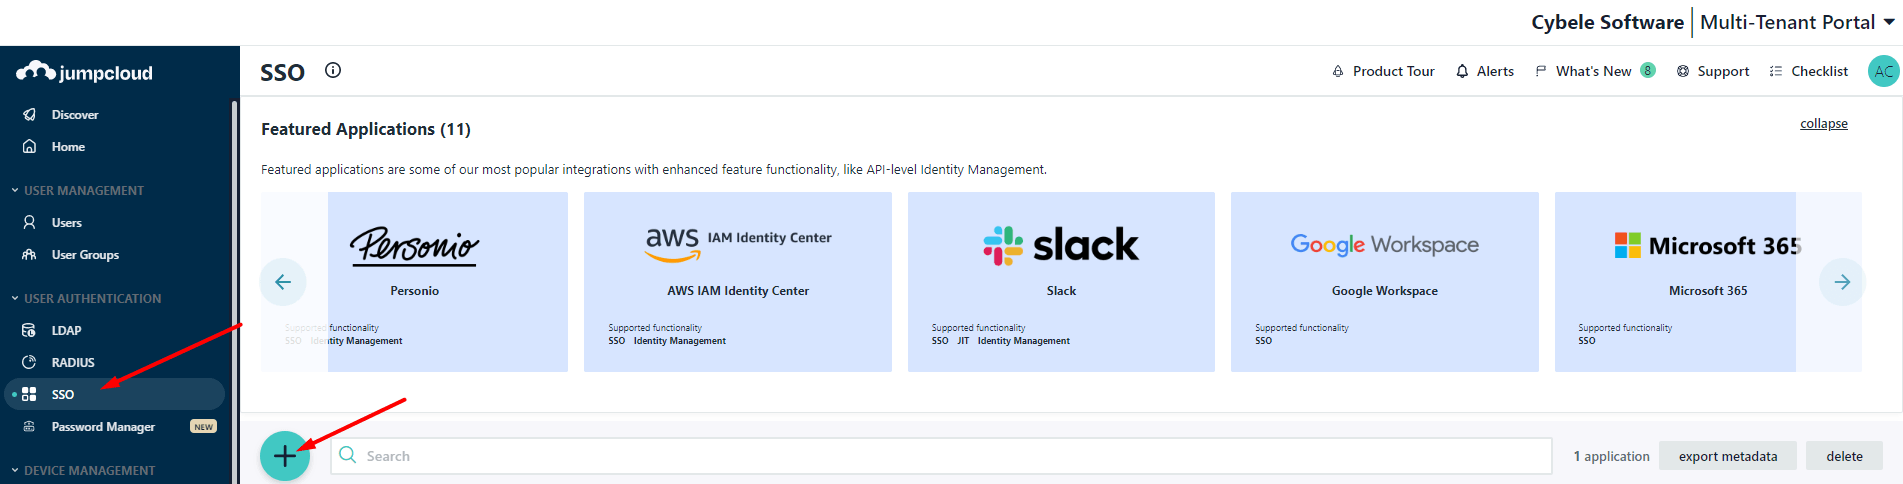
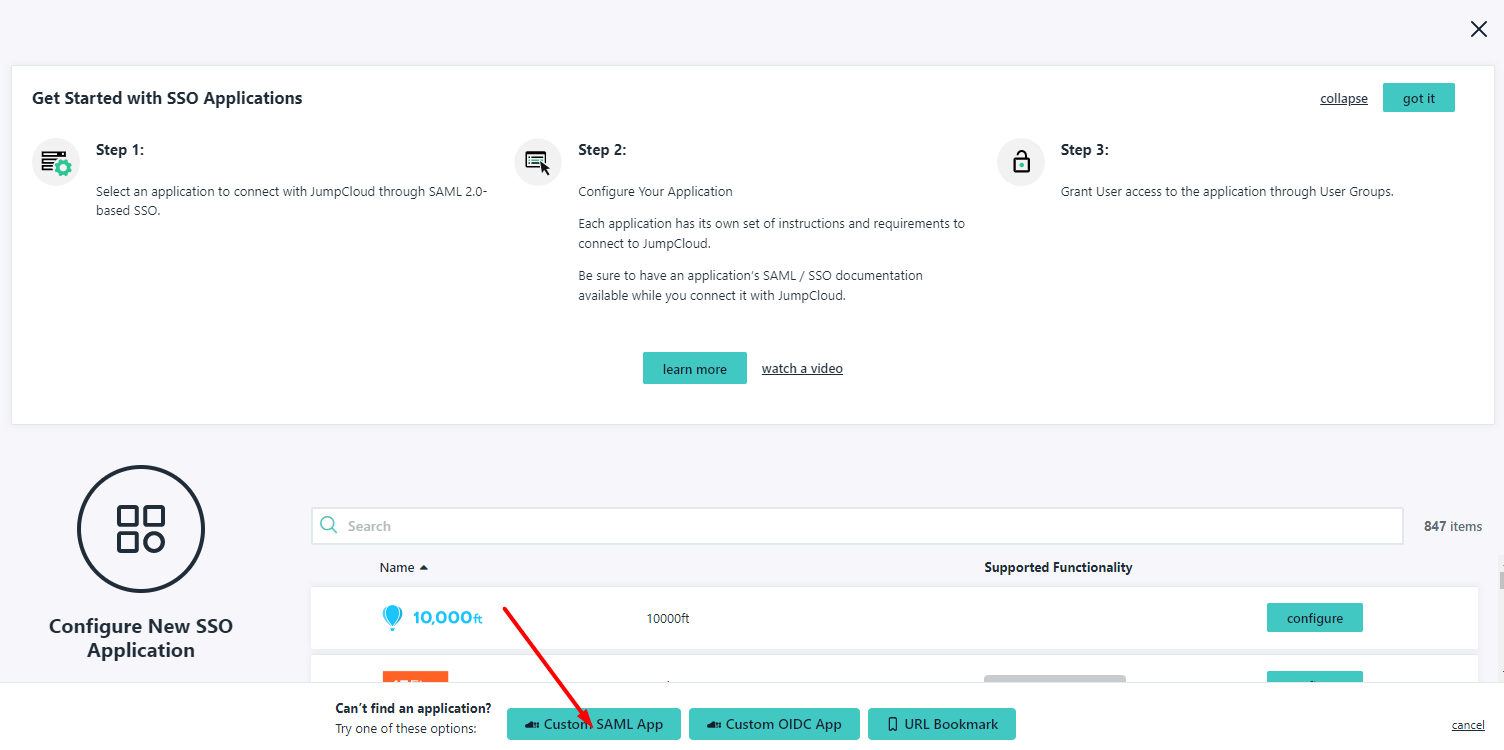
Click on “Create custom App” button:
Create a Label for your app login:

Click on SSO tab, and you will be able to set the SAML parameters:
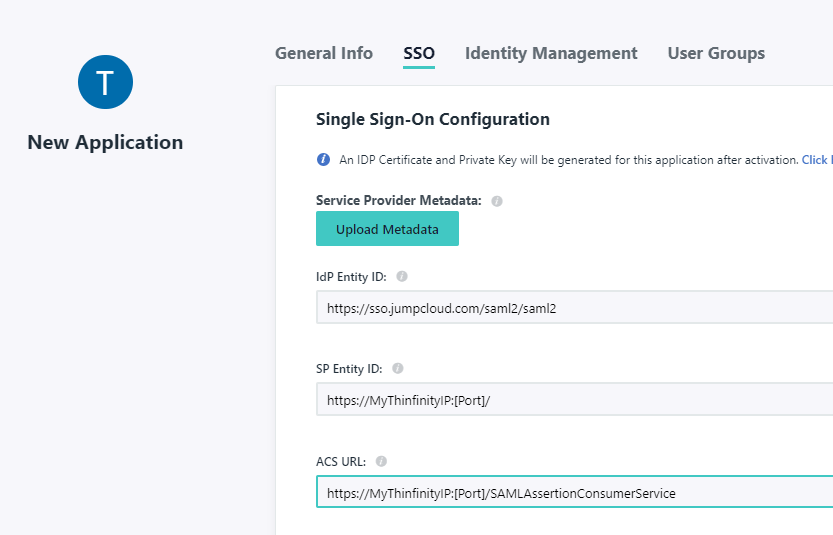
IDP Entity ID : https://sso.jumpcloud.com/saml2/saml2
- SP Entity ID : https://MyThinfinityIP:[Port]/
ACS URL : https://MyThinfinityIP:[Port]/SAMLAssertionConsumerService
You can also customize the IDP url further below in that same screen, make sure you set the same URL in IDP Entity ID if you choose to do so:

Click ‘Activate’ afterward.
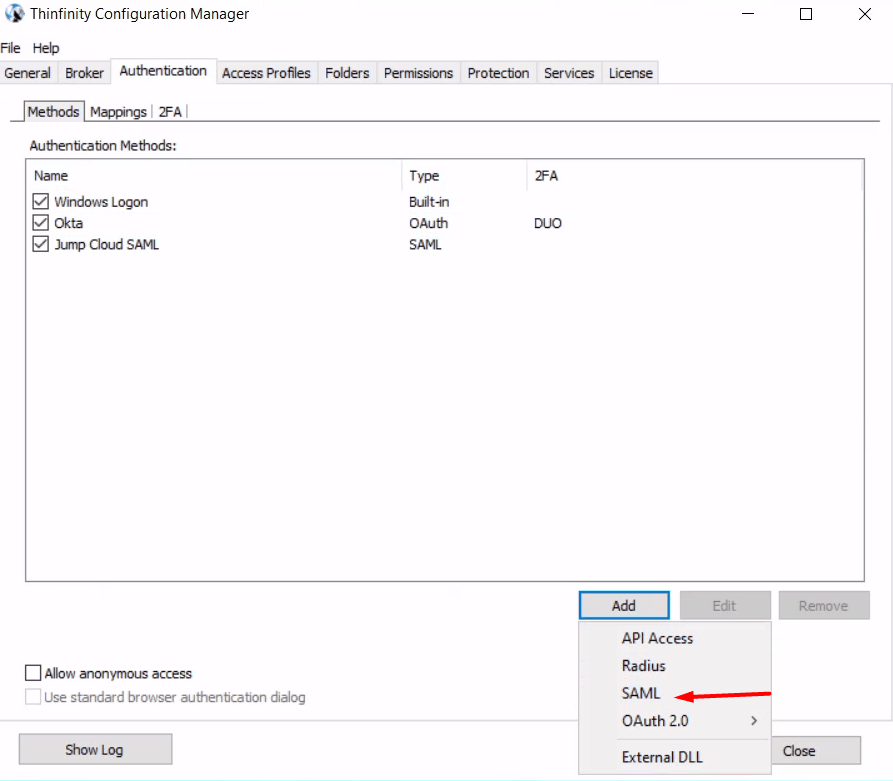
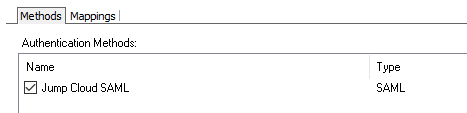
2) In your ‘Thinfinity Workspace/VirtualUI’ manager, go to the ‘Authentication’ tab and add a SAML authentication method:
You will need to fill the fields with the information matching the settings we set previously in Jumpcloud, remember the ‘Service Certificate File’ is created automatically in the route you choose (In our case “C:\temp\sp.pfx) and the ‘Partner Certificate File’ we need to download from the SAML provider, Jumpcloud in this case.

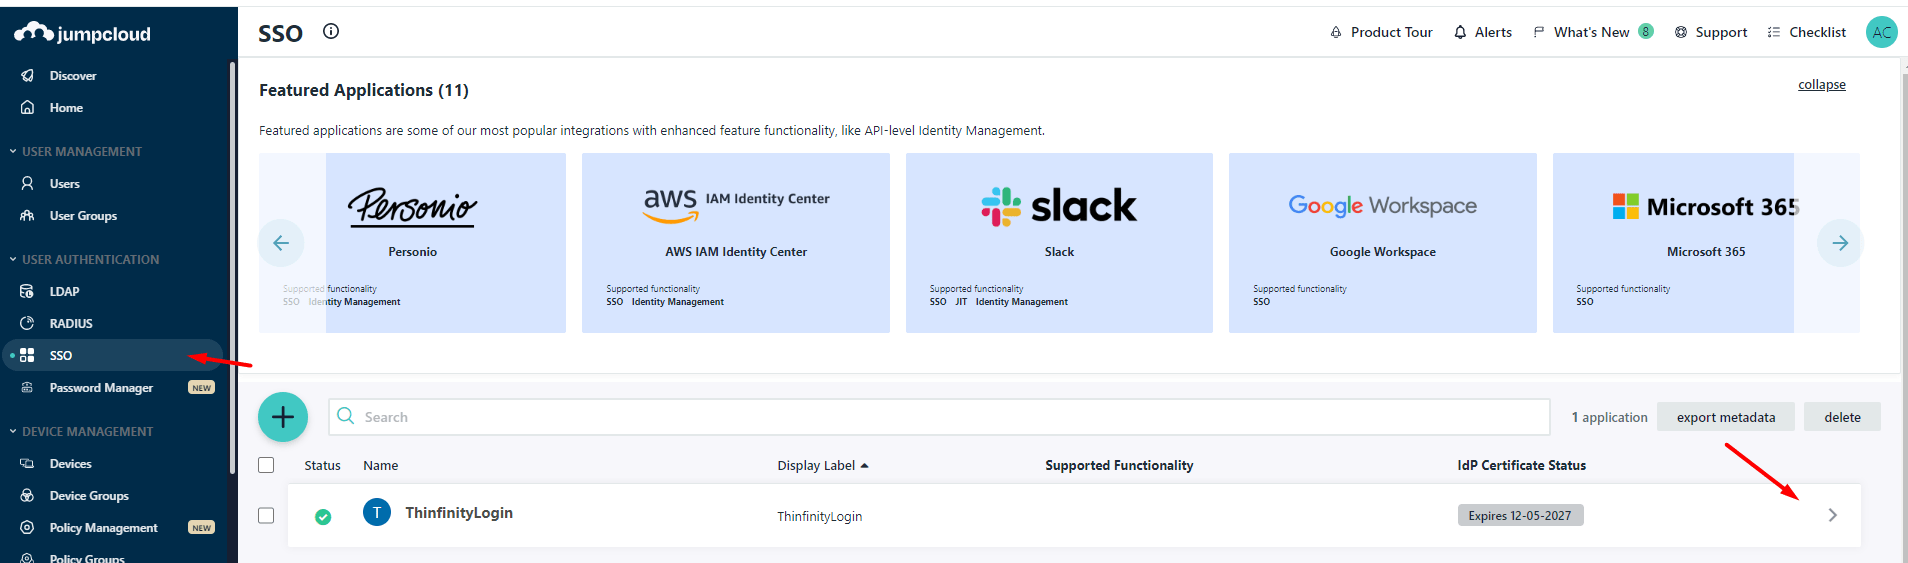
3) Back in your Jumpcloud portal, go to SSO in the side panel and click your, now created, ‘App login’:
Click on SSO and on the left panel you will be able to download the previously mentioned ‘Partner Certificate’:
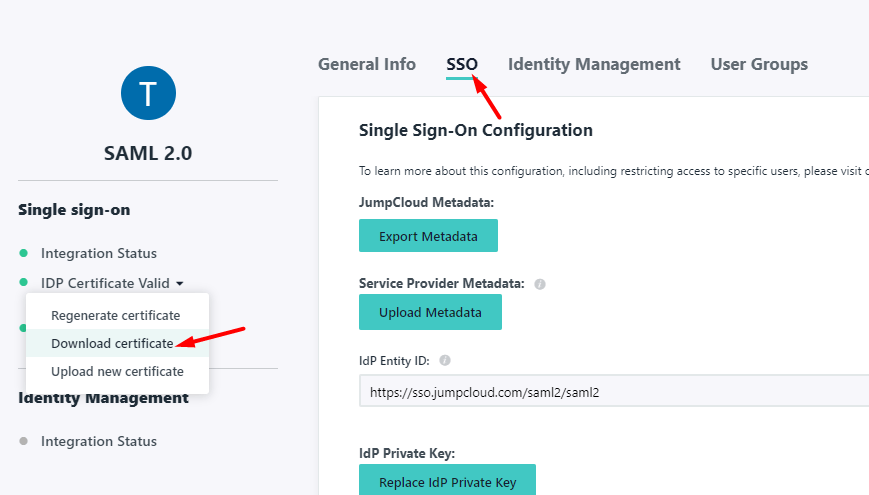
Make sure to save it and then declare it properly in your ‘Thinfinity Workspace/VirtualUI’ Manager:

Now we need to create the user(s) in Jumpcloud that are able to access the app, go to ‘Users Group’ and click the + button:
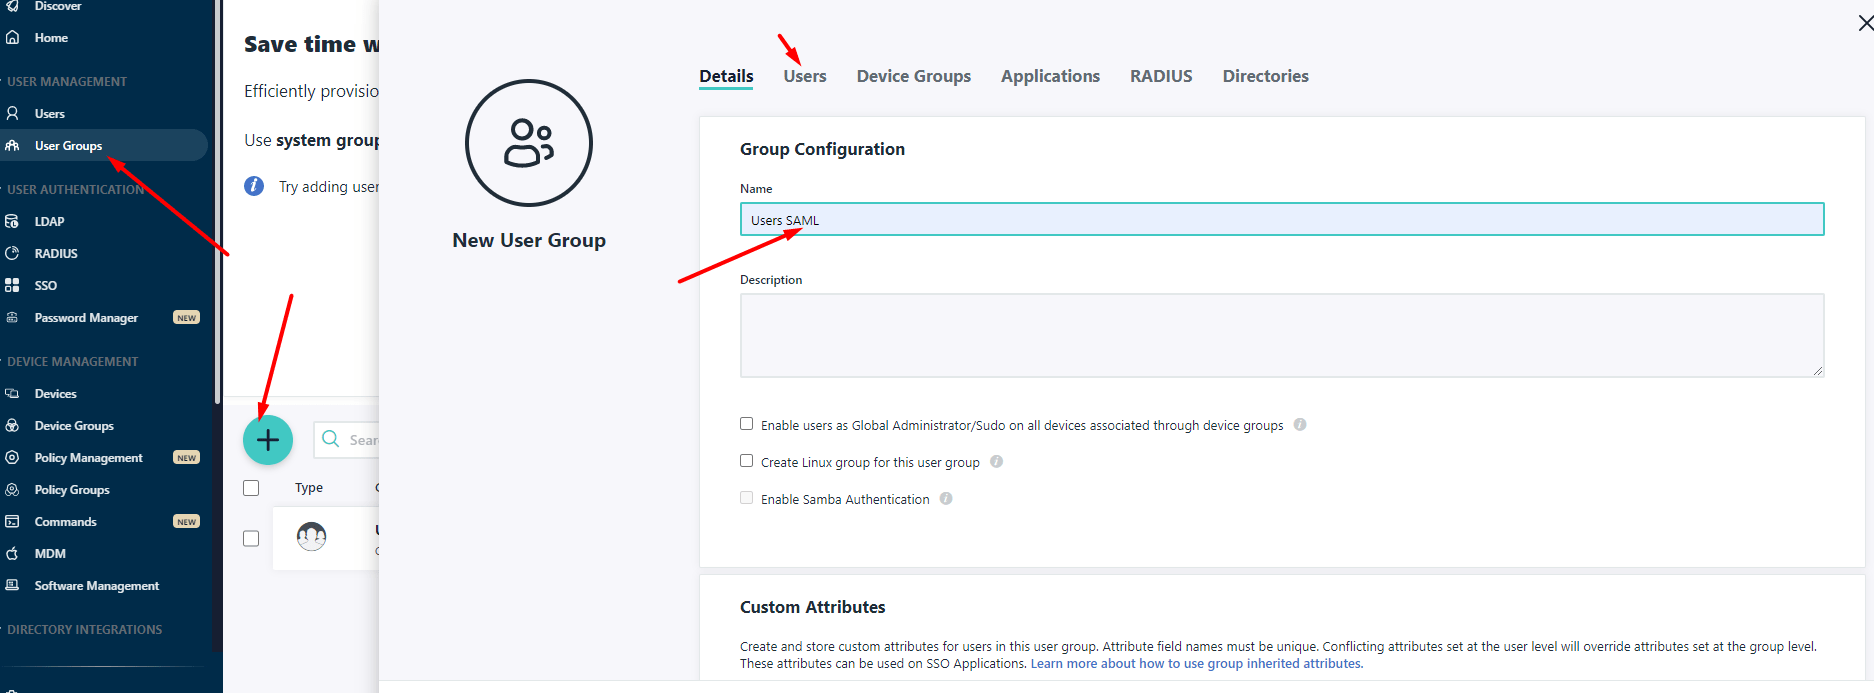
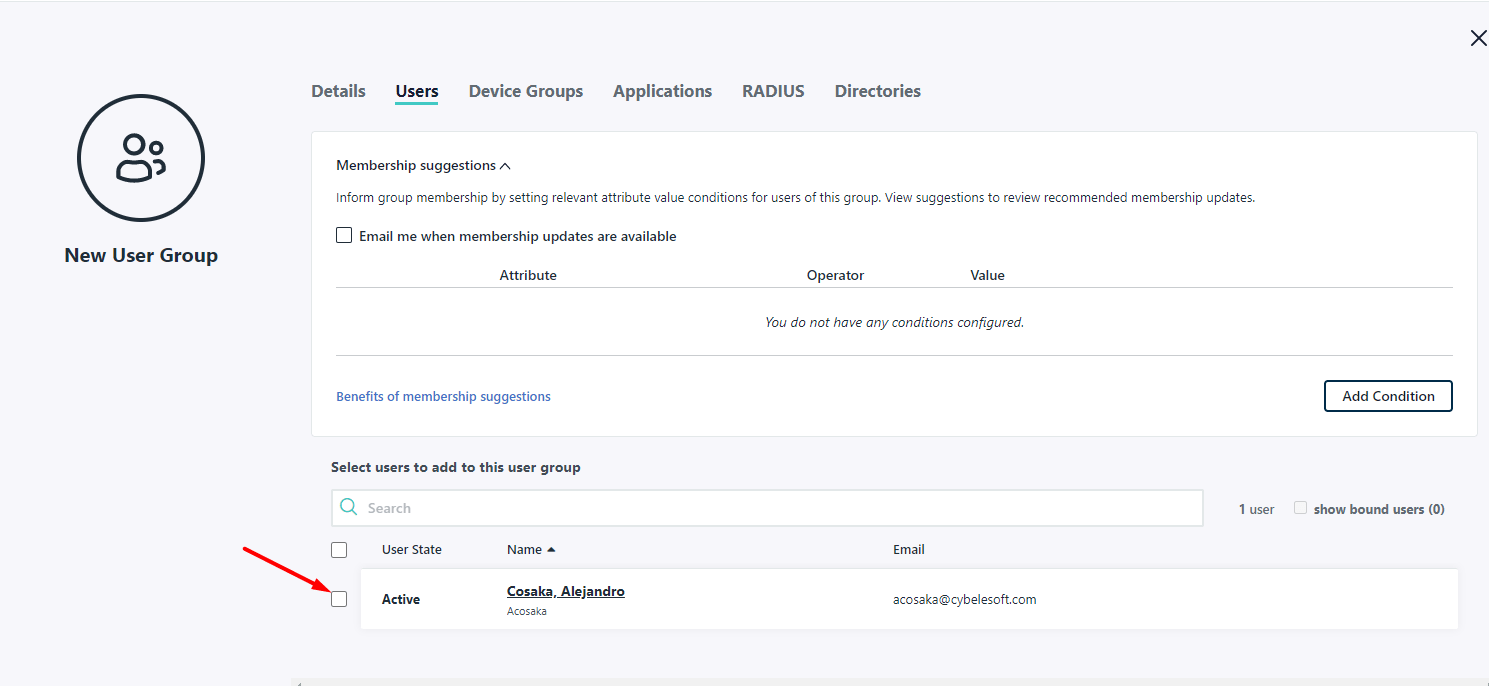
Create a user group with any name you wish, then go to the ‘Users’ tab and add whichever users you want to the group:
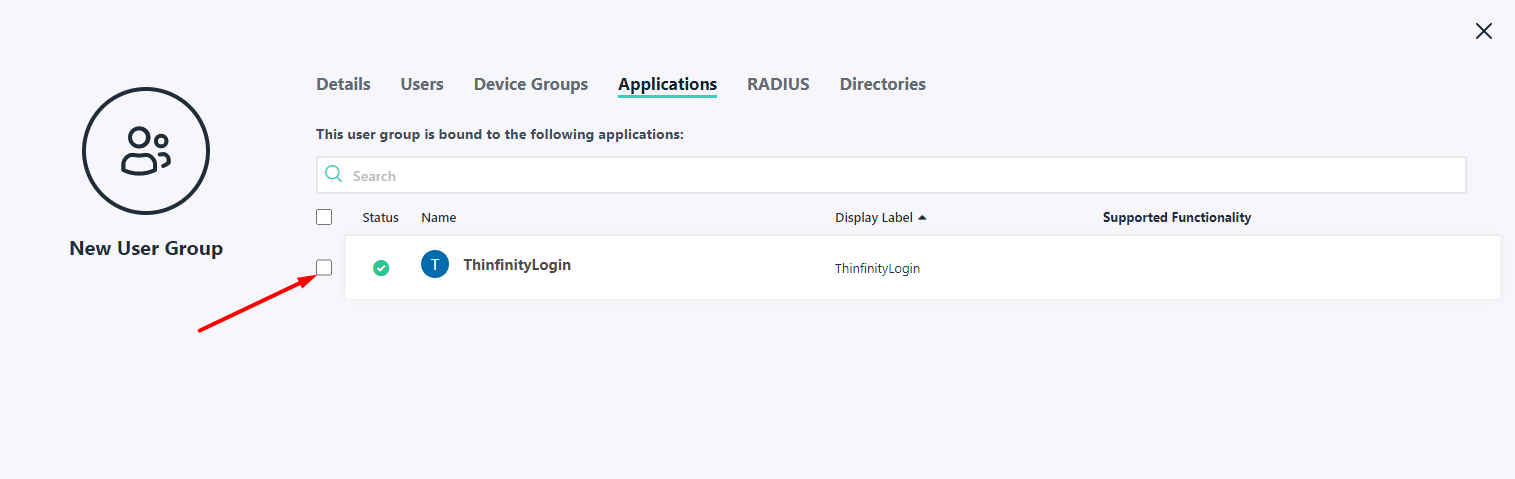
Now, click the ‘Applications’ tab and select the ‘App’ access we just created to link it to the user group:
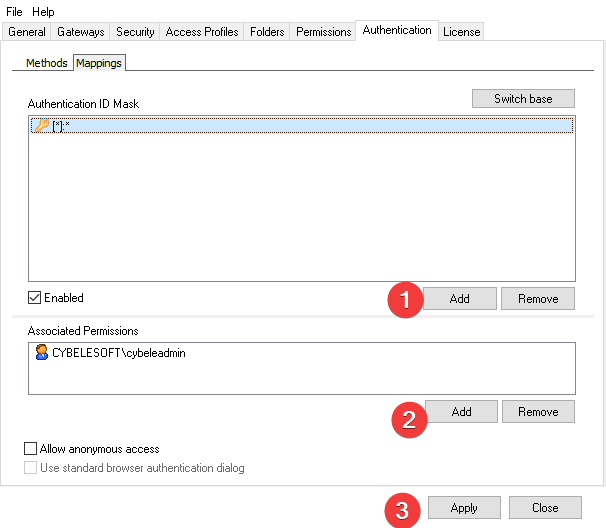
5) Back on the ‘Thinfinity Workspace/VirtualUI’ Manager, click on the ‘Mappings’ tab, and press the first ‘Add’:
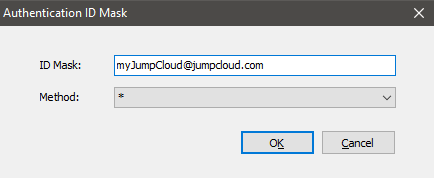
The ‘Authentication ID Mask’ must match the user sent from JumpCloud, for example:
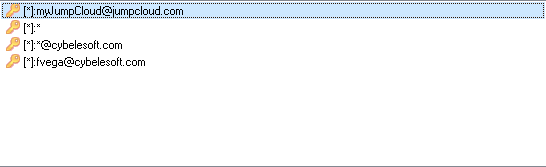
Click ‘Ok’. You should now see the user in the ‘Authentication ID Mask’ list. Below, you’ll find different examples of how you can integrate it:
Click on the user you added, and press on the second ‘Add’. The ‘Select Users or Group’ window will be displayed.
Here, you will map the ‘External’ user (the JumpCloud credentials) to an ‘Internal’ user (Windows user) , so that Thinfinity can specify which ‘Access Profile’ will be displayed to each ‘external’ user. (‘Permissions’ tab in the ‘Access Profile Editor’):
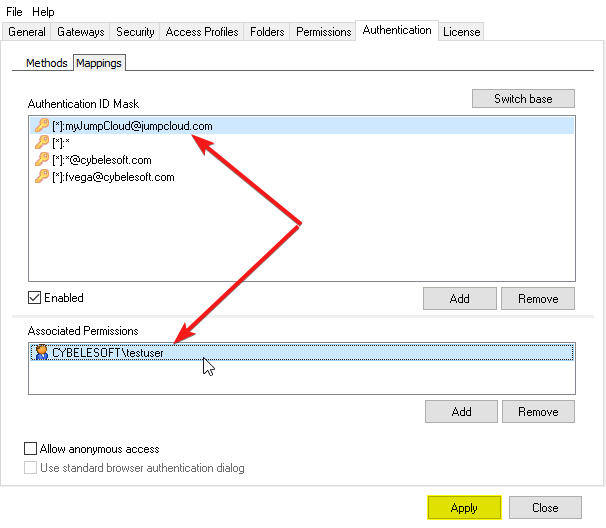
Click ‘Apply’.
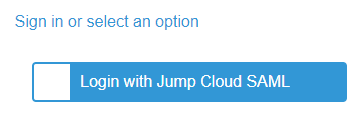
6) Navigate to the Thinfinity URL, and you should see the new authentication method:
If JumpCloud SAML is the only authentication method, then Thinfinity will redirect you directly to the JumpCloud login page: