
Do you require a Load Balancing environment? This article will briefly describe how to configure Thinfinity Virtual UI 3.0 components to cover your needs.
First, we’ll install the gateway component on our Gateway Server, and then our broker component on our Broker Server.
Gateway Server
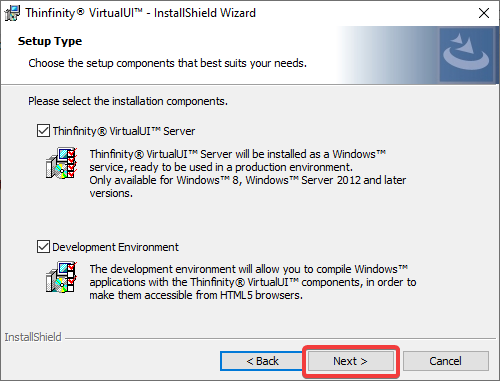
Open the Thinfinity VirtualUI installer. Click on Next:

Select “I accept the terms in the license agreement” and click Next.

Check “Thinfinity VirtualUI Server” and click “Next”:
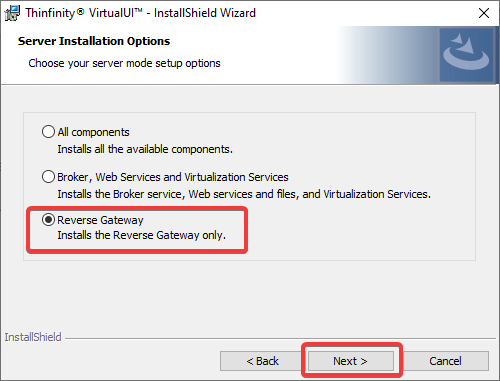
Select “ Reverse Gateway” and click on Next:
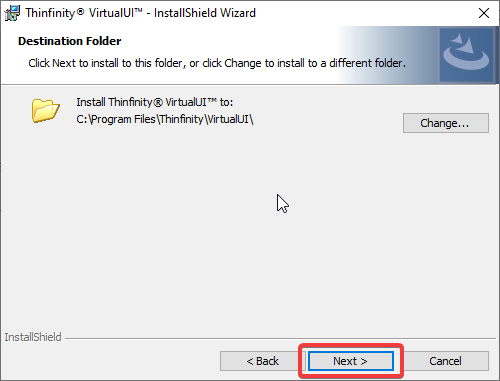
Choose a destination folder and click on Next:
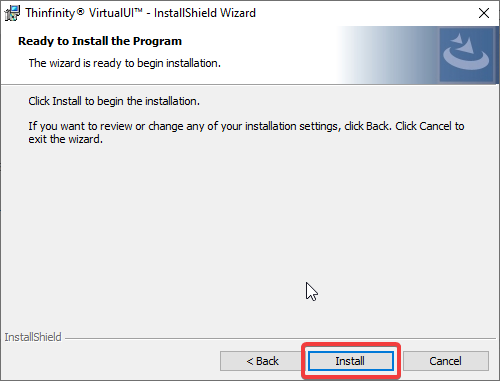
Now that everything is configured, click on Install:

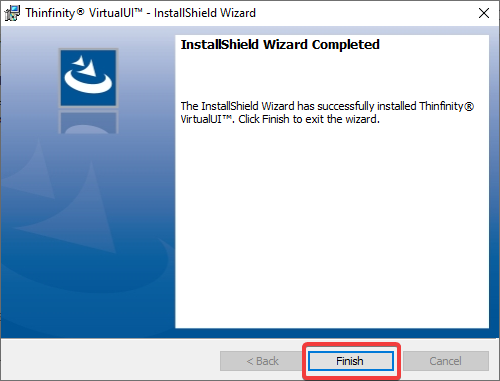
Once the installation has been completed, click on “Finish”
Broker Server
Open the Thinfinity VirtualUI installer. Click on Next:

Select “I accept the terms in the license agreement” and click Next.

Check “Thinfinity VirtualUI Server” and click “Next” :

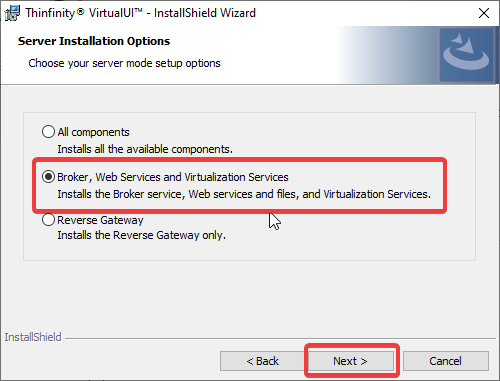
Select “Broker, Web Services and Virtualization Services” and click on Next:
Choose a destination folder and click on Next:

Now that everything is configured, click on Install:
Once the installation has been completed, click on “Finish”.

To guarantee that the load balancing configuration will work correctly, the main configuration items we have to look at are:
-
- The Network ID.
- IP Bindings (in the Gateway Manager).
- The Gateway URL (in the Broker Server).
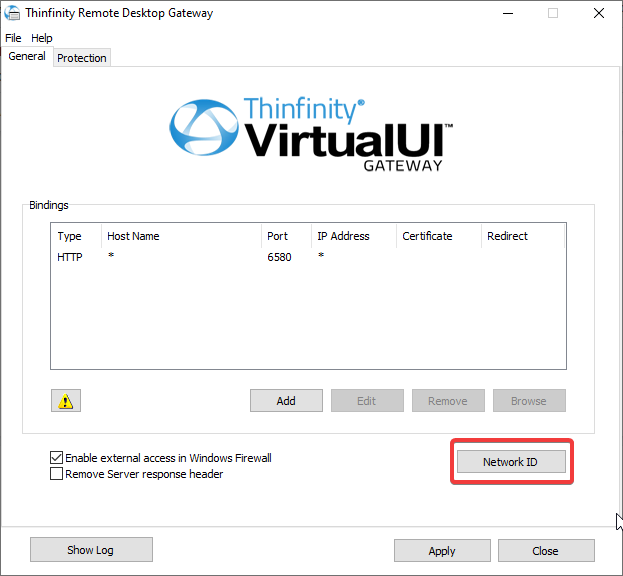
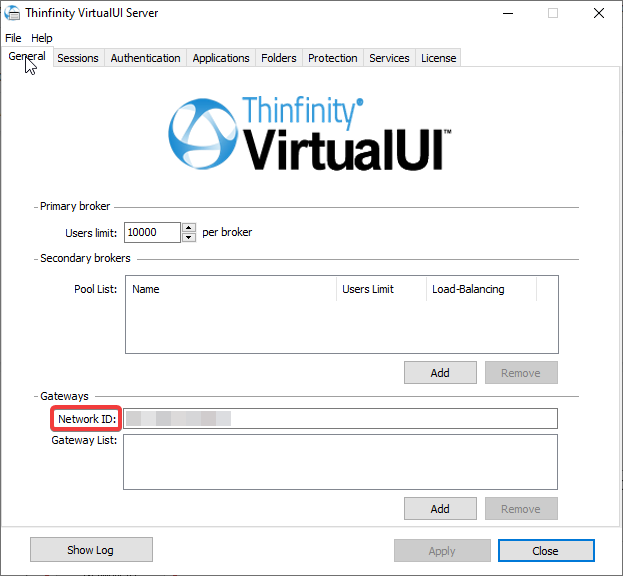
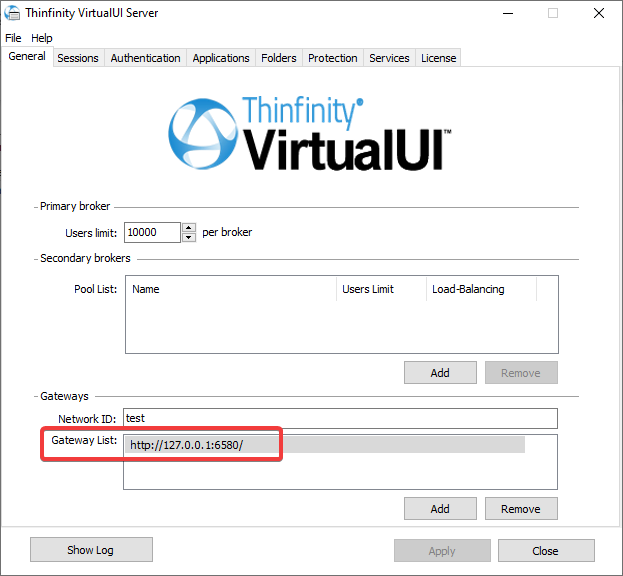
The Network ID
The ‘Network ID’ must be the same across all gateway(s) and broker(s) components.
You can modify the Network ID to any value since it doesn’t follow a specific format.
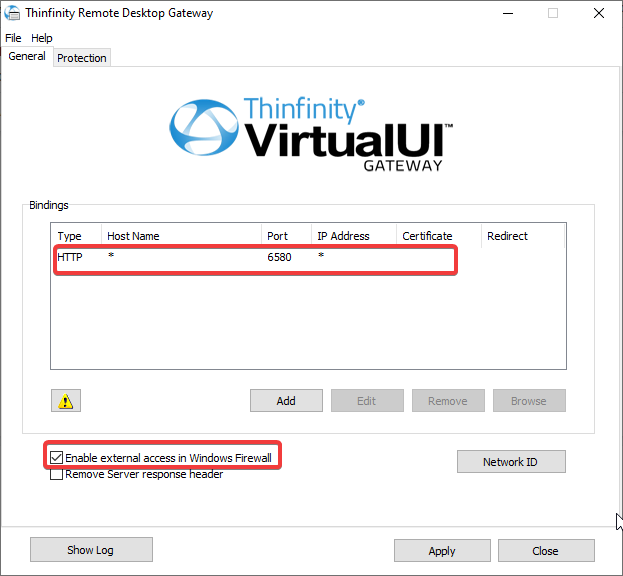
IP Bindings
In the General tab, we will configure the Port and Bindings for the user (browser client) to reach Thinfinity Virtual UI. You can do so by selecting the default connection and click edit.
We will also check the box: “Enable external access in Windows Firewall”.
For instance ‘http://Server_IP:6580’ based on the settings below:
The Gateway URL (in the Broker Server)
Now that the gateway is configured all we need to do is add the gateway URLs in the Broker Server Manager:
Configuring the License Server
When installing Thinfinity Virtual UI in a Load Balancing environment you must use our Licensing Server to pool the licenses between the back end broker servers. Below we will see how this is configured.
We will open the License Server Manager on the machine on which the gateway is installed.
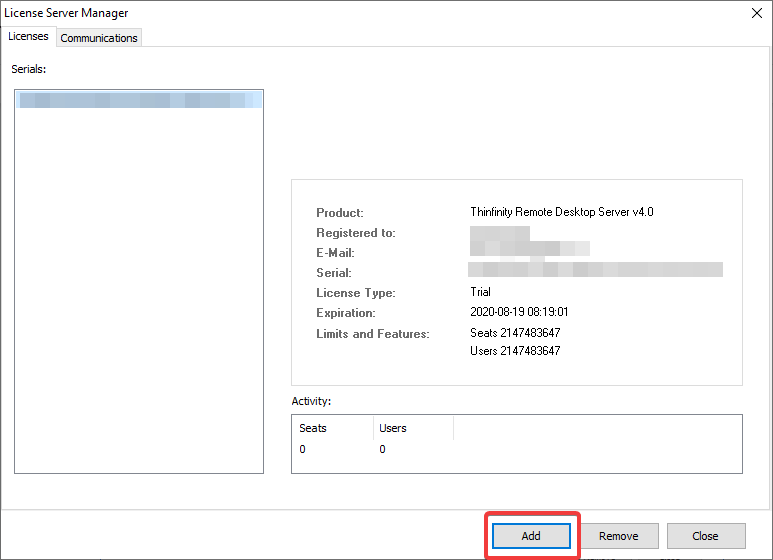
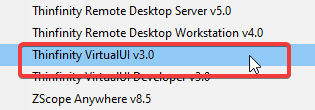
On this screen, we will click add and a menu will open, then select the Thinfinity VirtualUI 3.0:
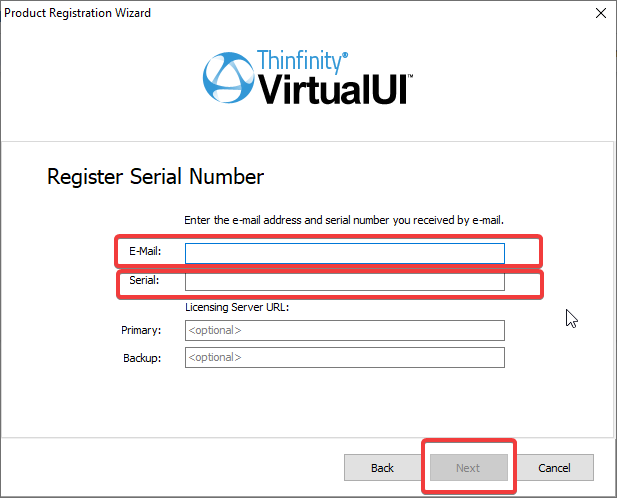
We will choose the activate a Serial Number Online option and press Next.
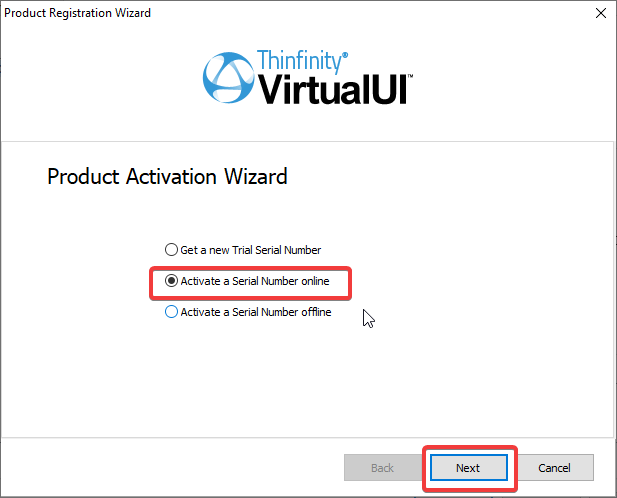
Here we will have to complete the fields Email and Serial and press next.
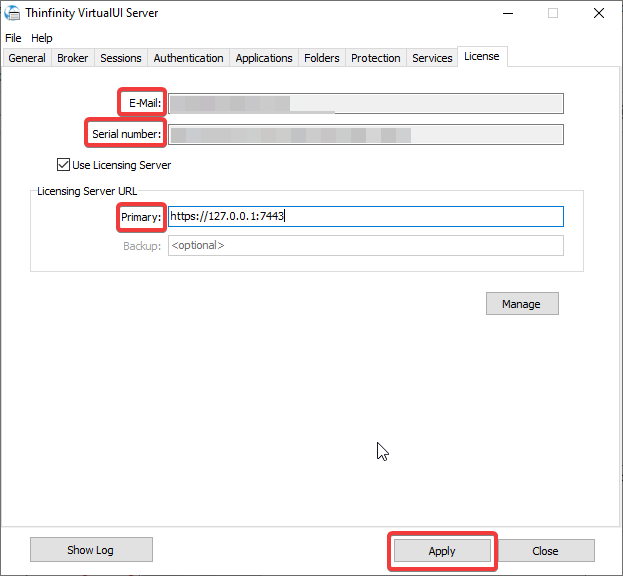
Configuring the License tab
In the license tab, we will configure the email address and serial number registered on the license server manager. We will also write the licensing server URL on the primary field, in that field we will write the URL of the server in which the license server is installed and add port: 7443.
Example: https://Server_IP:7443 .
We will select the use licensing server box.
Click apply and restart the services.
Verifying if the server is connected to the gateway
To verify if the Broker Servers are connected to the Gateway Servers, you can check the log file by clicking on “Show Log”:
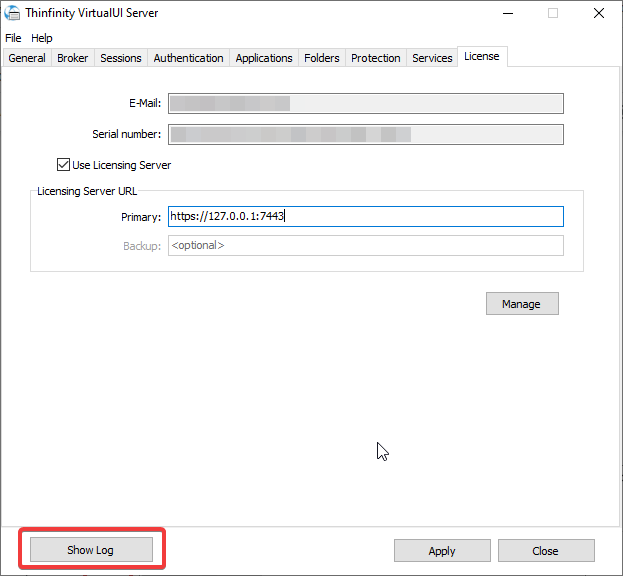
It should say something like this:
Server started. Listening HTTP on port 6580.
Broker: Connecting to http://127.0.0.1:6580/
Broker: Registered on http://127.0.0.1:6580/
Web Server: Connecting to http://127.0.0.1:6580/
Web Server: Registered on http://127.0.0.1:6580/
Bear in mind that if you only install the broker service on a server, you will have to register the license using the license server administrator.
Just to ensure it updates you can restart the Thinfinity® Virtual UI service.
If you have any questions regarding this blog entry, you can leave a comment below or send us an email at support@cybelesoft.com
Share your thoughts!