Thinfinity® Workspace Online is the simplest cloud solution for your digital workspace. With Thinfinity® Workspace Online you can start delivering remote access to ALL applications, desktops, and files in just a few minutes. In this guide, we’ll show you how to install it, set up the wizard, and get your network configured.
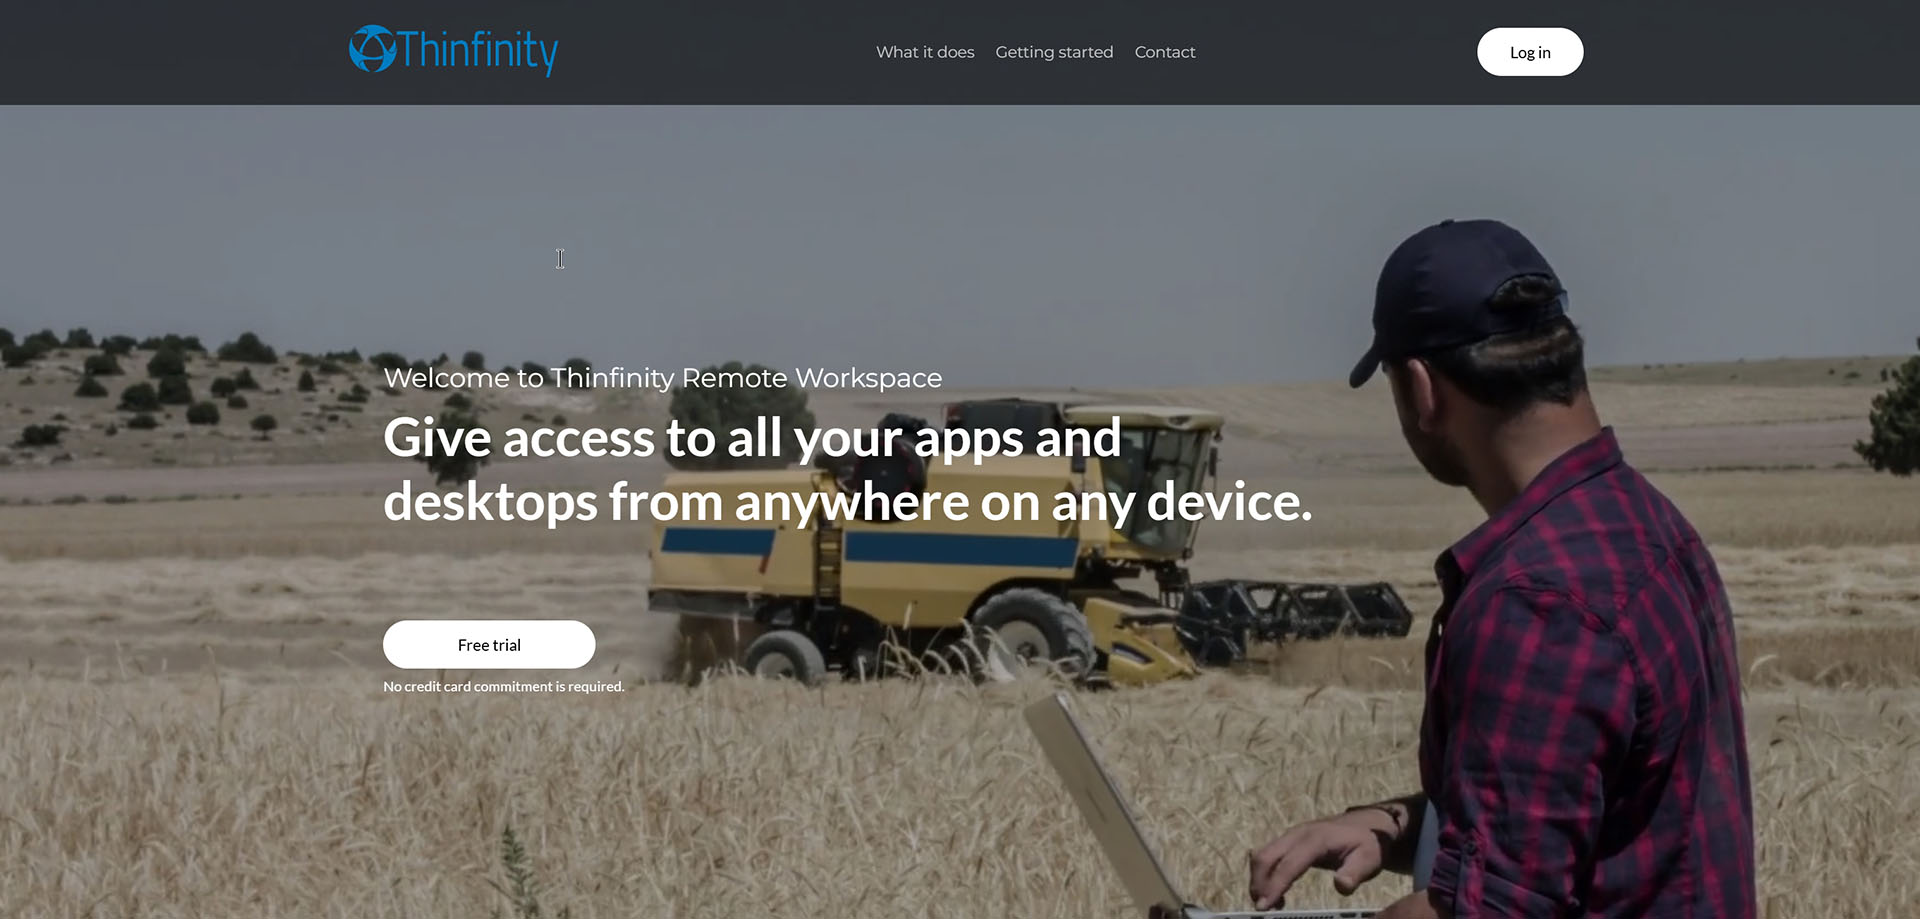
First off, go to online.thinfinity.com and press ‘Log In’:
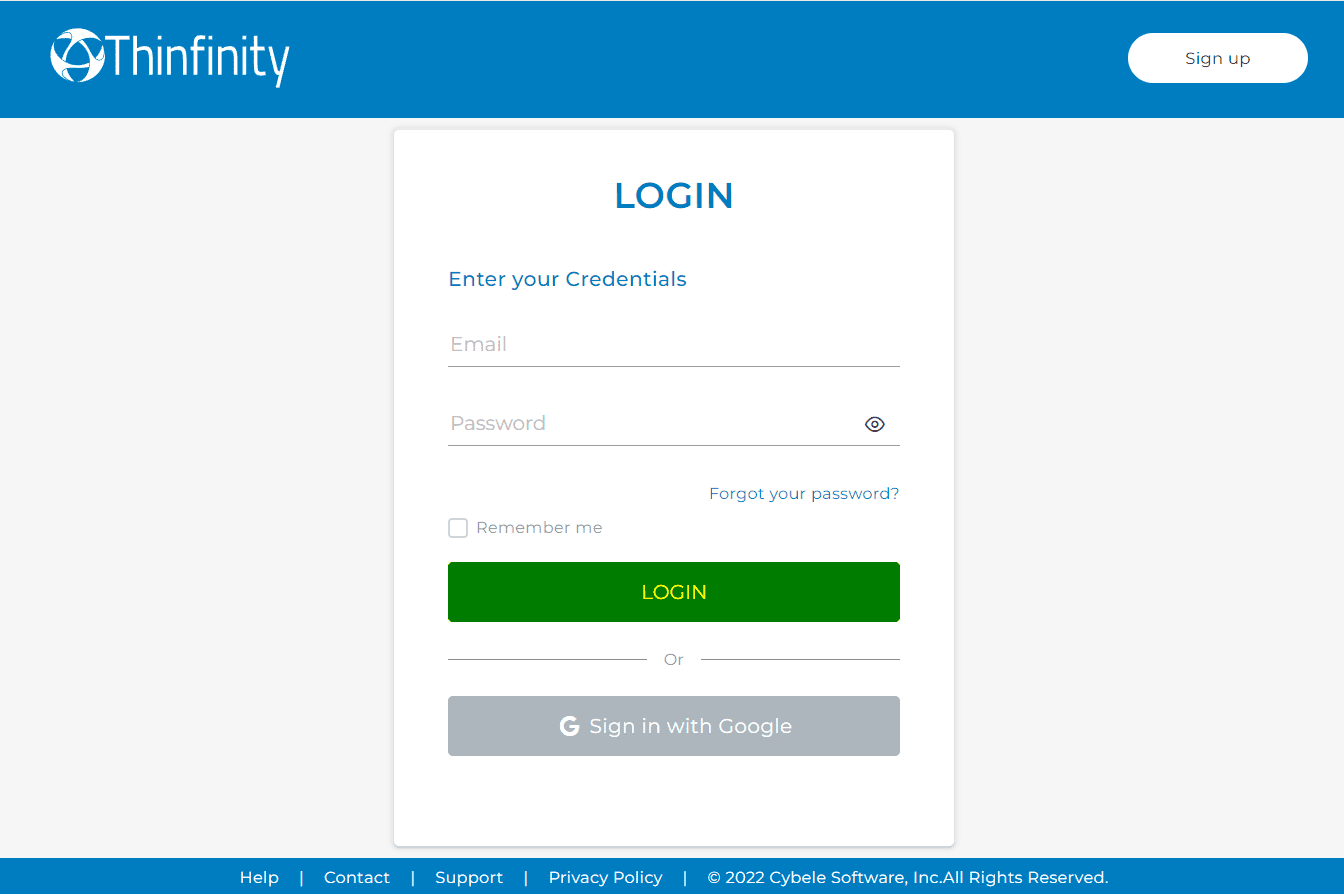
On the next screen, enter your credentials and press ‘Login’. In case you are not registered yet, go to “Sign up” and create your Account:
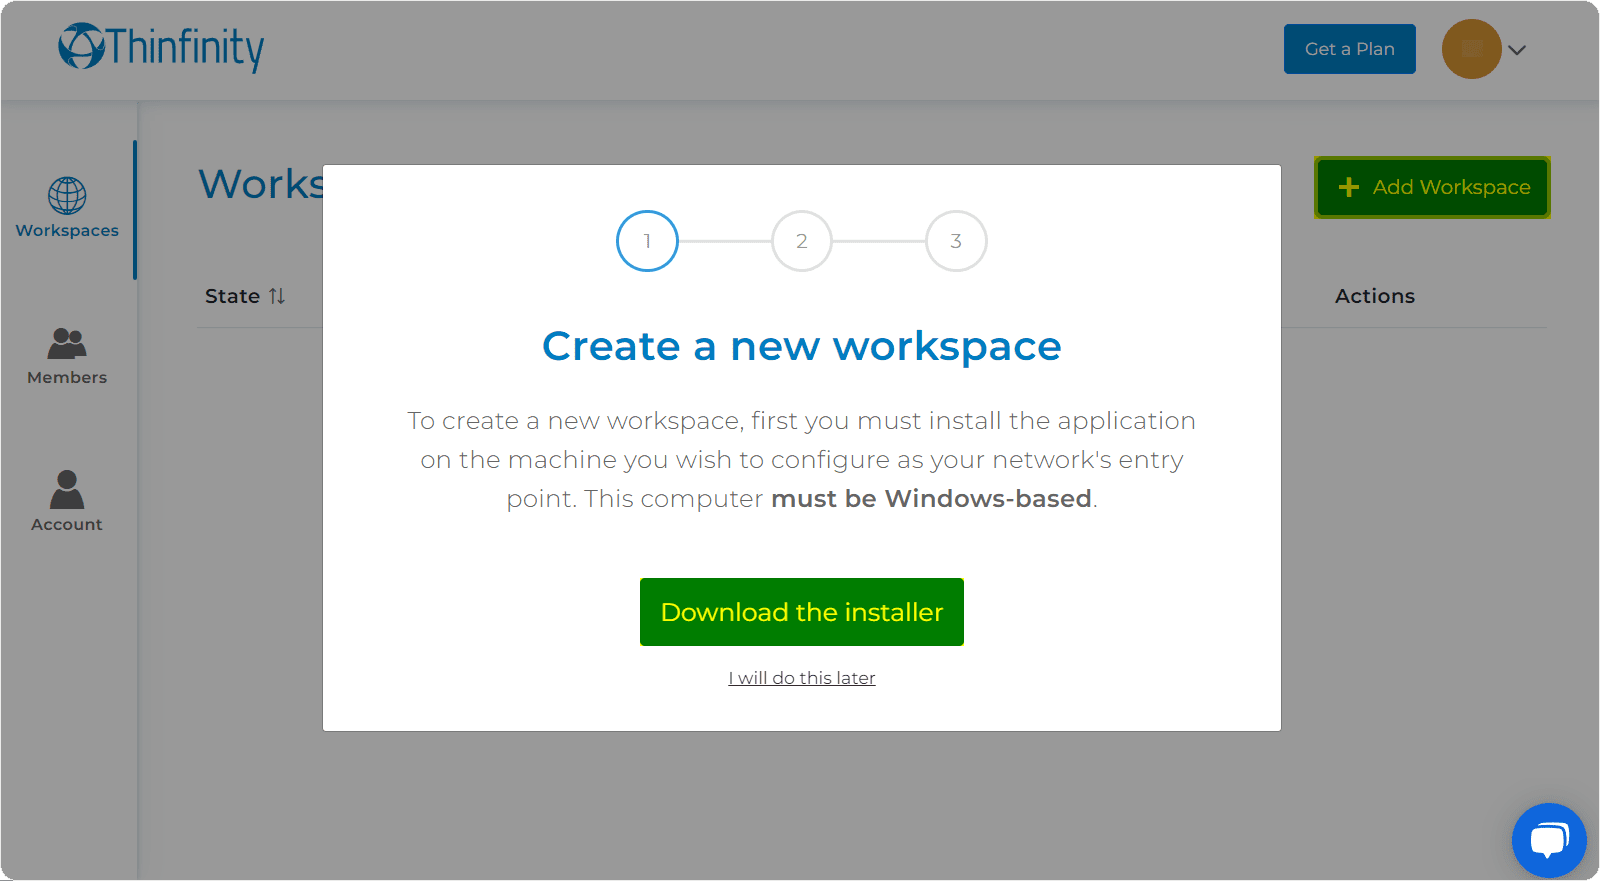
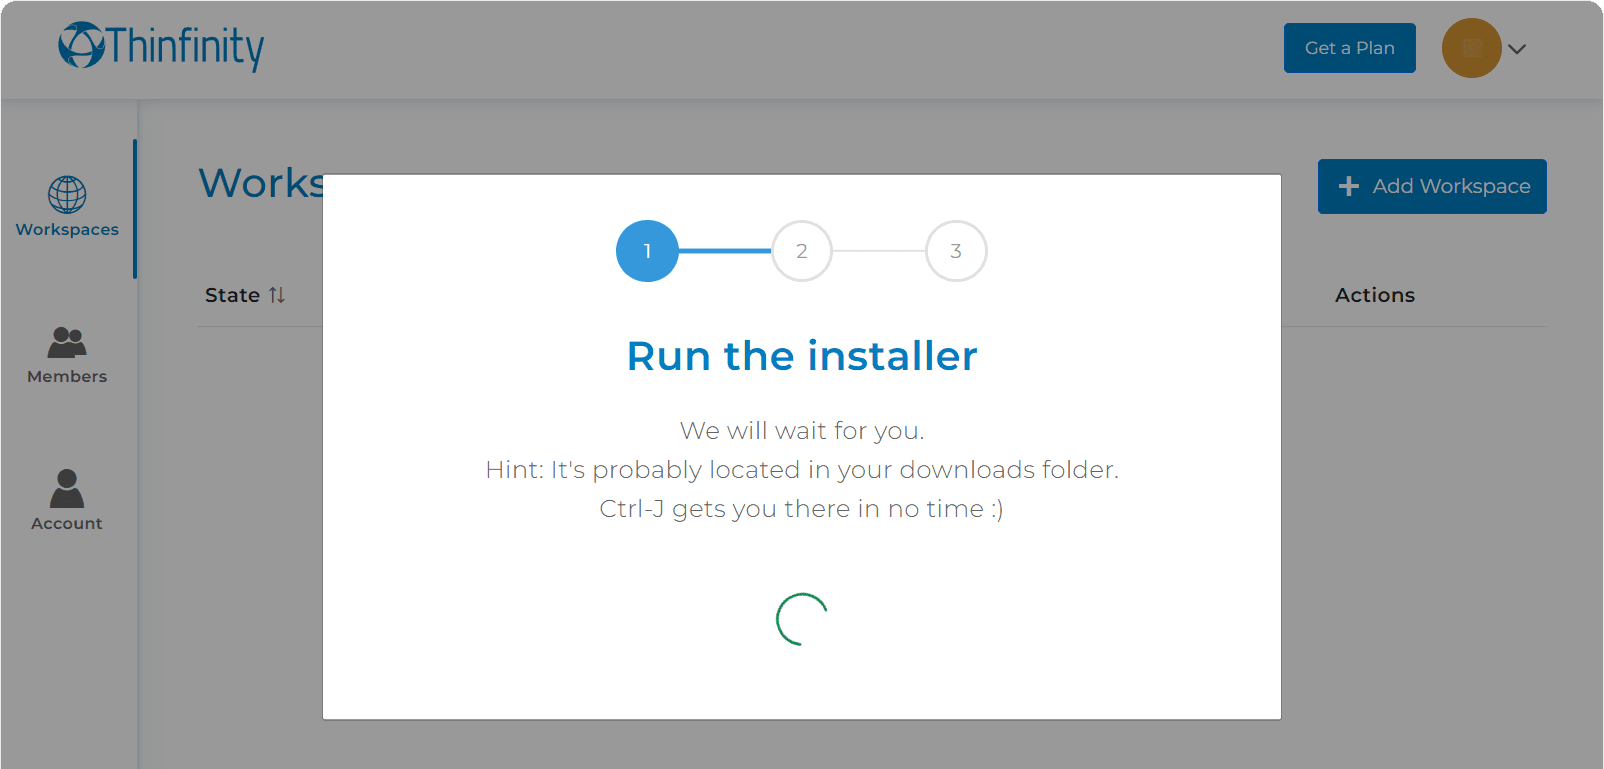
On Workspace Online landing page, go to the ‘Add Workspace’ button. A Pop-up window is displayed, click on ‘Download the installer’ to proceed:
As soon as your download is finished, locate your file and proceed to run it. The installation wizard will wait until the installation process is complete:
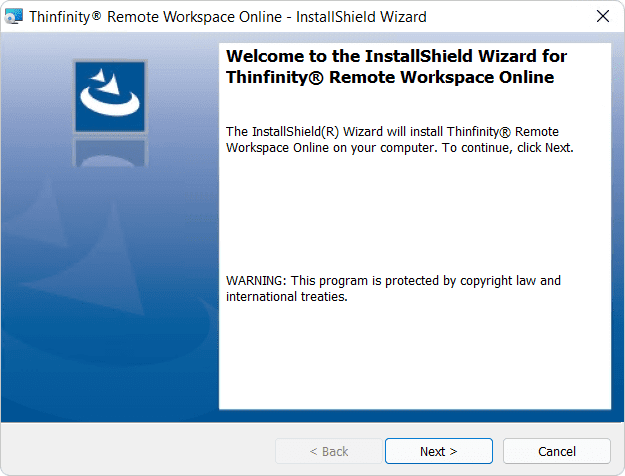
Once you open the installer, click on ‘Next’:
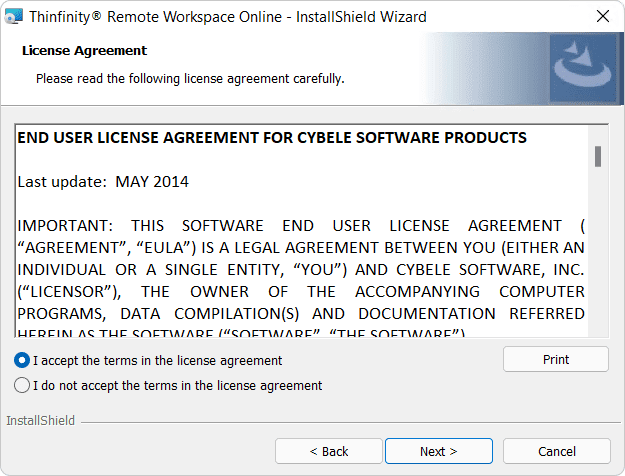
Click on ‘I accept the terms in the license agreement’ then ‘Next’:
Next, choose the Destination Folder:
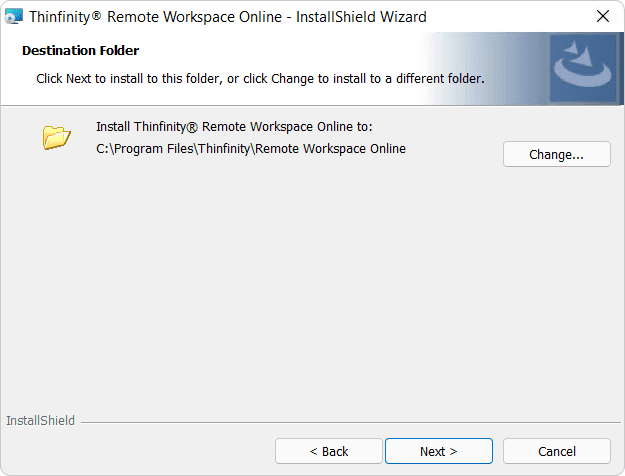
Now click on ‘Install’:

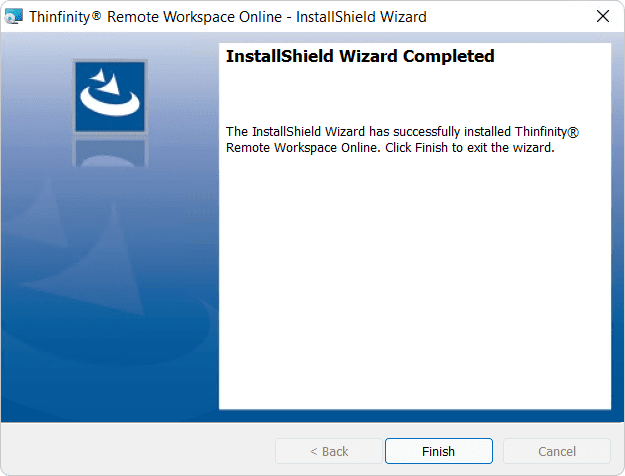
Now that installation is complete, click on ‘Finish’:
Next up, you’ll be prompted to create your first Workspace connection. Here you can select from a range of options such as: Desktop, Application, Web Folder or Terminal. Select and configure the connection type you wish to establish. Note: For the purposes of this article, we’ll be checking the ‘I will set it up later’ option:
![]()
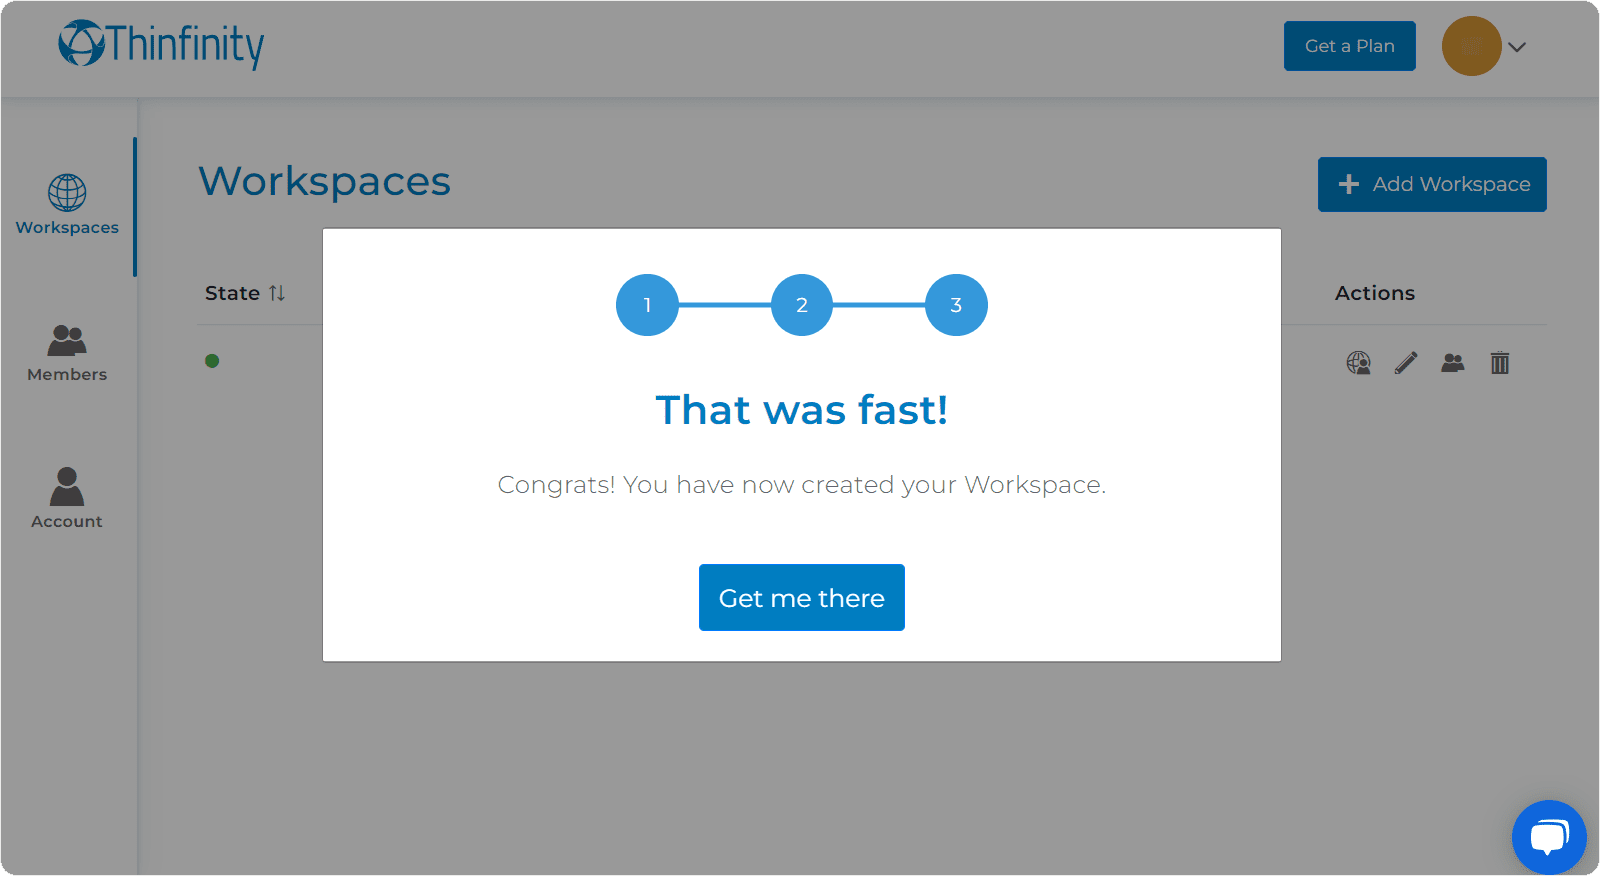
In this instance, you’re on the final configuration for your workspace connection:

Hurray! Now your workspace configuration is complete.
Did you find this post useful? Let us know in the comments!