


Introduction
This Step-by-Step tutorial will guide you through the process of virtualizing your applications and making them accessible via any web browser using Thinfinity® VirtualUI v3.0. Get ready to enjoy cross-platform functionality without the need to rewrite your existing code.
Requirements
To use Thinfinity® VirtualUI you must have access to the source code in order to add a piece of code to the dev project you can find the code example for your specific coding language here.
If you need to publish any third-party Windows-based application to the web, our Thinfinity® Workspace is the ideal solution.
Once you have integrated and tested your application with Thinfinity® VirtualUI on your development machine, the next step is to deploy it on a server.
Step-by-Step Tutorial
To create an application profile, follow these steps:
1. Open the Thinfinity® VirtualUI Server Manager, available in the Start Menu.
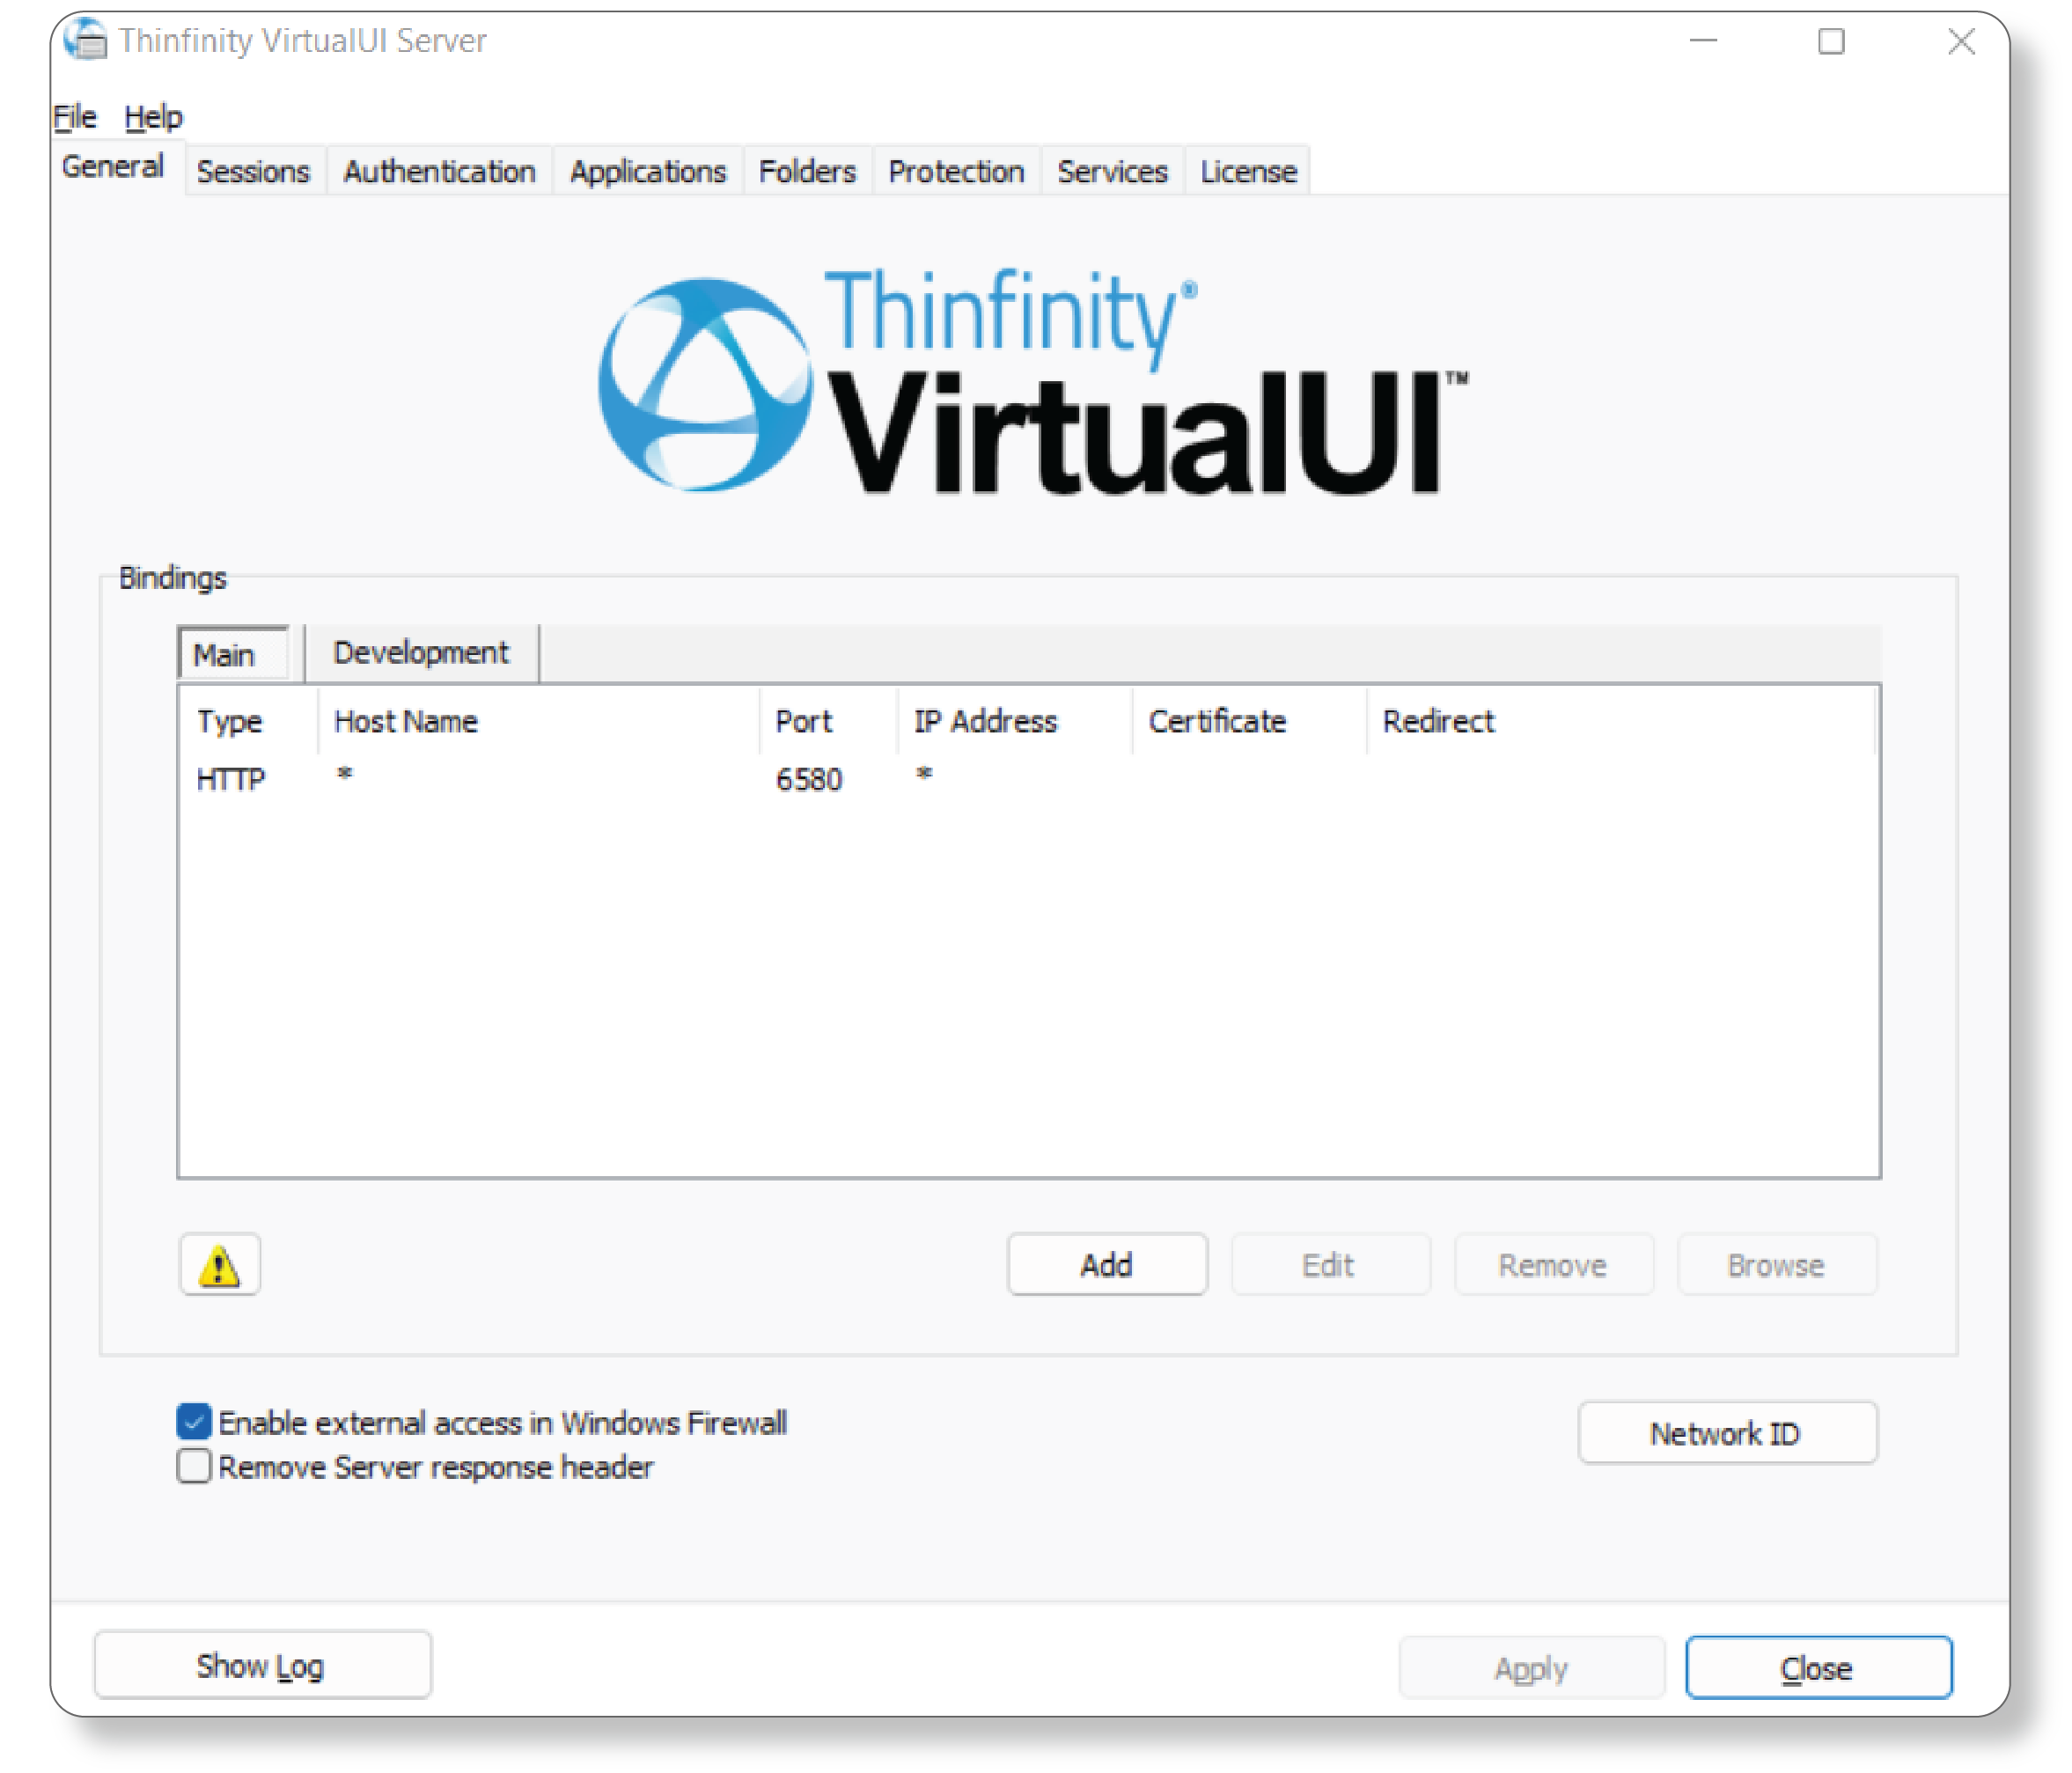
2. Go to the Applications tab and click on the ‘Add’ button.
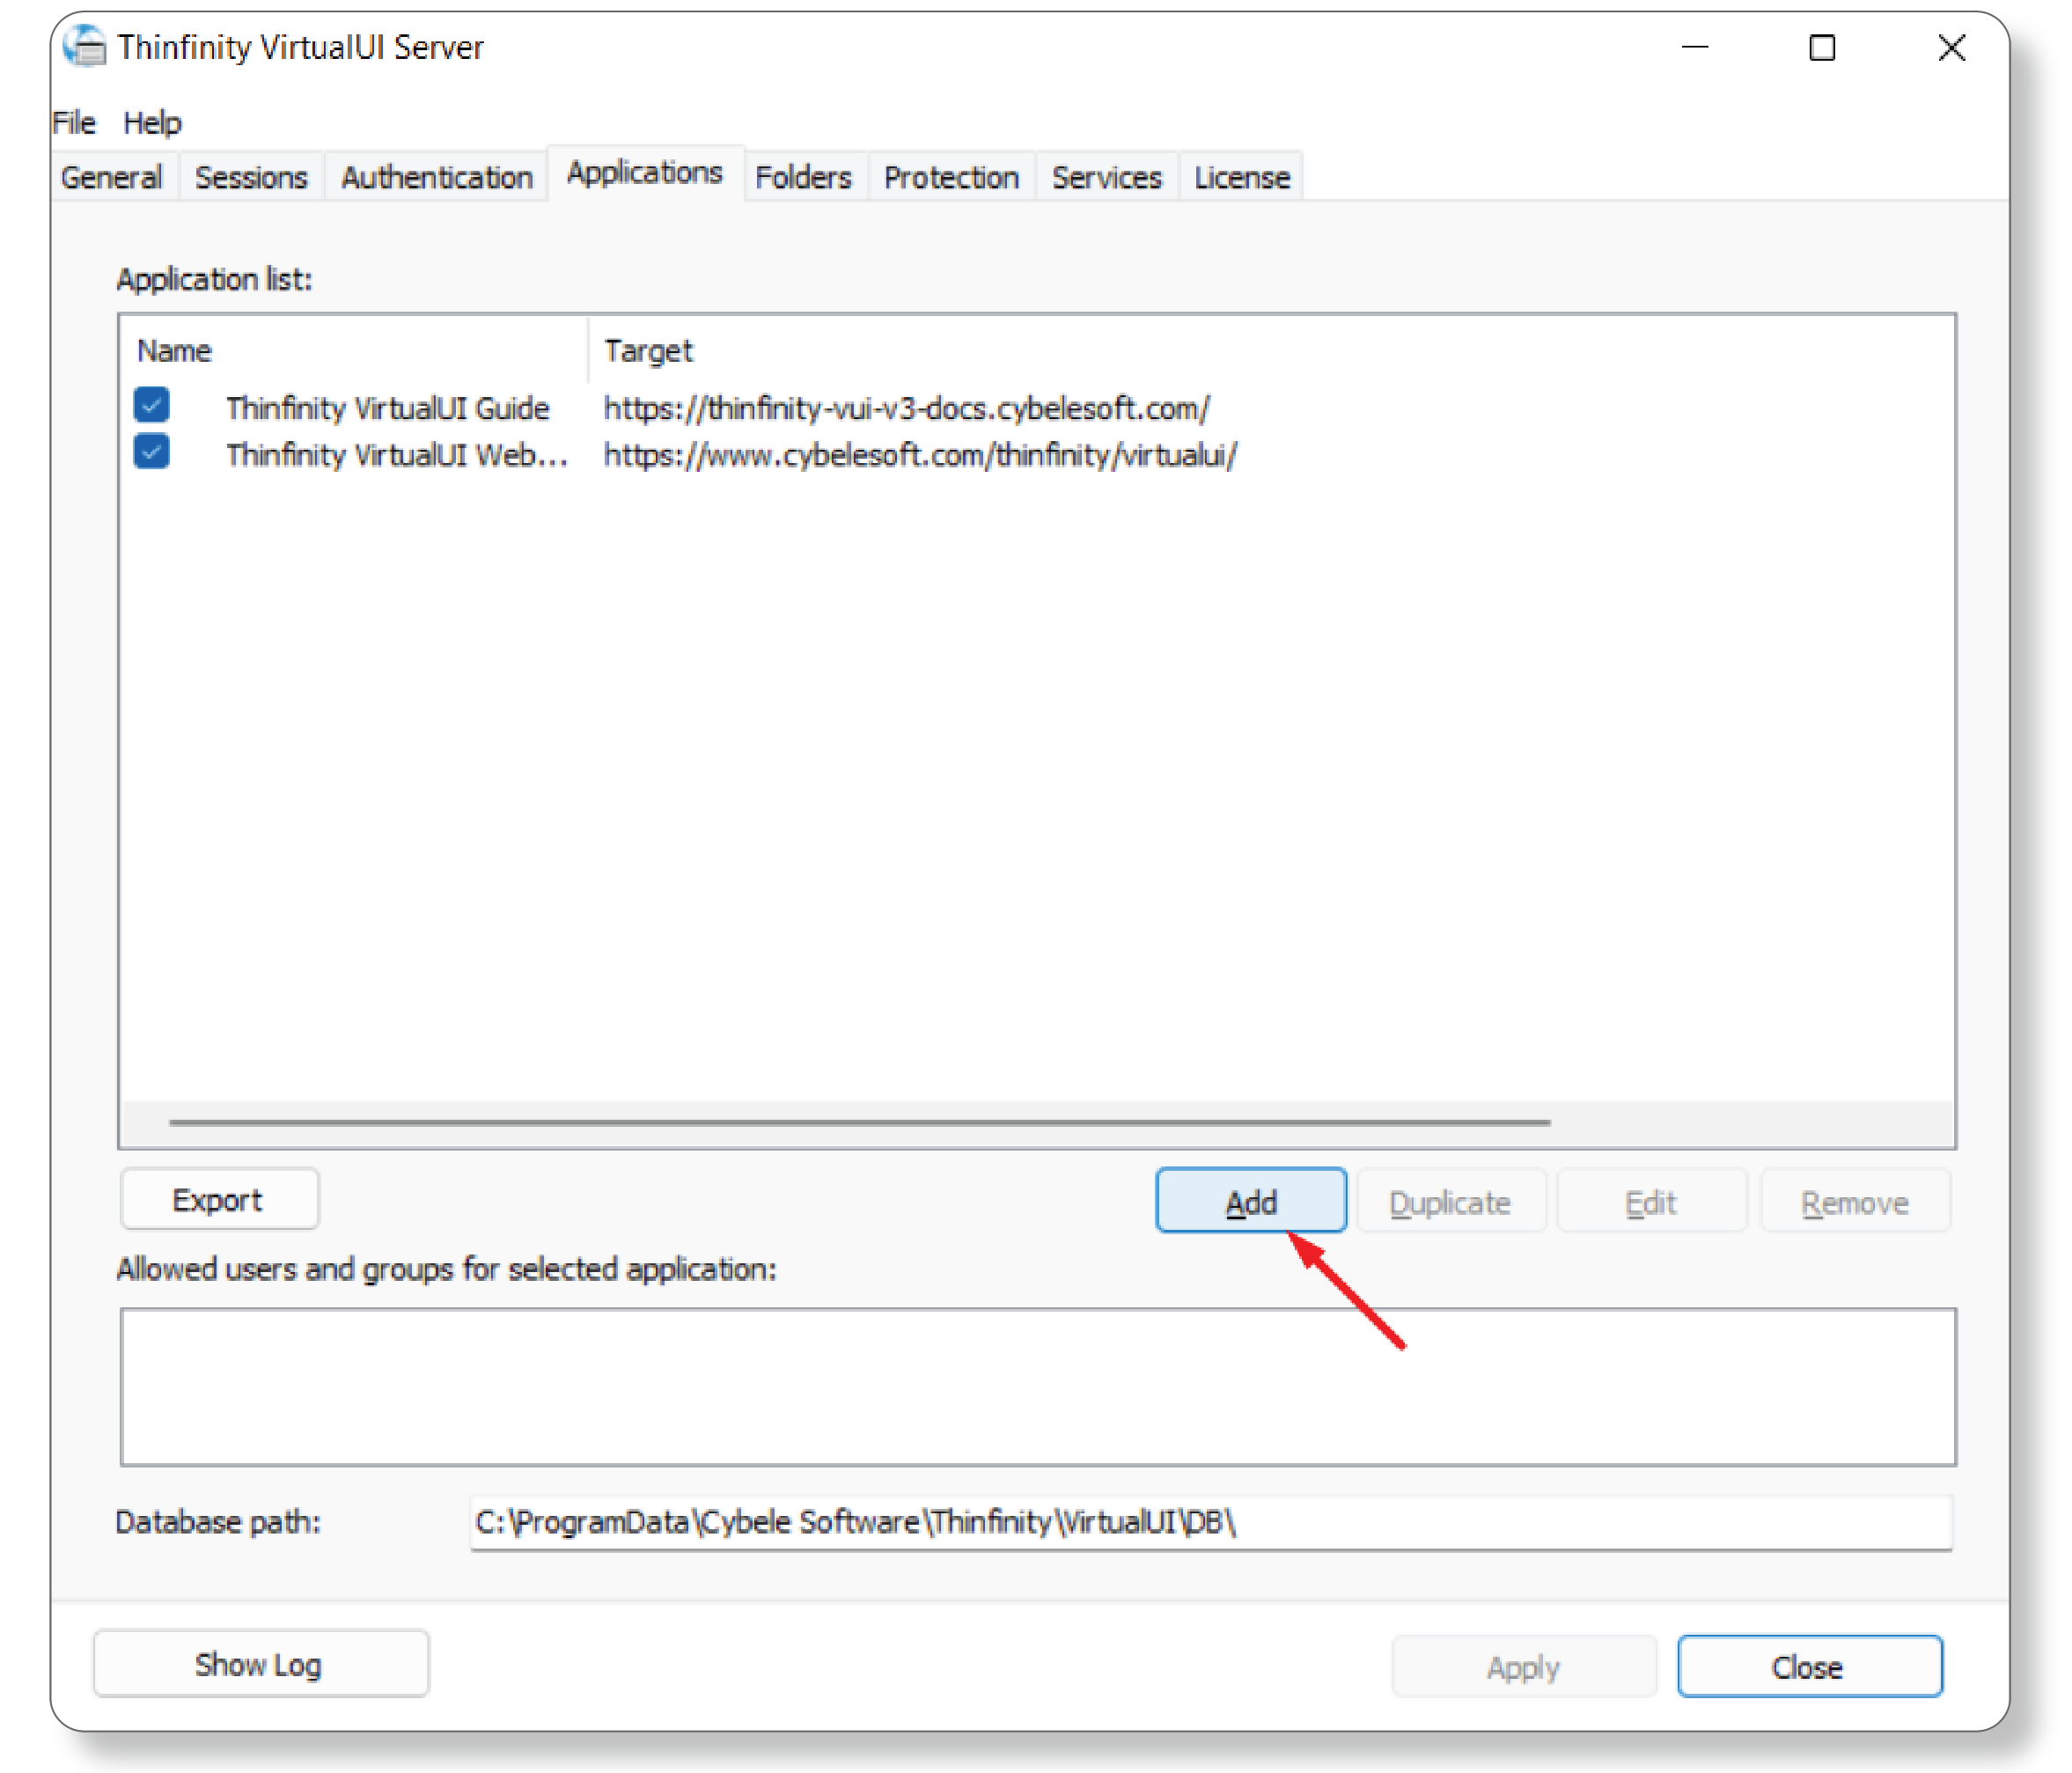
3. Name the application and inform the application path and file name.
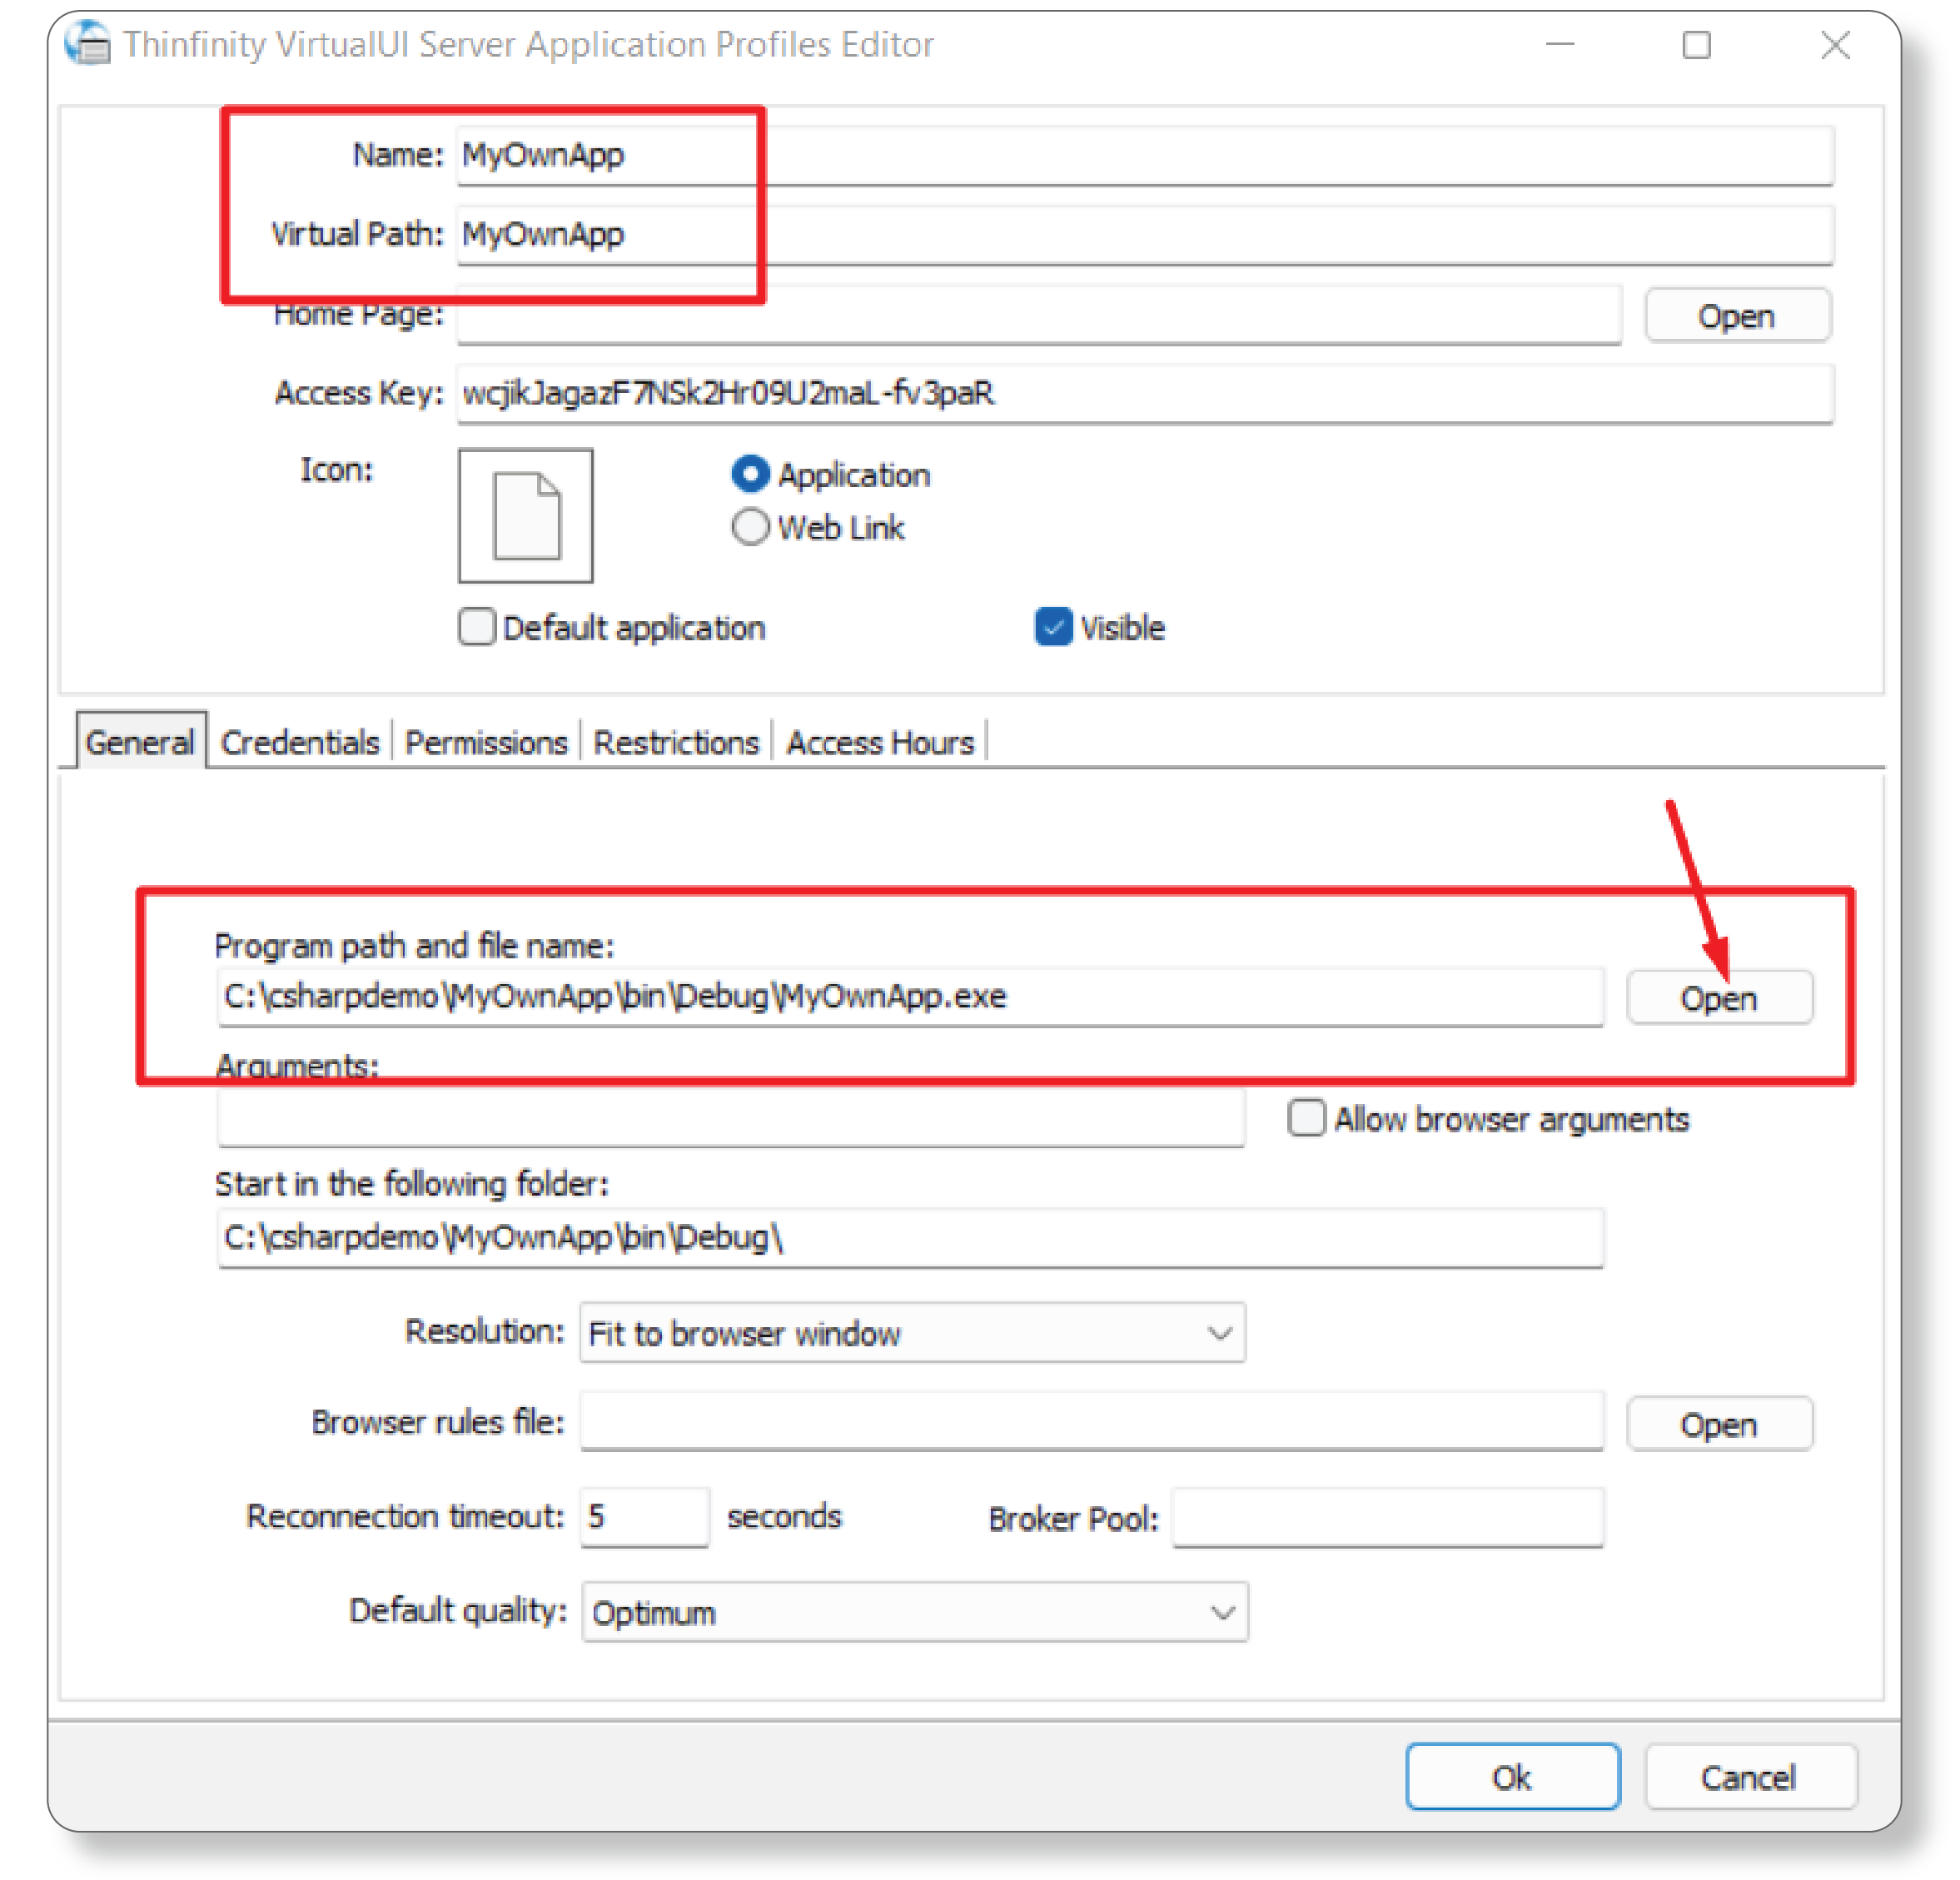
4. You can check the ‘Default Application’ option to bypass the Thinfinity VirtualUI landing page and go directly to the selected profile. You can access the rest of the profiles through their virtual path urls.
You can also add your own icon to the application by clicking on the “None” field next to “Icon”
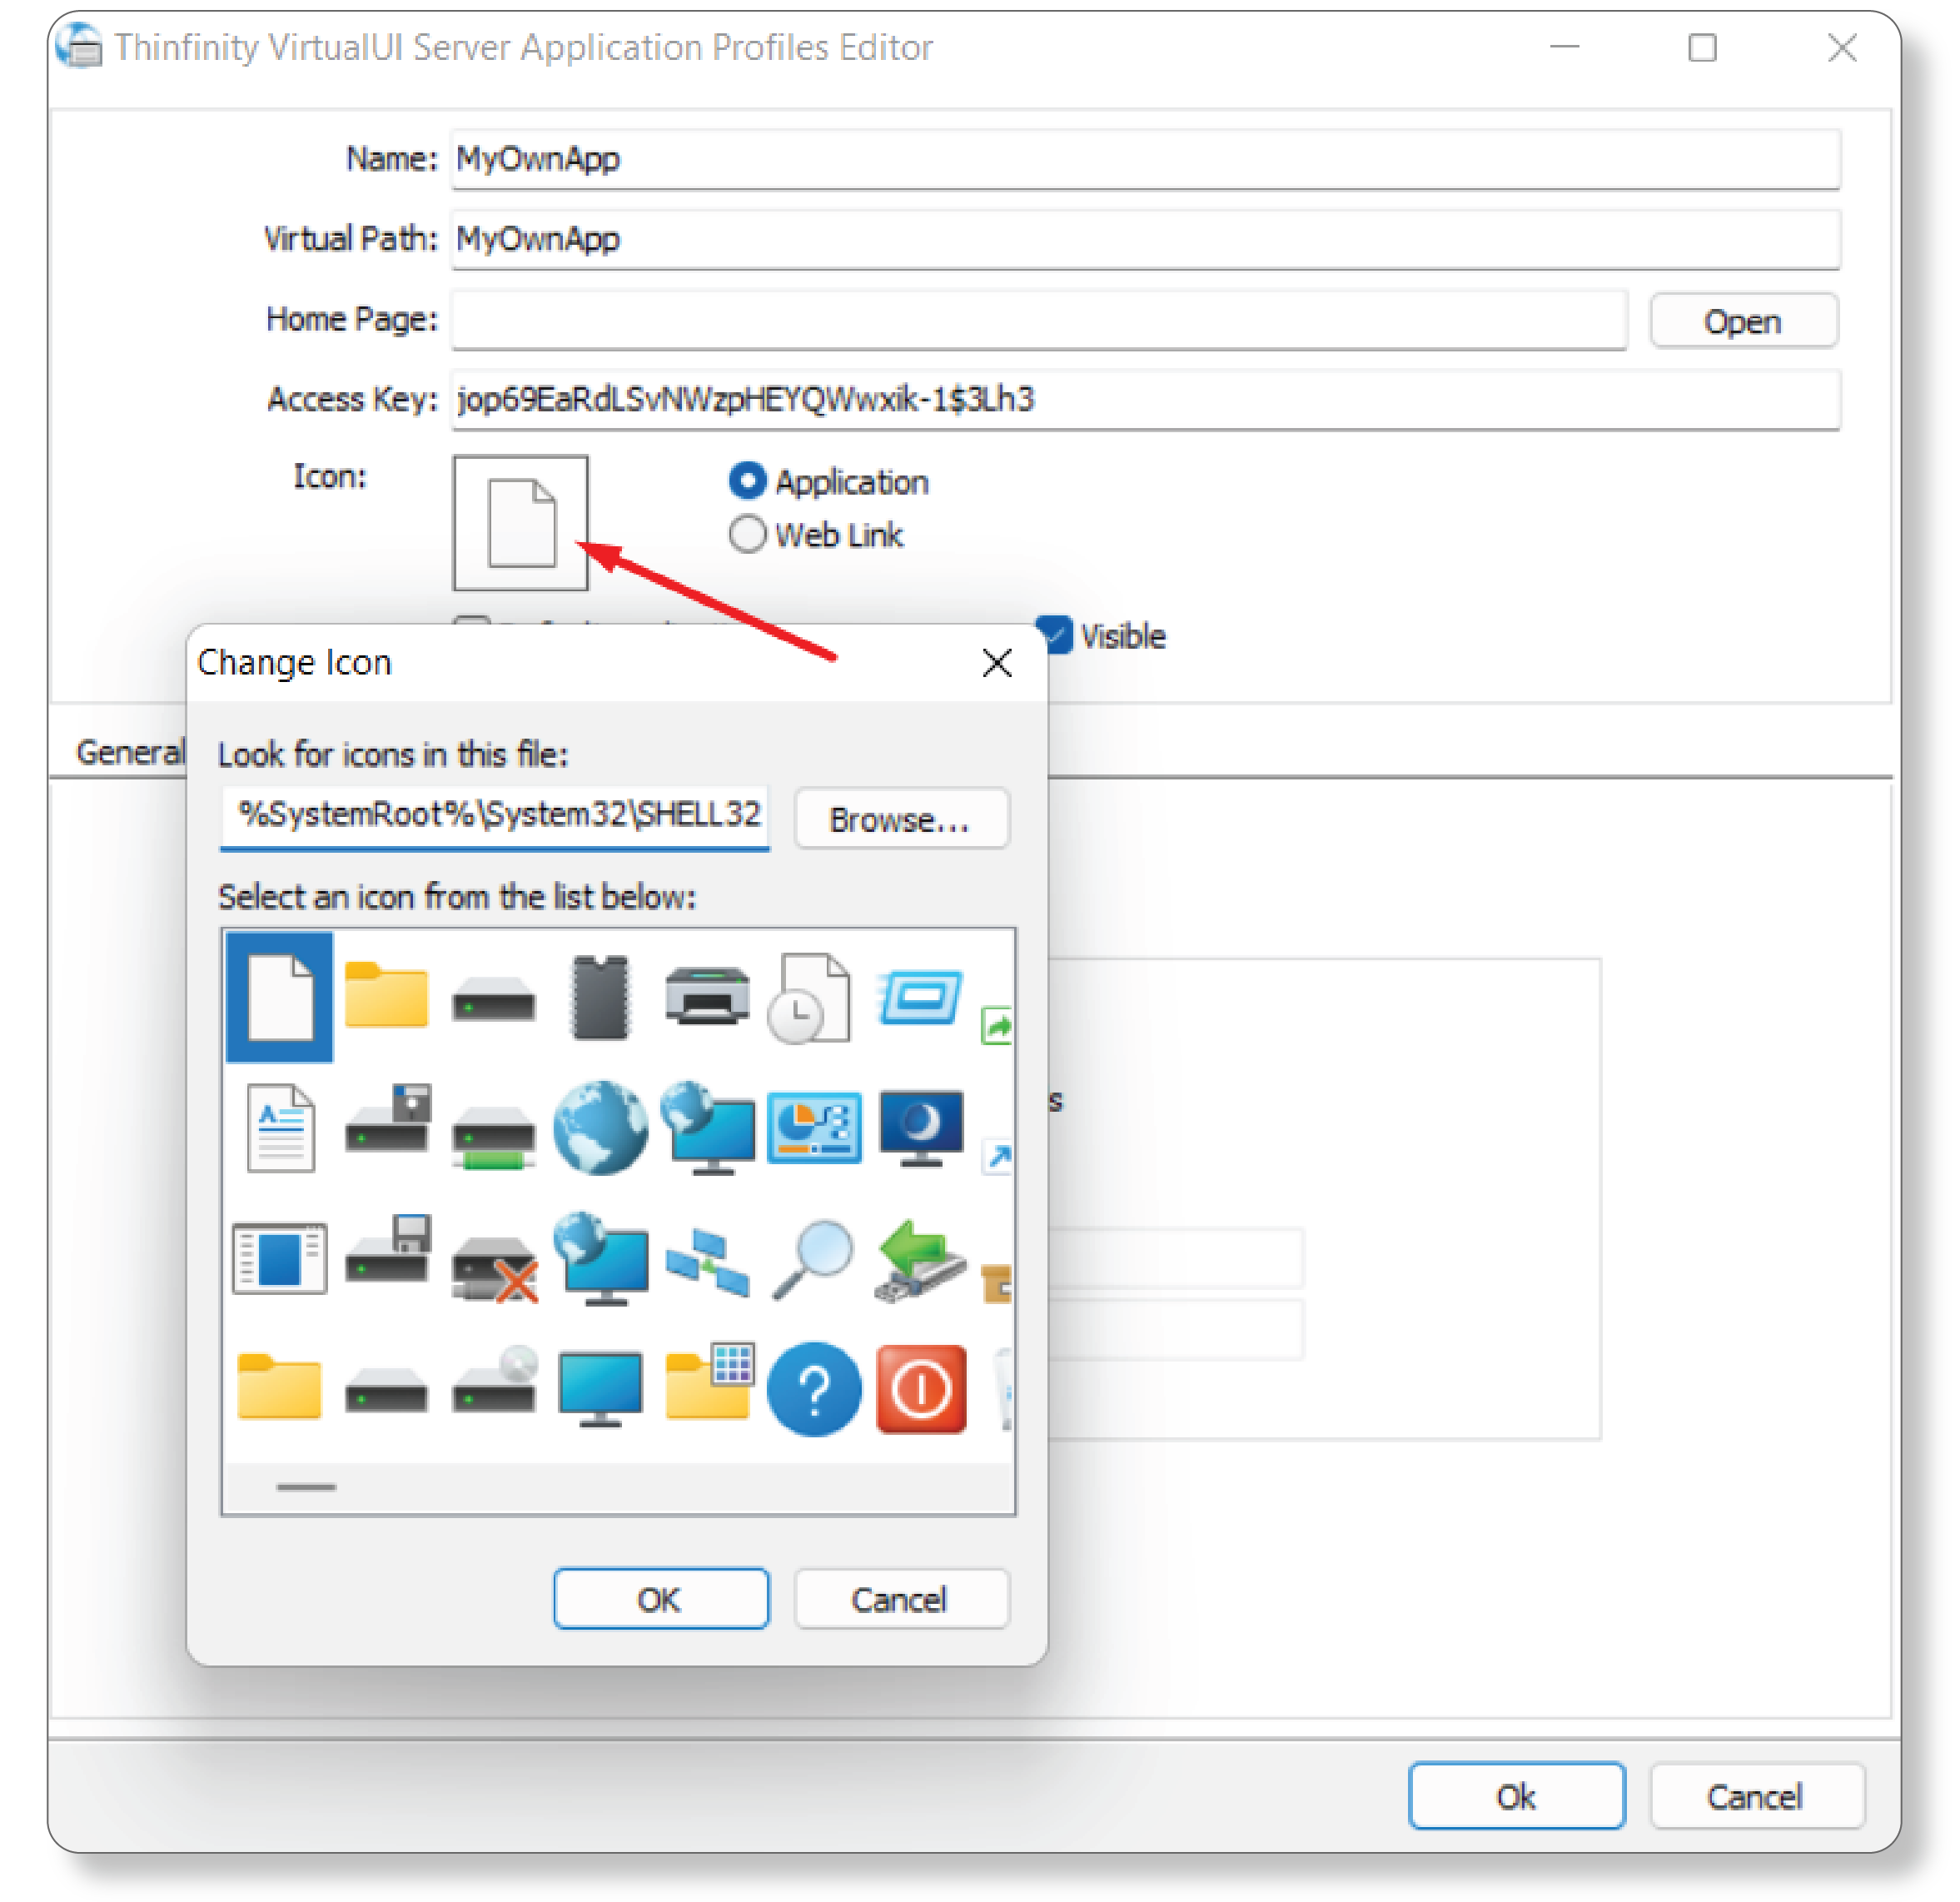
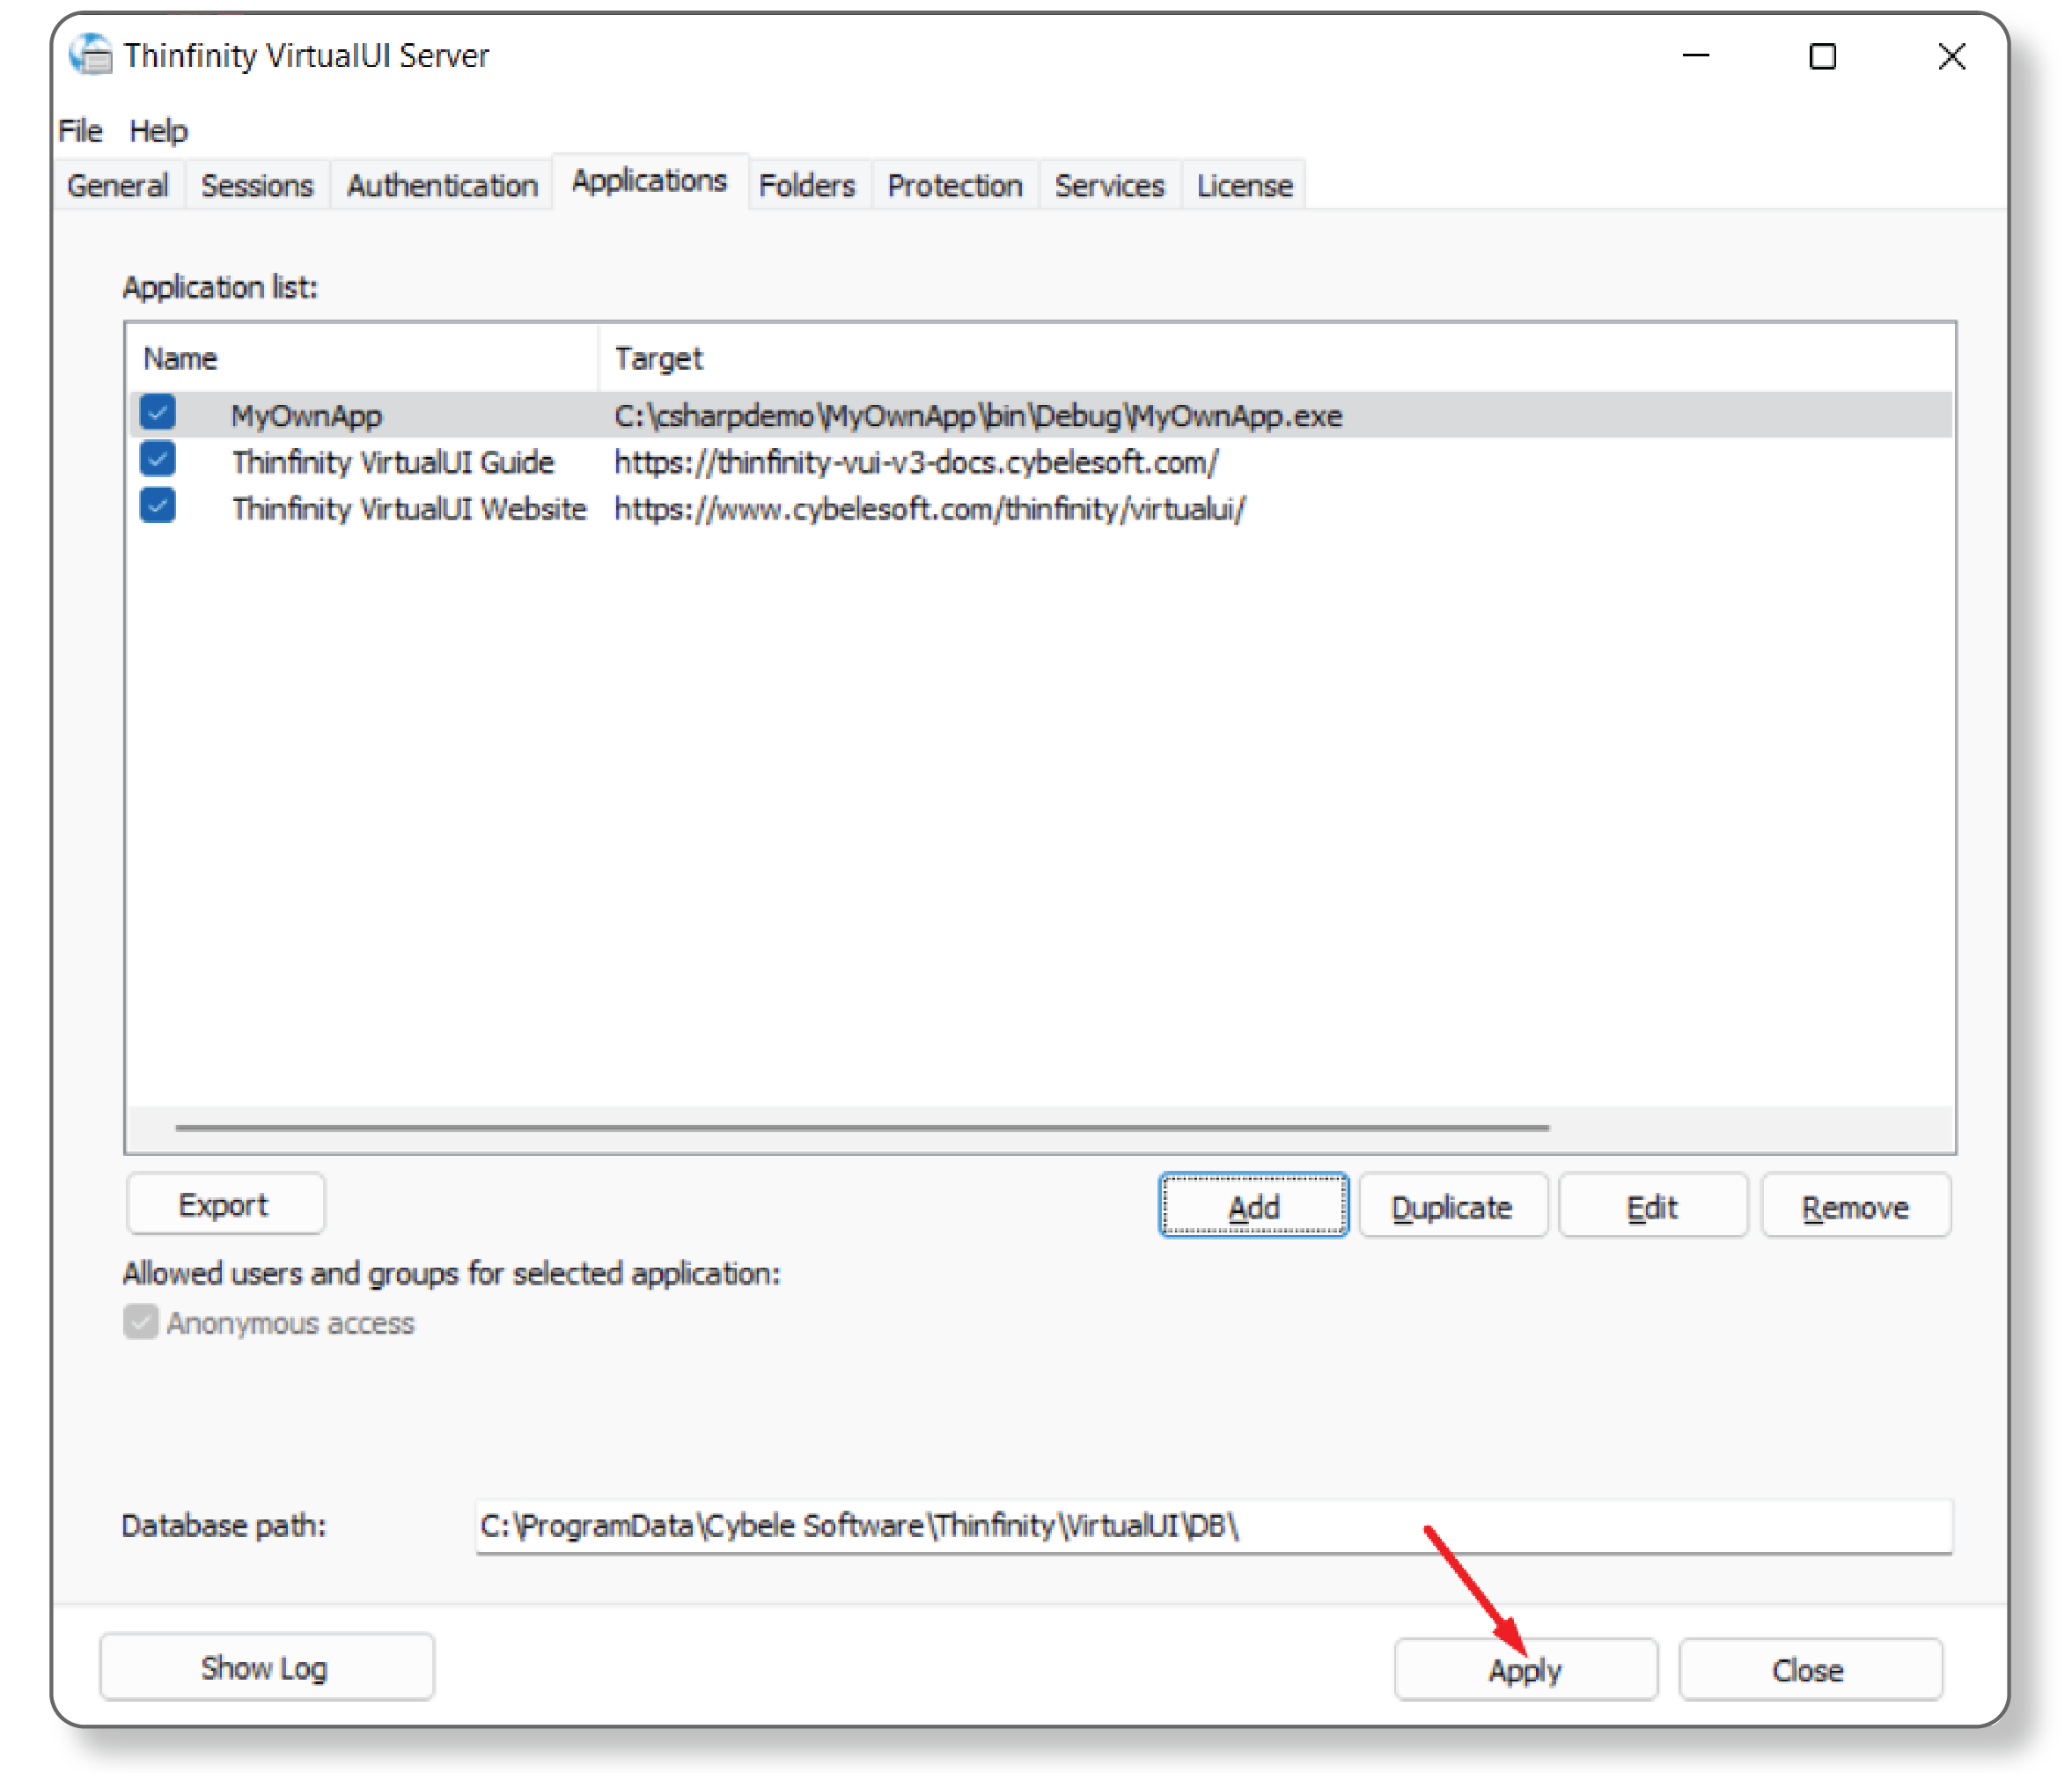
5. Press ‘OK’ and ‘Apply’ on the Server Manager screen.
Now the application is ready to be reached on the Web.
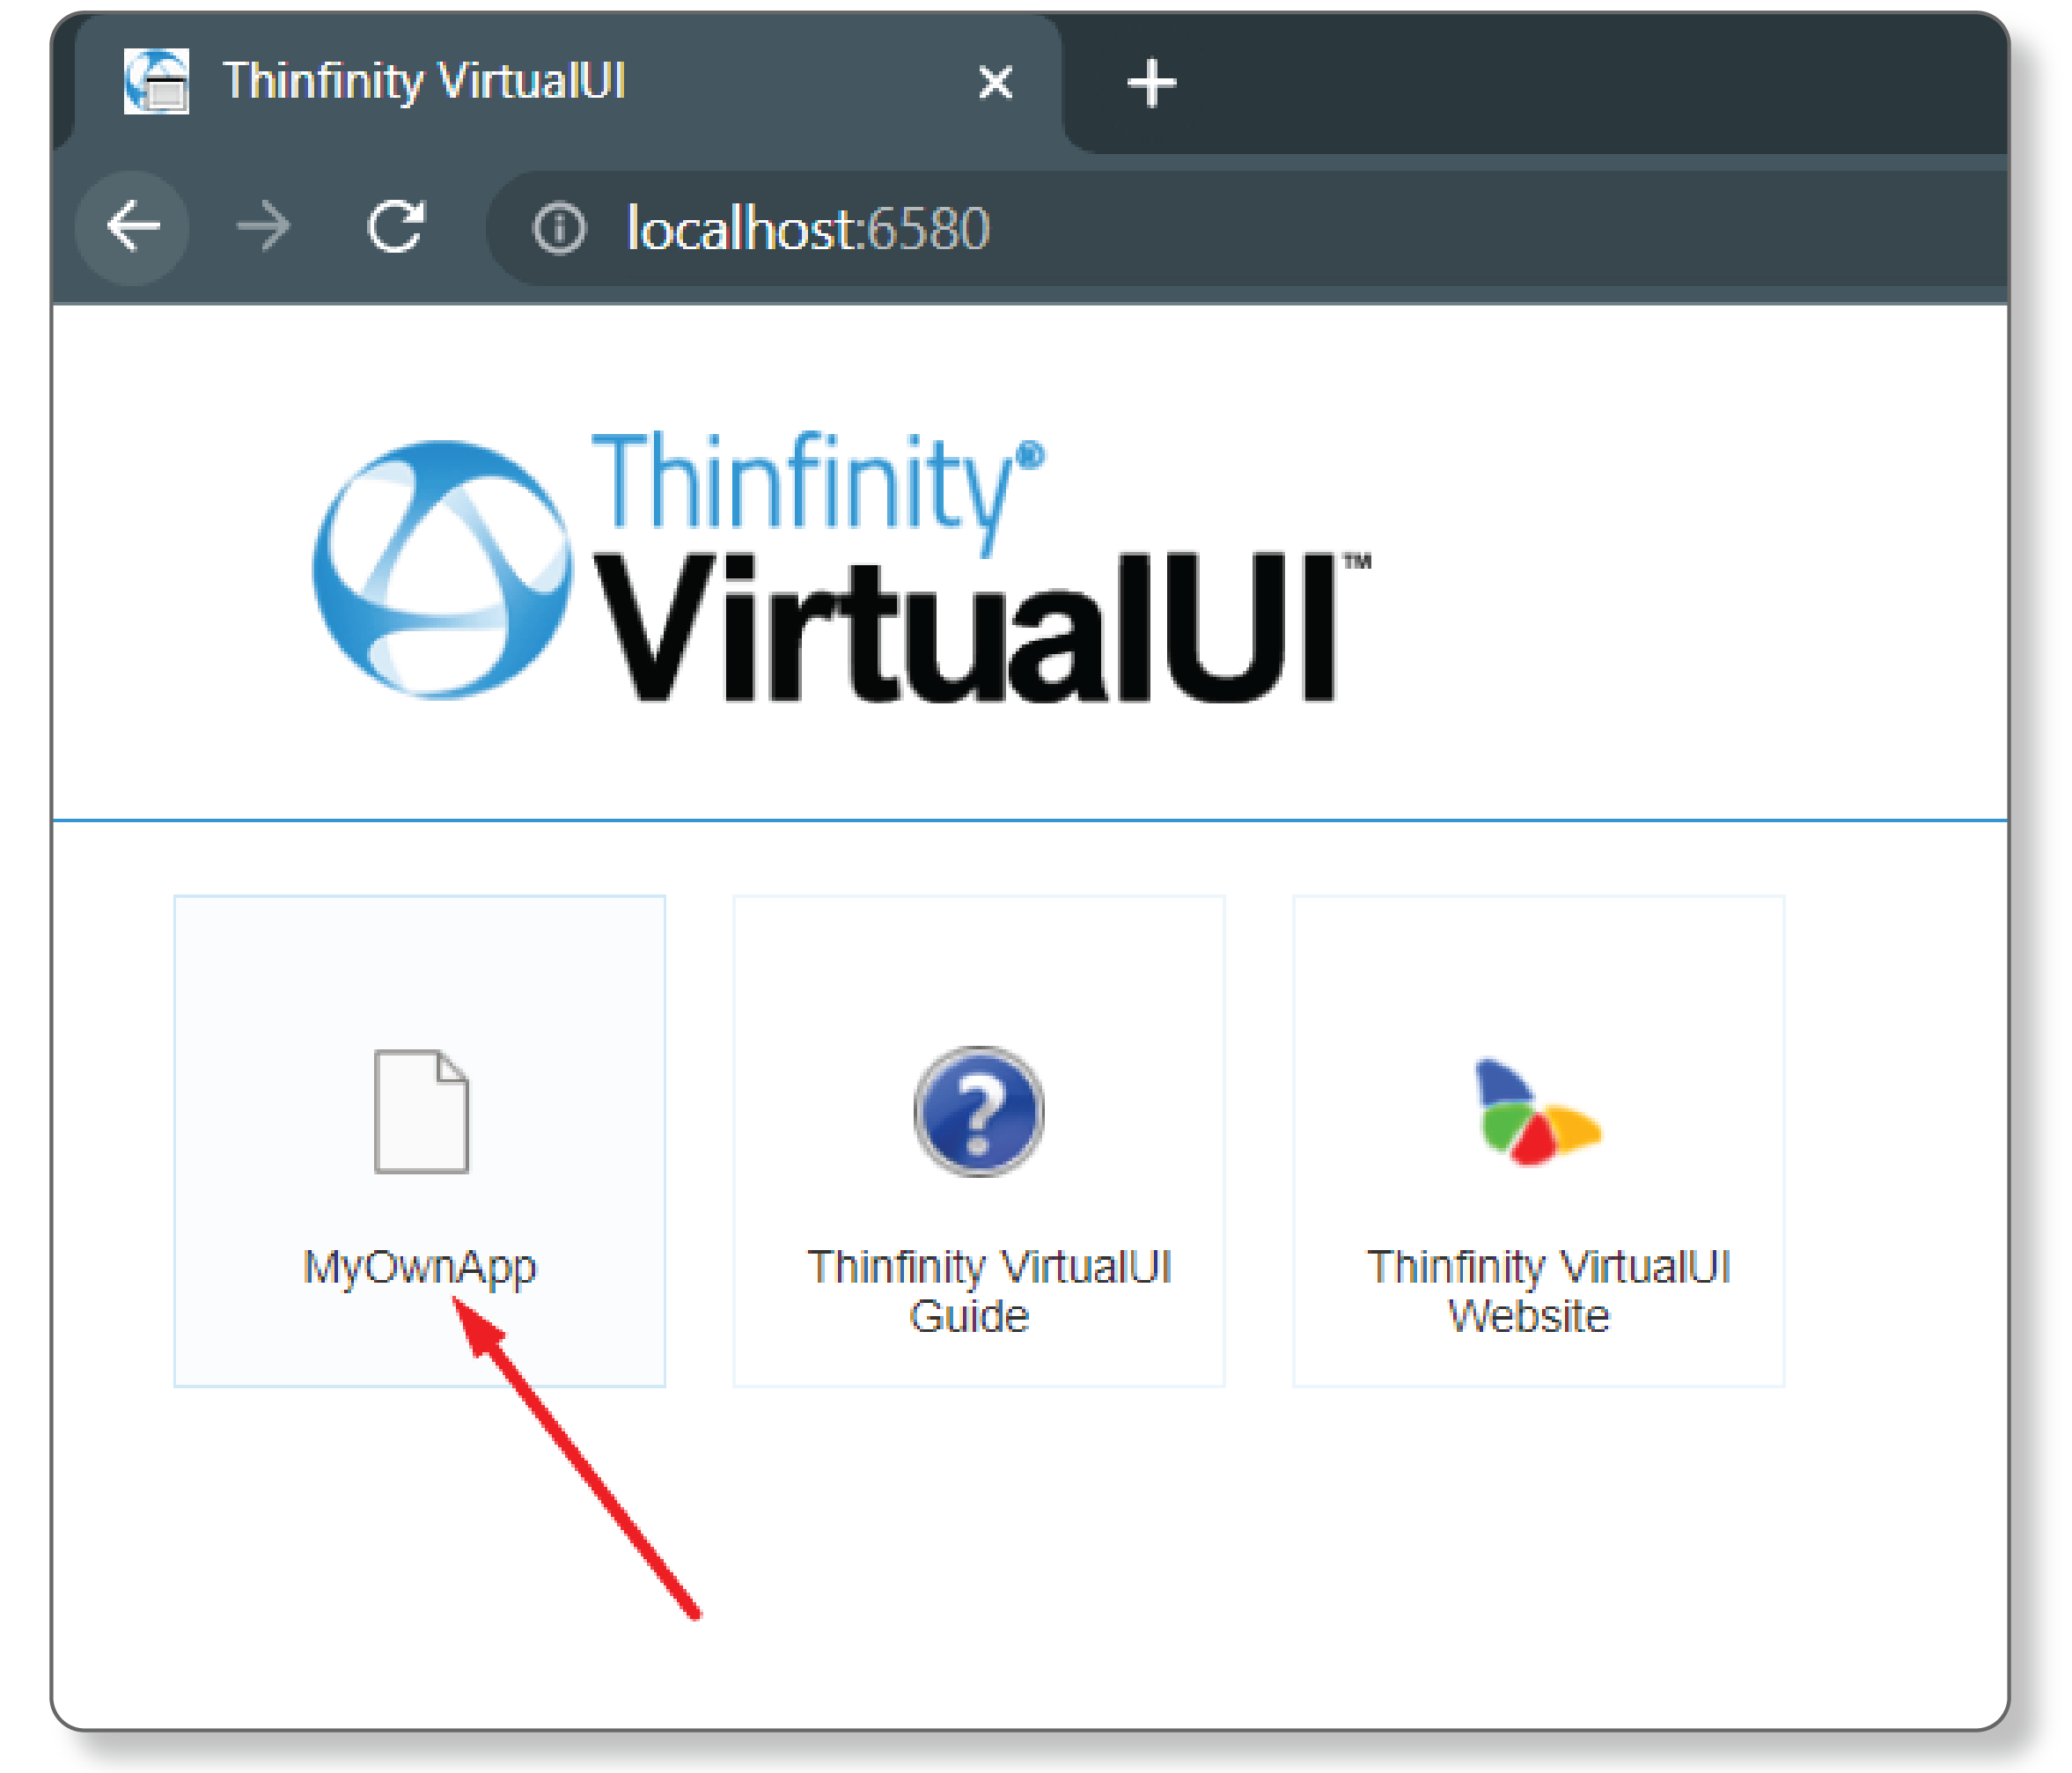
6. Open up a Web Browser tab and go to “http://localhost:6580”
Summary
In summary, this tutorial has provided a step-by-step guide to virtualizing your applications and making them accessible via any web browser using Thinfinity® VirtualUI v3.0. It has also highlighted the requirements for using Thinfinity® VirtualUI and the benefits of using Thinfinity® Workspace for publishing third-party Windows-based applications to the web. By following the outlined steps, you can easily create an application profile and deploy it on a server, thereby unlocking cross-platform functionality without rewriting existing code.


4 Comments
Não. Entendi. Com “http://localhost:6580” eu estaria acessando um programa local meu só que em vez de assumir a interface, ele estaria debaixo do Browser? Como se ele (o Browser) fosse um Shell Gráfico?
Olá! Quase isso — só um ajuste.
O localhost:6580 aparece no tutorial porque, nesse exemplo, o servidor VirtualUI está na mesma máquina de teste. Publicando em um servidor real, o endereço vira o dele (ex.: https://apps.suaempresa.com).
Sobre a analogia: sim, o navegador vira a camada gráfica da aplicação. Mas ela não roda dentro do navegador — continua sendo o mesmo executável Windows nativo rodando no servidor, com acesso total aos recursos daquela máquina. O VirtualUI apenas intercepta a renderização da interface e a transmite ao navegador via HTML5, devolvendo teclado e mouse no sentido contrário.
Um detalhe importante: não é uma tela compartilhada. Cada usuário que abre a URL dispara uma nova instância isolada da aplicação, com sessão própria.
Qualquer dúvida, estamos à disposição!
I tried on local with a very simple application for a test and got an error for “WebSocket connection to ‘ws://127.0.0.1:6588/’ failed: WebSocket is closed before the connection is established.” when follow upper setting.
Hi Daisy!
Thank you for contacting us. I allready send your inquiry to the support team to help you set the right configuration for your case. If you require further tech assistance you can also, contact our support team by using this link: https://www.cybelesoft.com/support/.
Have a great day!