


Did you know that you can publish your application to the web? You can take advantage of our free 15-day trial! In this quick tutorial, we will show you how to set up a website in NoIP. Use it to demo your application to your clients!
Before starting, make sure you have a working instance of Thinfinity Workspace or Thinfinity VirtualUI.
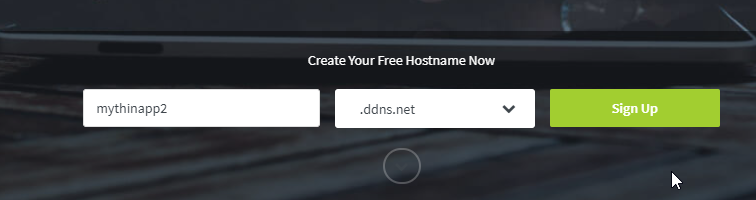
1) Register the URL you want to use for your demo application using NoIP. NoIP, which gives you a free hostname for 15 days :
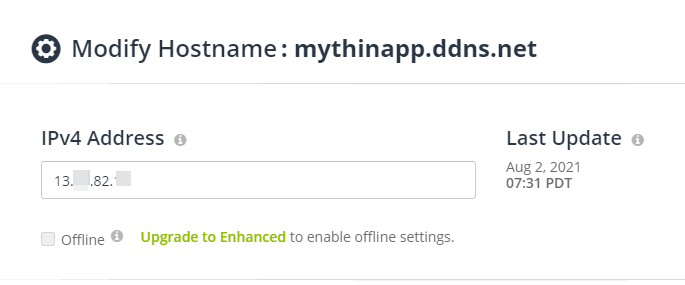
Once you registered your domain, bind it to the public IP address of your Thinfinity VirtualUI server:
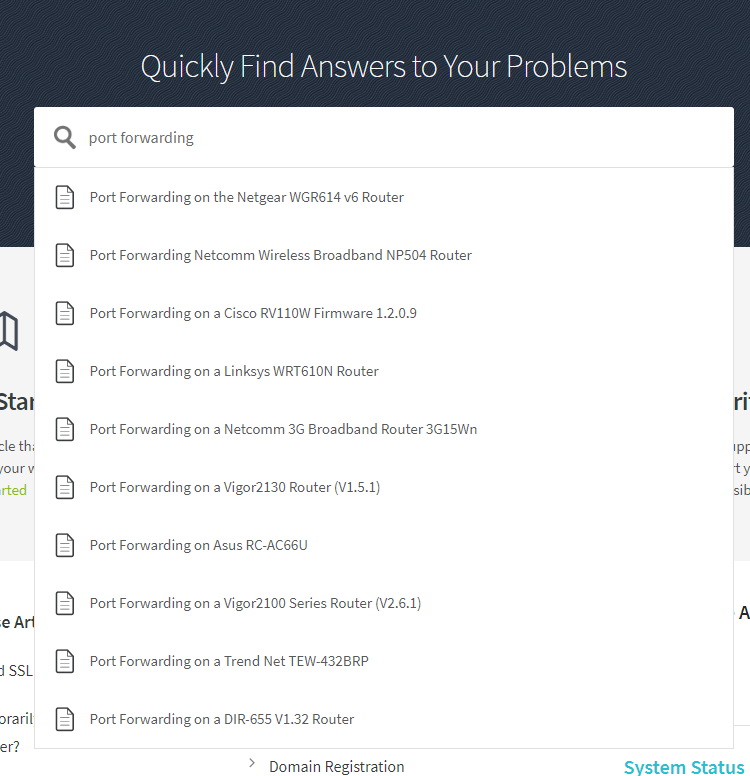
If your server is behind a Router, then you’ll need to do some port forwarding. NoIP has some good examples on how to do so :
You can also check if the port you wish to use is opened, using the following page:
https://www.portchecktool.com/

Now that we have a URL pointing to our server, let’s create an SSL certificate for it :
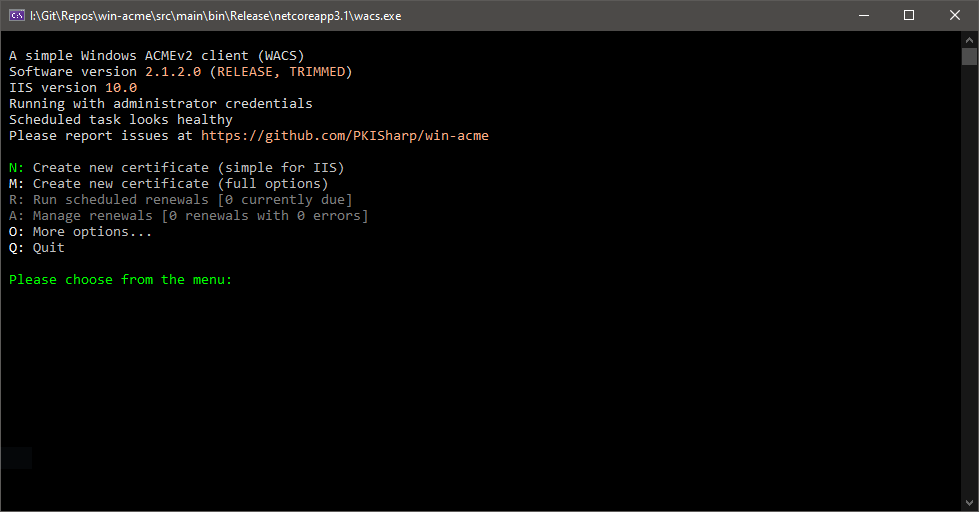
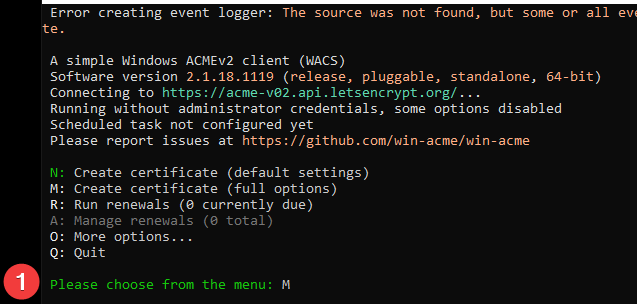
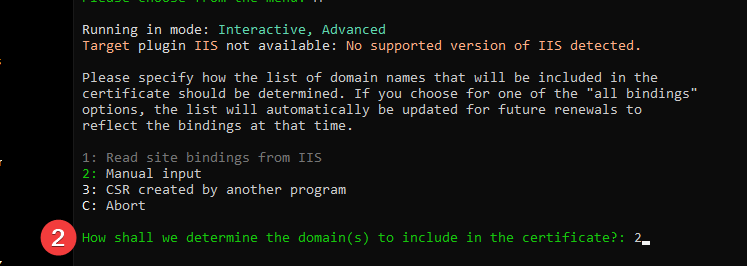
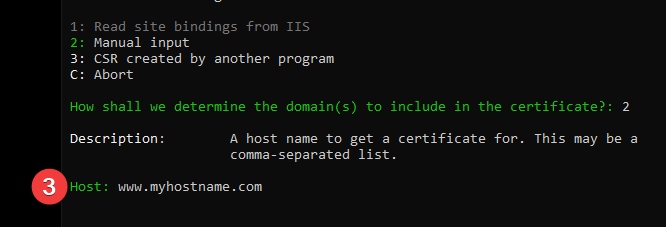
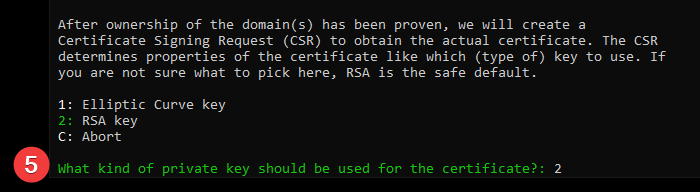
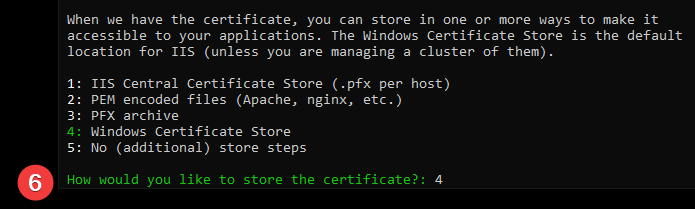
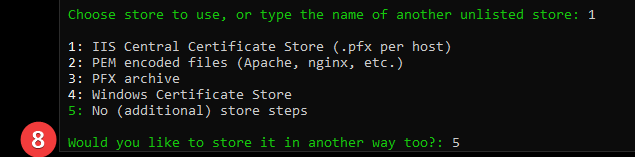
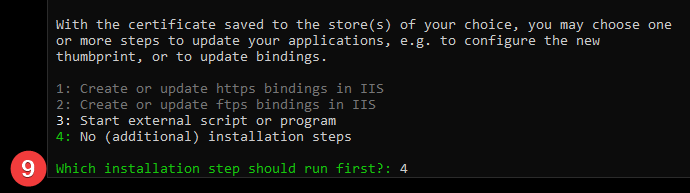
2) Install WIN-Acme on your Thinfinity server and follow the instructions for creating an SSL certificate.
Win-Acme is a small client that uses Let’s Encrypt servers for creating free SSL certificates.
Below you will find their URL and some basic information:
https://www.win-acme.com/manual/getting-started
Certificates created using Win-Acme are automatically stored in your ‘Personal’ Folder.


3) Select the newly added certificate to Thinfinity VirtualUI ‘Bindings’ menu:

Click ‘Apply’ and navigate to the URL.
Open a browser, and navigate to the URL configured for Thinfinity.
You should see now that the URL is now protected with a valid HTTPS certificate :
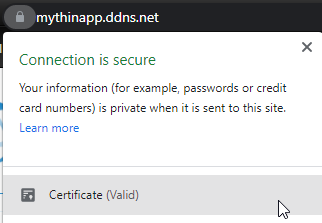
And that’s it!
Now you can publish your application to the web, and have a 15-day free website for demo purposes!
If you have any questions, feel free to leave a comment here or email us at support@cybelesoft.com. We will be happy to help!

1 Comments
Amazing step by step. Works like a charm.