
For Thinfinity® Workspace (insert link) users, the upgrade from version 3 to version 4 has many advantages.
One of them is the new Access Profiles customization scheme, which you may have tested already.
Today, we invite you to try a new customization level for RDP profiles:
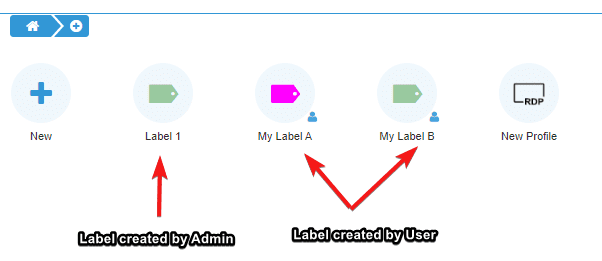
- BEFORE: Labels are used to tie together Access Profiles into Access Profiles groups.
- AFTER: With the new version, there are two ways of creating them:
- Admin-created Labels
- User-created labels
To download the latest build enabling this feature, click here (insert link).
Let’s review the new Labels
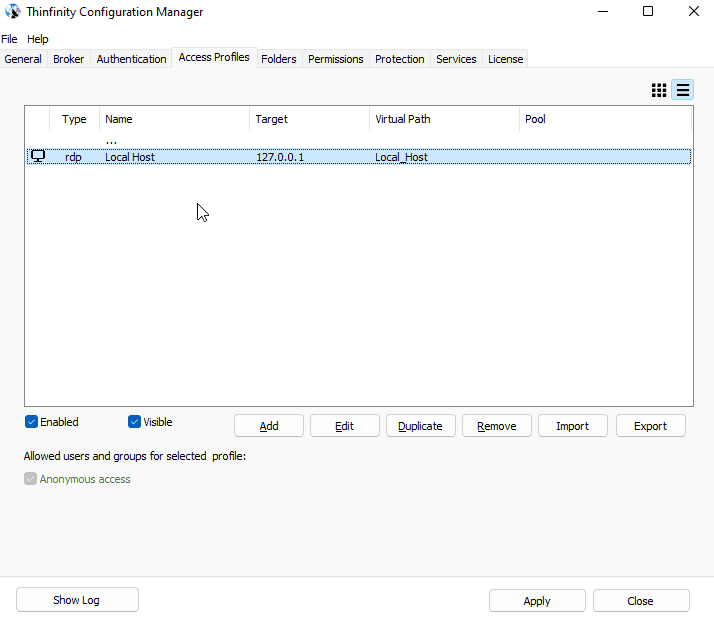
In order to create labels on an Administrator-level, follow these steps:
1) Open the Configuration Manager.
2) Navigate to the “Access Profiles” tab, and click on “Add”-> “Labels”:
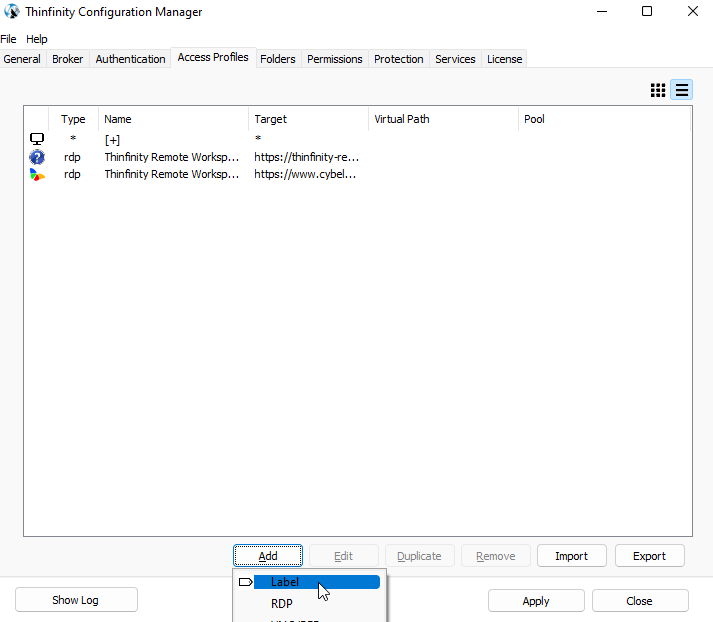
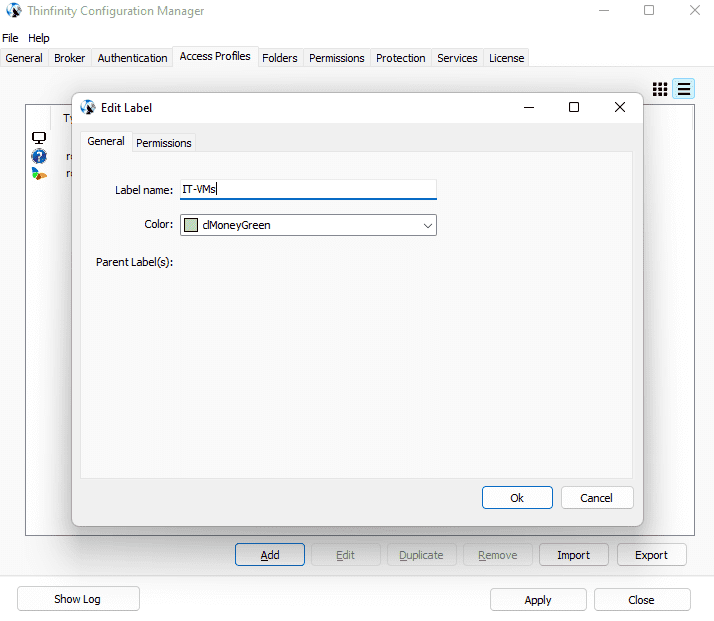
3) Give that “Label” a name and click “OK”. For this example, we are using “IT – VMs”.
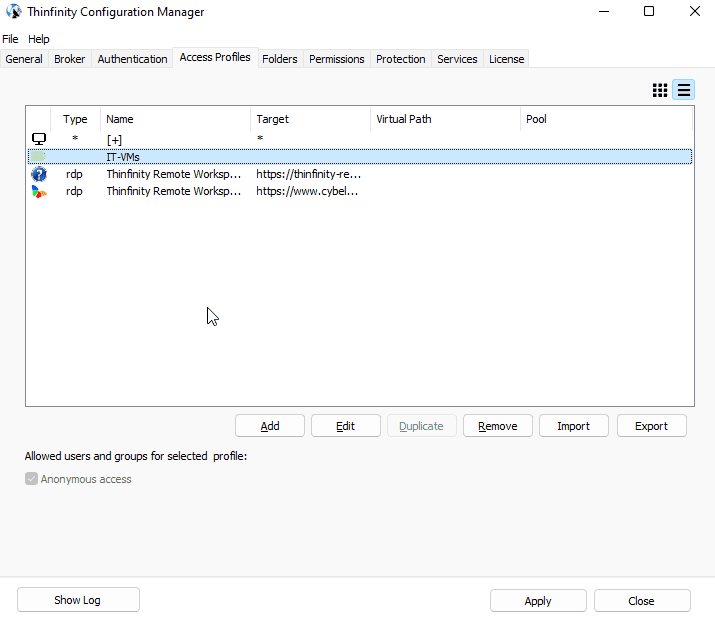
4) The label should now be listed in the “Access Profiles” list:
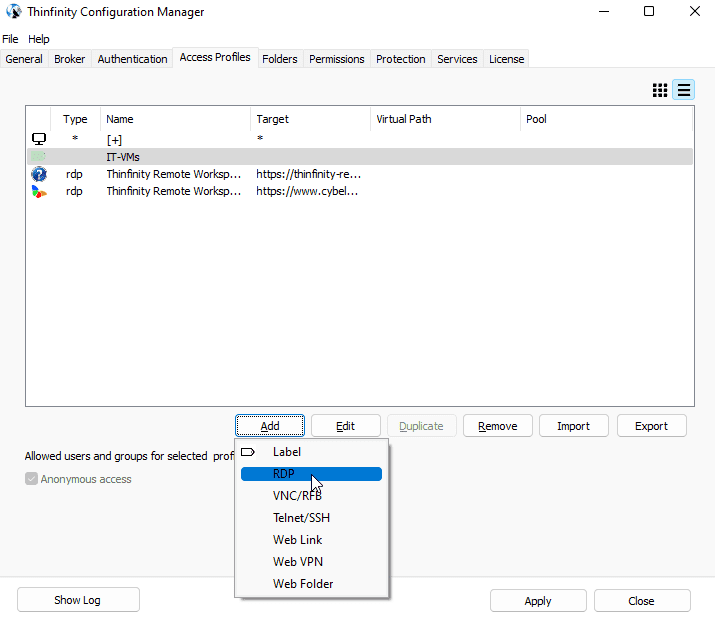
5) Let’s create a new “Access Profile” now, and assign it to the newly created “Label”. Click on “Add”->”RDP”.
6) Click on the “Select Label” button, and select under which “Label” the profile will be available.
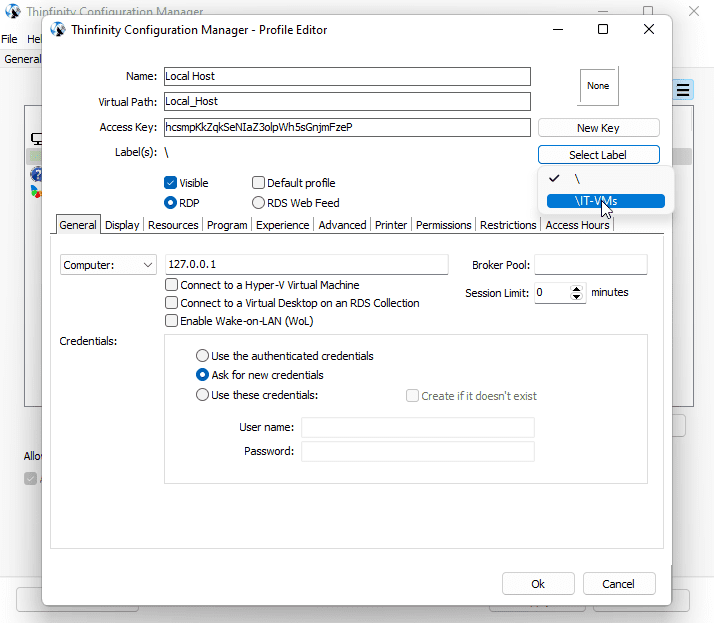
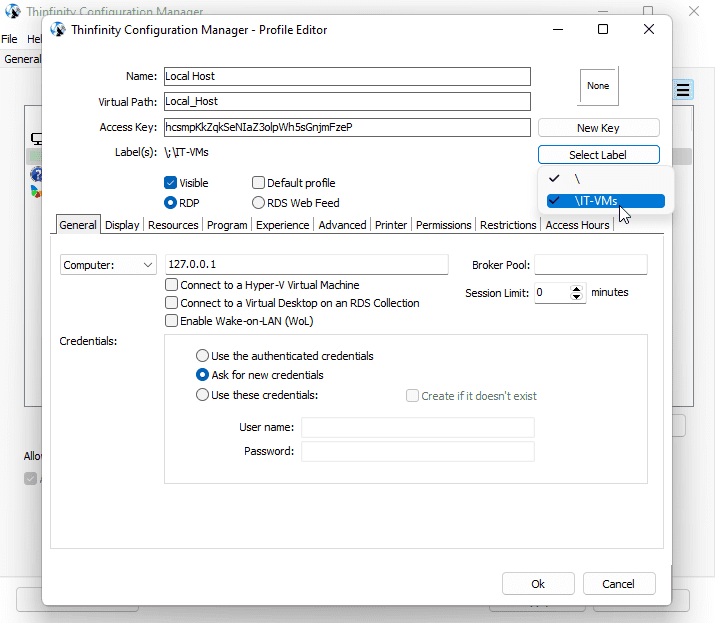
If both options are checked:

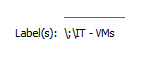
And listed in the “Label(s)” list:
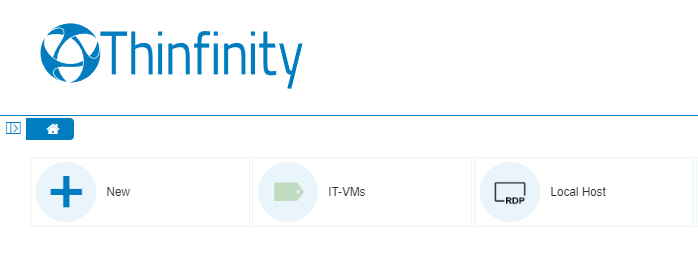
Then this profile will be available both on the Index page and inside the “Label”.
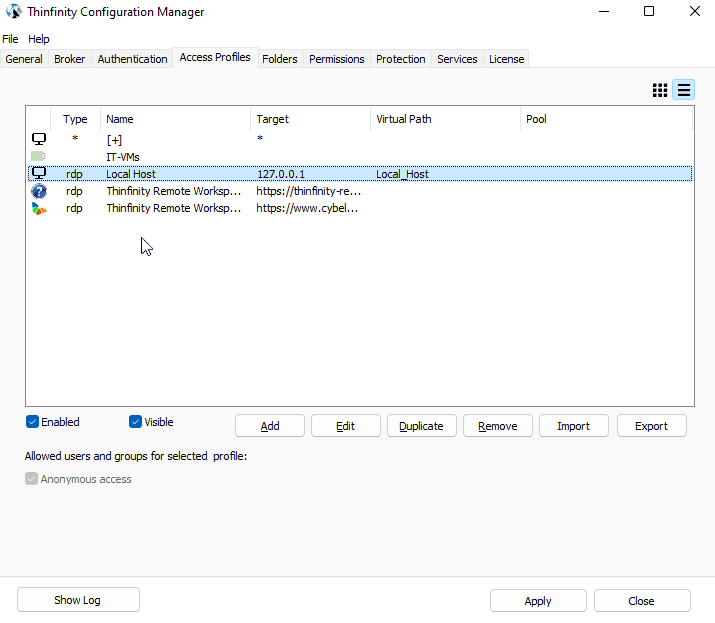
Below is the index:
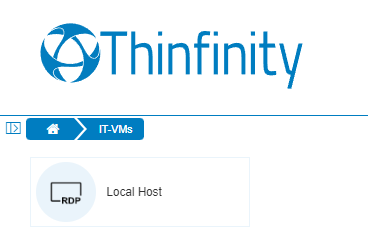
Here in “IT-VMs”:
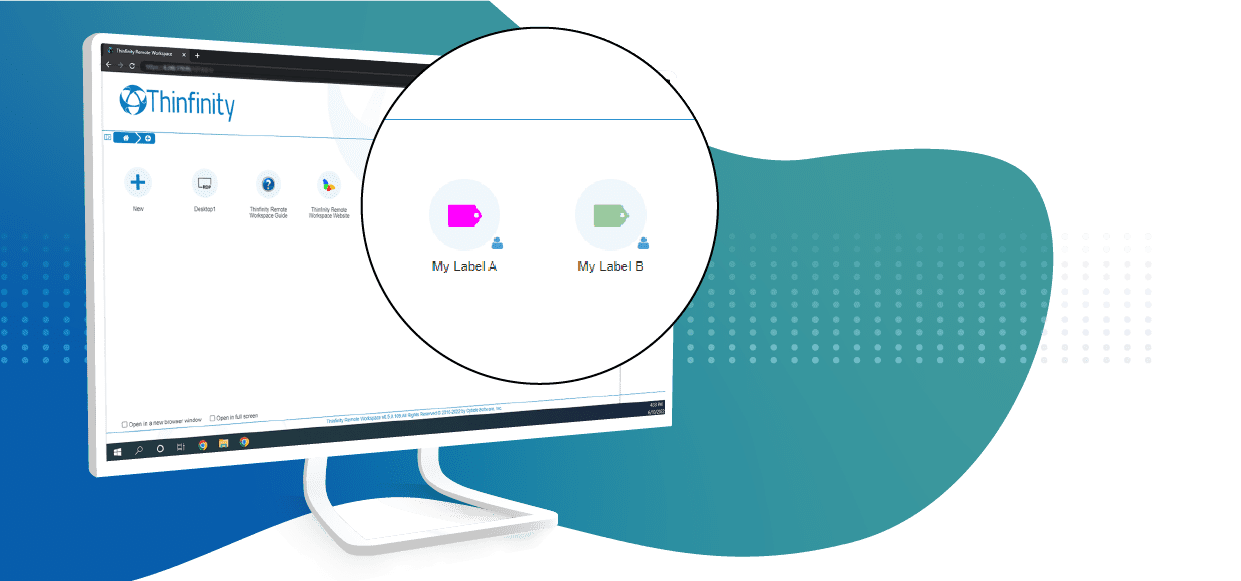
Users can also create labels. To differentiate them, you’ll see a small “user” icon in the bottom-right corner of the profile’s icon: