

In this article, we will briefly describe how to configure Thinfinity Remote Desktop Server v3.0’s components to work in a Load Balancing environment.
First, we will install the Gateway on our Gateway Server, and the Broker on our Broker Server.
- Gateway Server :
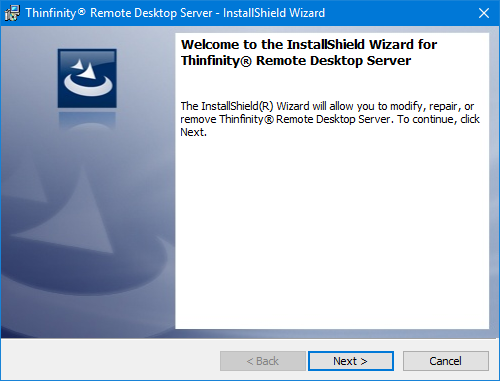
Open the Thinfinity Remote Desktop Server v3.0 installer. Click on Next:
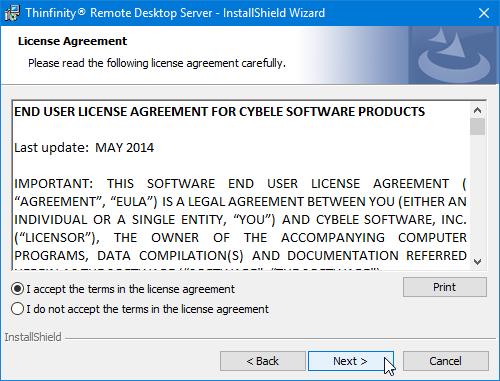
Select “I accept the terms in the license agreement” and click Next.
Select “Gateway Services” and click on Next.

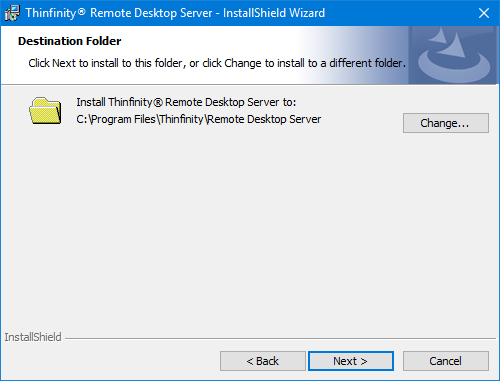
Choose a destination folder and click on Next.
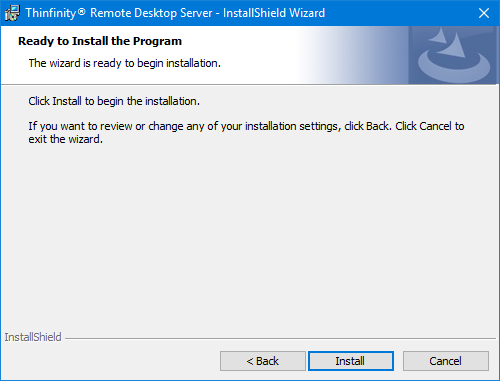
Now that everything is configured, click on Install.
- Broker Server :
Open the Thinfinity Remote Desktop Server installer. Click on Next:
Select “I accept the terms in the license agreement” and click Next.
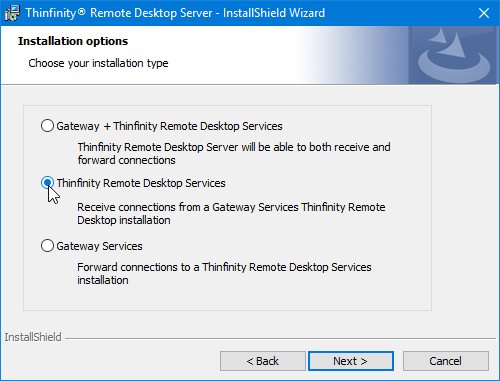
Select “Thinfinity Remote Desktop Services” and press Next.
Choose a destination folder and click on Next.
Now that everything is configured, click on Install.
To guarantee that the load balancing configuration will perform properly, the main configuration items we have to look at are:
- The Network ID.
- IP Bindings (in the Gateway Manager).
- The Gateway URL (in the Broker Server).
The Network ID
The ‘Network ID’ must be the same across all gateway(s) and broker(s) components.
You can modify the Network ID to any value, it doesn’t follow a specific format.
In the Gateway Manager we will find two different tabs: General and Internal Broker Server.
In the General tab, we will configure the port and bindings for the user’s (browser client) to reach Thinfinity Remote Desktop Server. For instance ‘https://Server_IP:8443’ based on the settings below:

IP Bindings
The Gateway and Broker components communicate over a different port. This is configured in the Internal Broker Server tab:

By default, the IP Binding will be ‘127.0.0.1’. When working with load balancing you should set the IP Binding to ‘All unassigned’ or select the internal IP of the server. Otherwise, the Broker Server won’t be able to reach the Gateway Server.
We strongly recommend adding all the Broker Servers IP addresses in the ‘Authorized IP Addresses’ box.
The Gateway URL (in the Broker Server)
Now that the Gateway is configured all we need to do is add the Gateway URLs in the Broker Server Manager:

As explained before, you will have to add the URL referencing the port in the Internal Broker Server tab. Keep in mind the communication between the Gateway Server and Broker Server is not encrypted, so you have to use ‘HTTP’ in the URL (e.g. http://192.168.0.1:26880).
It is important to mention that when you have one server acting as gateway and broker, Thinfinity Remote Desktop Server will automatically set the right localhost address. Do not modify this setting and do not add a second URL referencing this server.
To verify if the Broker Servers are connected to the Gateway Servers you can check the log file ‘Thinfinity.RemoteDesktop.Server.log’ located in:
‘C:\ProgramData\Cybele Software\Thinfinity\Remote Desktop Server’
It should say something like:
2017-11-14 17:22:56 Connecting to http://192.168.0.1:26880/
2017-11-14 17:22:56 Registered on http://192.168.0.1:26880/
There are a few things to take into account when using load balancing:
All the Broker Servers have to share the same profiles. To do so, you can copy the database file ‘rdp_profiles.bin’ and distribute it in all the servers, you will find this in:
C:\ProgramData\Cybele Software\Thinfinity\Remote Desktop Server\DB
You can also share the database path so all the Broker Servers read the same database:

If you are using One Time URL, you must share the ‘Root Path’ for Temporary Folders. This will also ensure the users have consistency with their intermediate disk (ThinDisk) when they access to files from the file manager or upload/download files:

Finally, you must share the license between the Broker Servers. In order to do so, register one of the Broker Servers using the License Manager. This will generate a file called ‘Thinfinity.RemoteDesktop.License.key’ in ‘C:\ProgramData\Cybele Software\Thinfinity\Remote Desktop Server’ and copy it to all other Broker Servers in the same folder.

4 Comments
Bom dia!
No meu Thinfinity, não tem os caminhos relacionados acima, como procedo?
Hi Leonardo,
Can you please describe the paths you are having trouble with?
As far as I know you are evaluating Thinfintiy VirtualUI, not Thinfintiy Remote Desktop Server.
Please contact support@cybelesoft.com
Ola! Já consegui, a pasta estava oculta…rs
Obrigado!
I’m glad to hear that!