

This guide explains to you how to install and register the Thinfinity Remote Desktop Server v4.0.
Installing Thinfinity® Remote Desktop Server for the first time is pretty simple. It is pretty much a “next, next” installation.
There are just a few things you have to take into account. Let’s see check the installation steps:
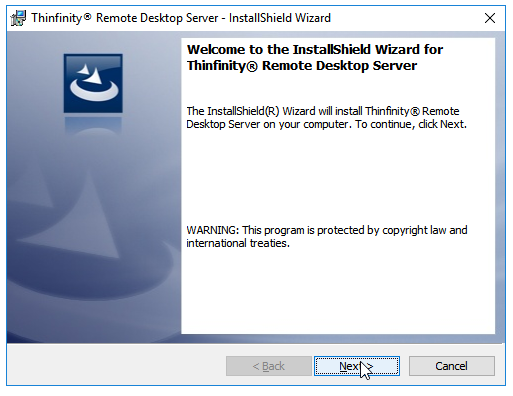
1. Open up the setup file (previously downloaded from this page), on the first screen just click Next:
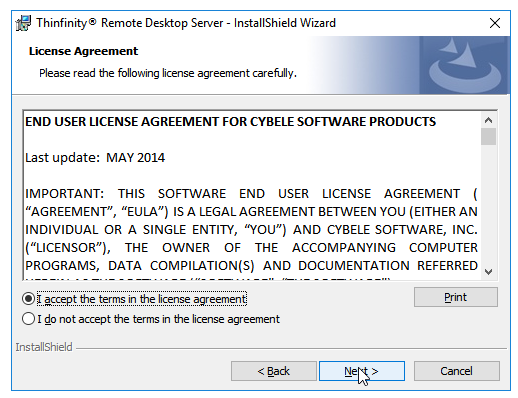
2. Click “I accept the terms in the license agreement” and then “Next”:
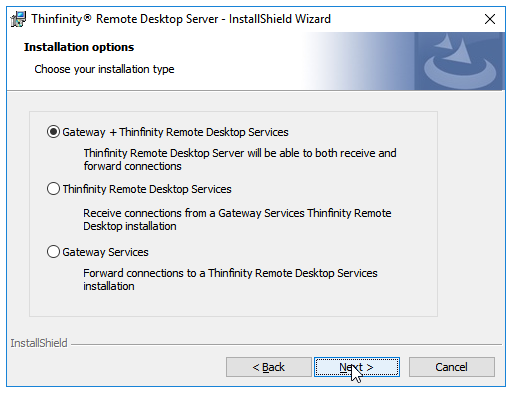
3. In this screen leave “Gateway + Thinfinity® Remote Desktop Services” selected and press ‘Next’. For more information regarding Load Balancing visit this link.
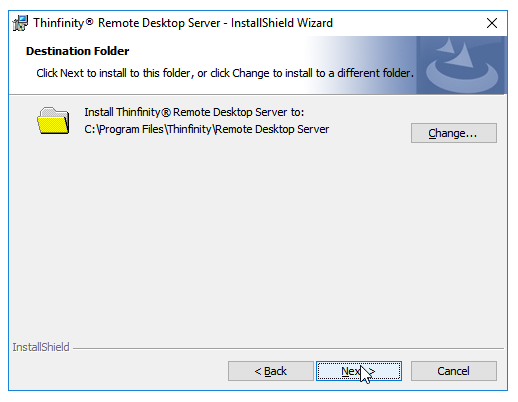
4. If you wish to choose a different folder press “Change”, otherwise you can go to “Next” directly:
5. Hit “Install”.
6. After it ends, press “Finish”.
In your start menu, you should have a new icon for “Thinfinity® Remote Desktop Server Manager”.
Given that it’s the first time you use the software, the first screen you will see is:
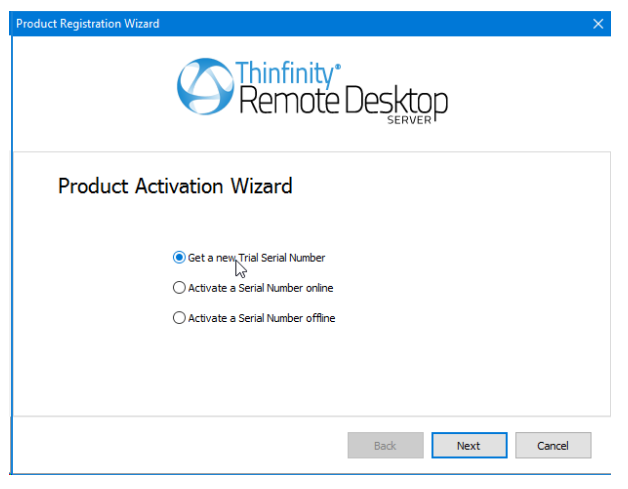
Select “Get a new Trial Serial Number” and press “Next”.
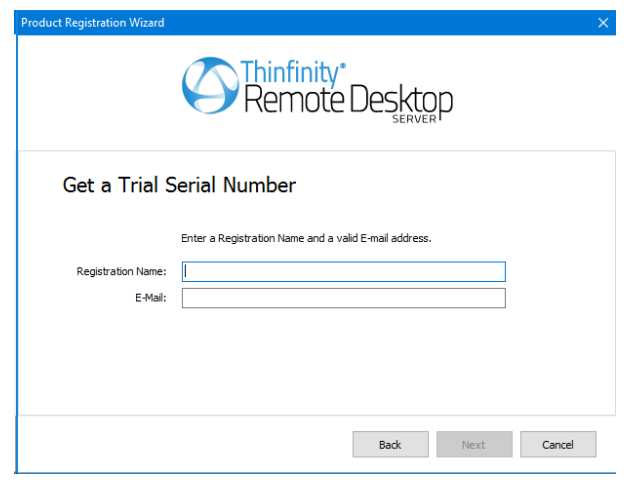
Fill your name and e-mail address and press “Next”, make sure this PC has internet access, otherwise contact sales\cybelesoft.com so they can provide you with a trial key:
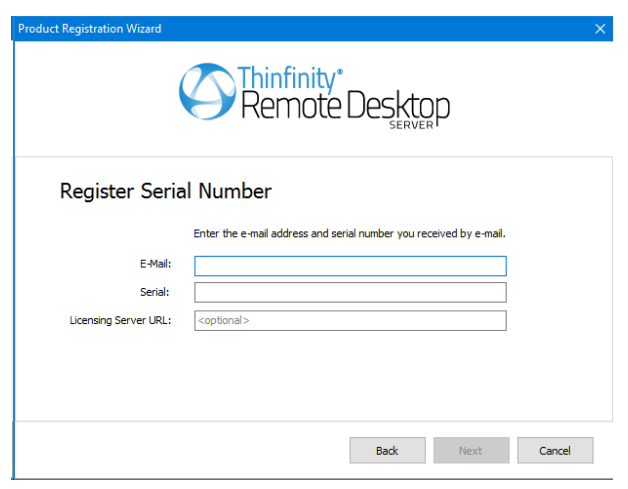
You should instantly get an e-mail with a trial key and will be redirected to the screen below where you can enter this information:
If the registration was successful, you’ll see:
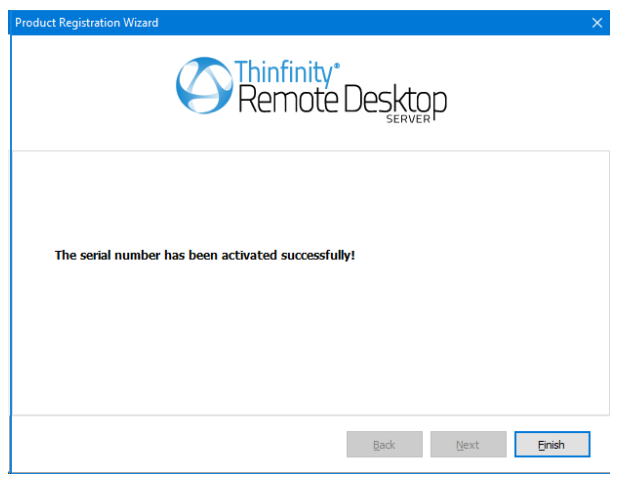
If not, please contact support@cybelesoft.com
Just hit “Finish” and you’ll see your license registered:
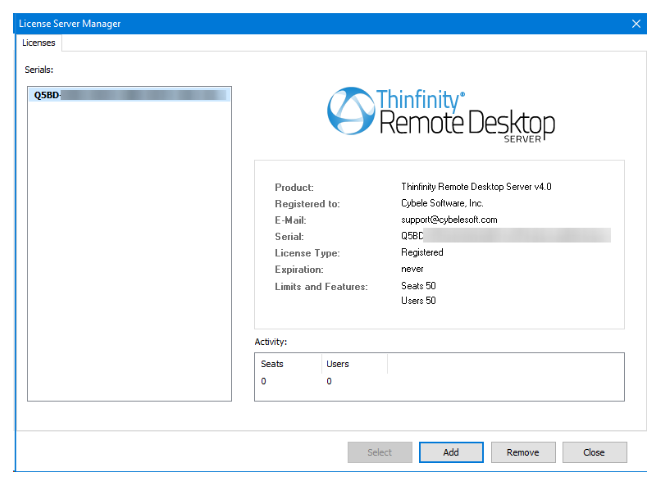
Now you should be good to go 🙂