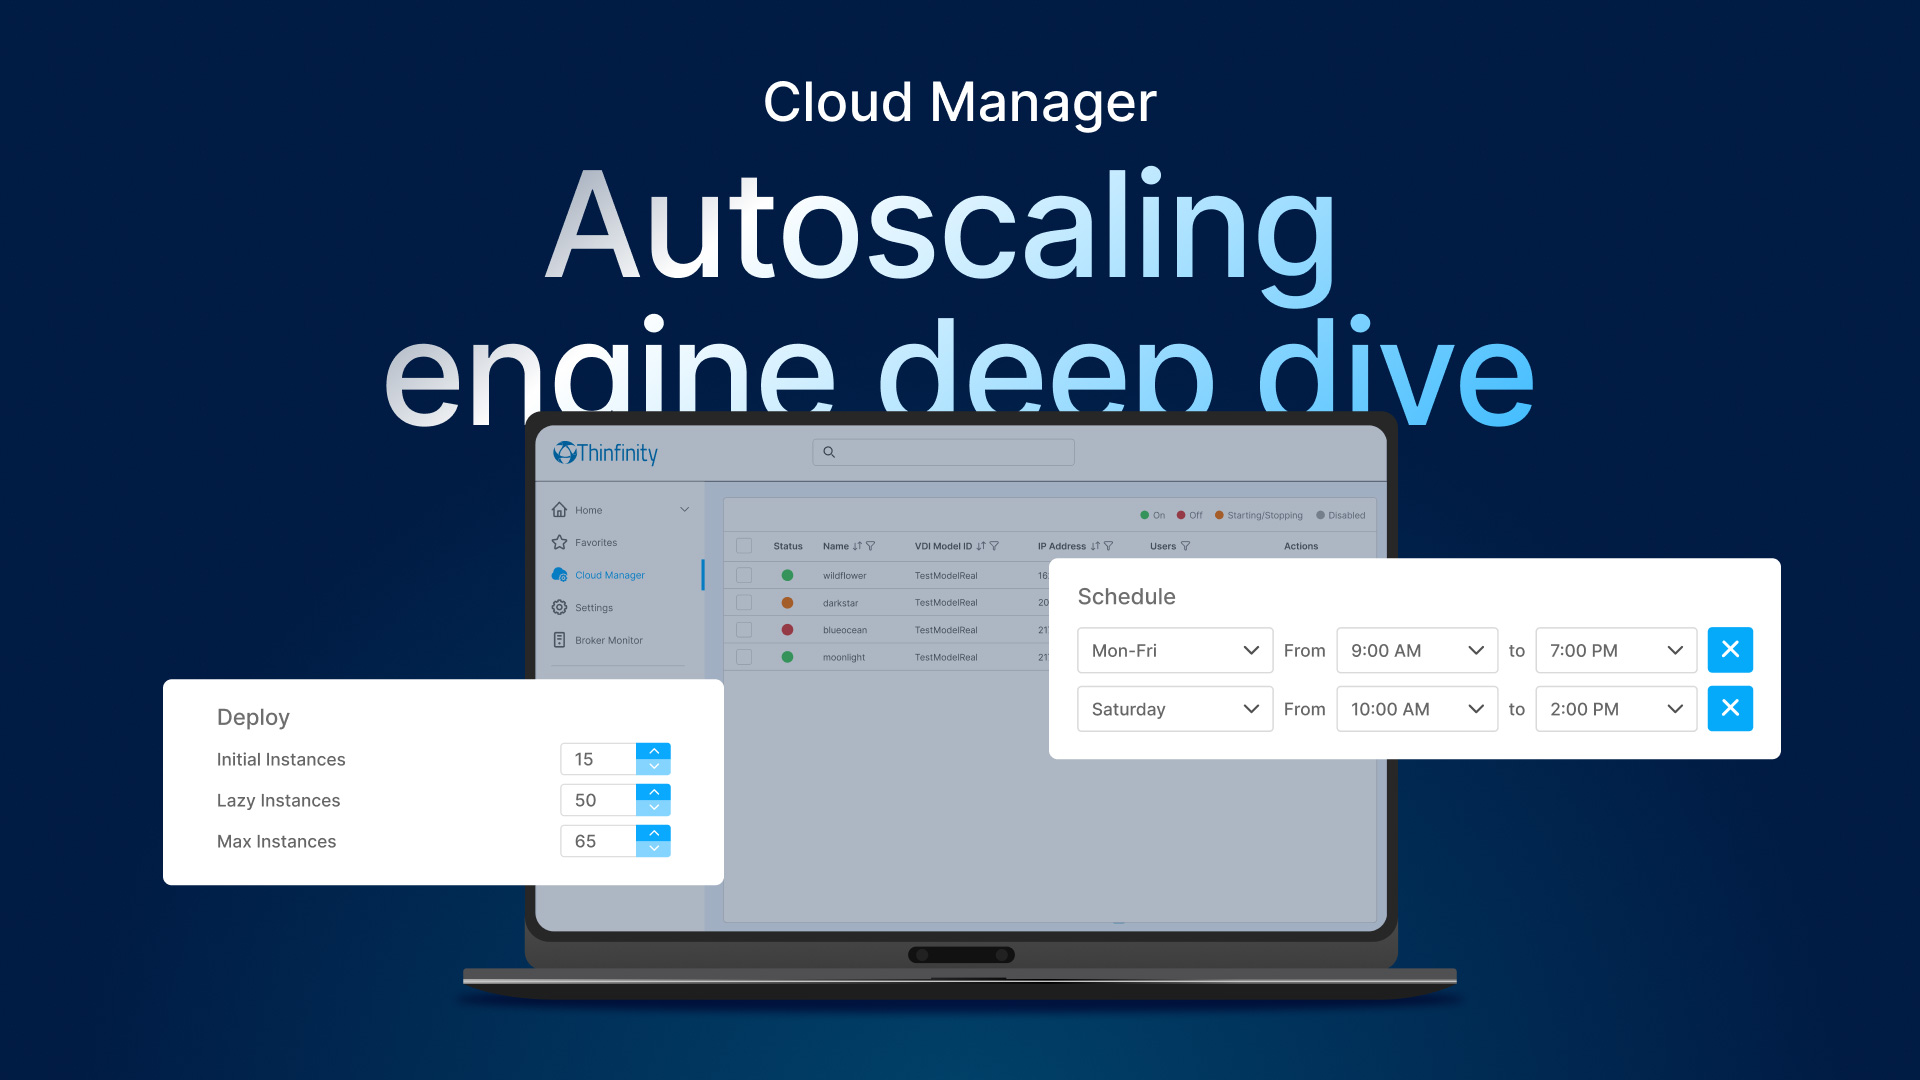

In this tutorial, we will show you how to start publishing Remote Desktops, RemoteApps and VM on demand with our Thinfinity Remote Desktop server.
First, we must install Thinfinity Remote Desktop ( both Gateway and Server options into the same machine ) and register it to a License Server.
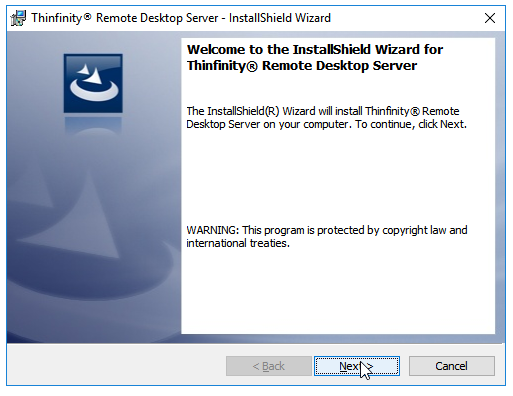
1. Open up the setup file (previously downloaded from this page), on the first screen just click Next:
2. Click “I accept the terms in the license agreement” and then “Next”:

3. In this screen leave “Gateway + Thinfinity Remote Desktop Services” selected and press ‘Next’.

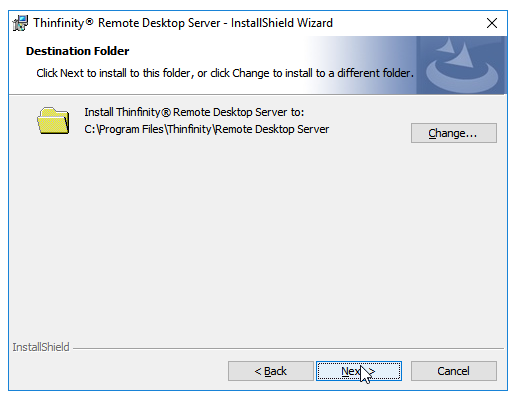
4. If you wish to choose a different folder press “Change”, otherwise you can go to “Next” directly:
5. Hit “Install”.
6. After it ends, press “Finish”.
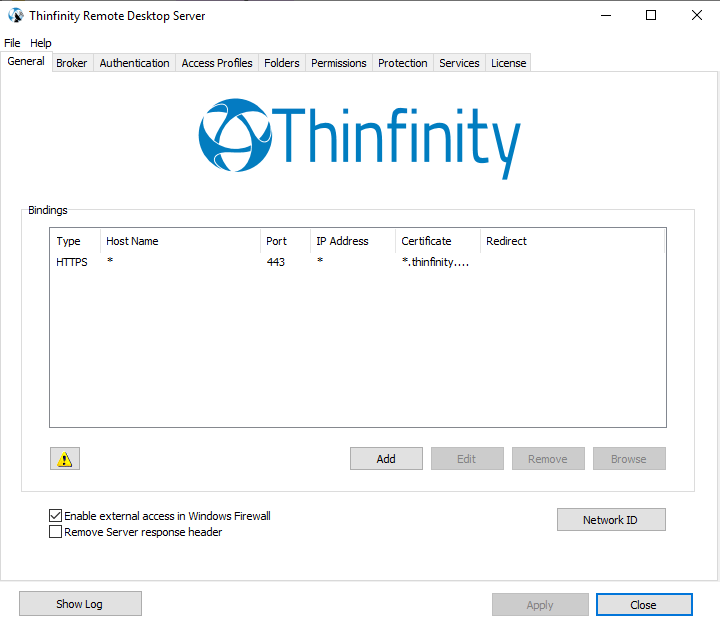
In your start menu, you should have a new icon for “Thinfinity Remote Desktop Server Manager”.
Given that it’s the first time you use the software, the first screen you will see is:
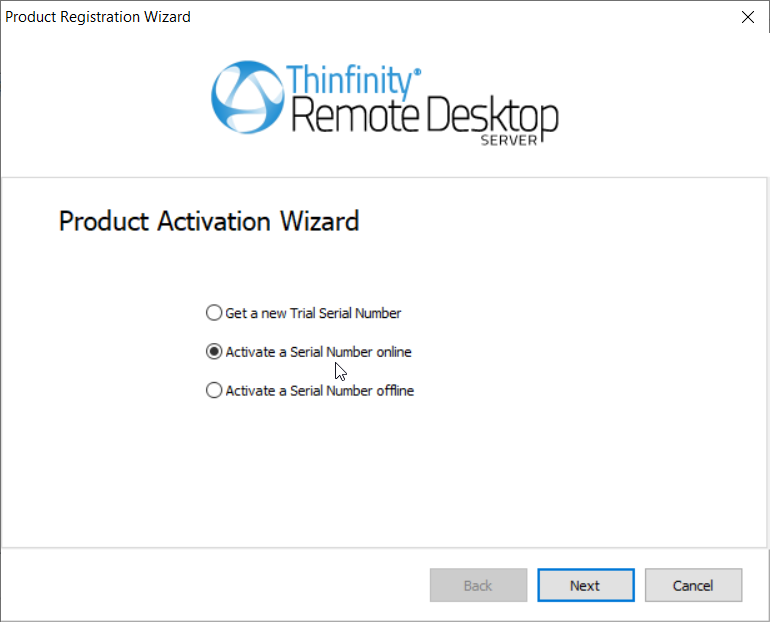
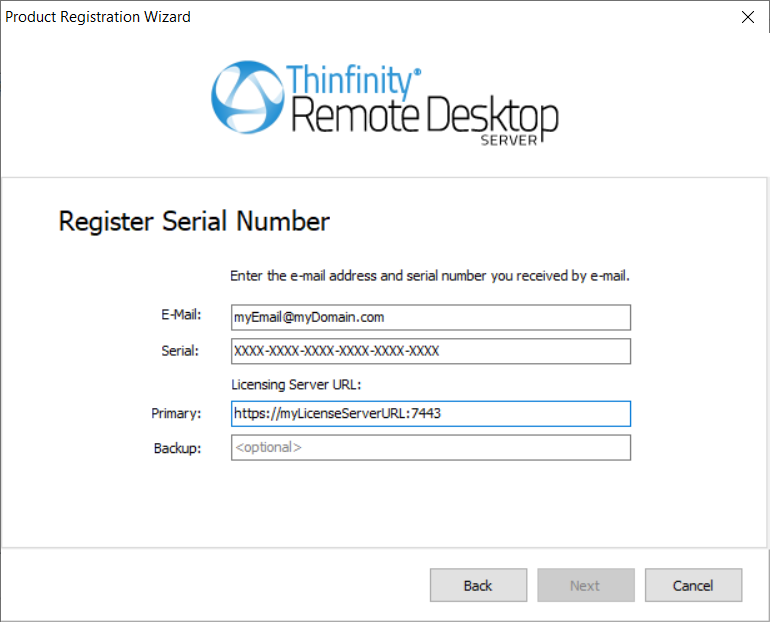
Select “Activate a Serial Number Online” and type in the following information:
- Serial
- Primary Licensing Server URL ( by default it’s https://[IPAddress]:7443 )
Take a look at the example below:
If the registration against the License server is successful, you’ll see:
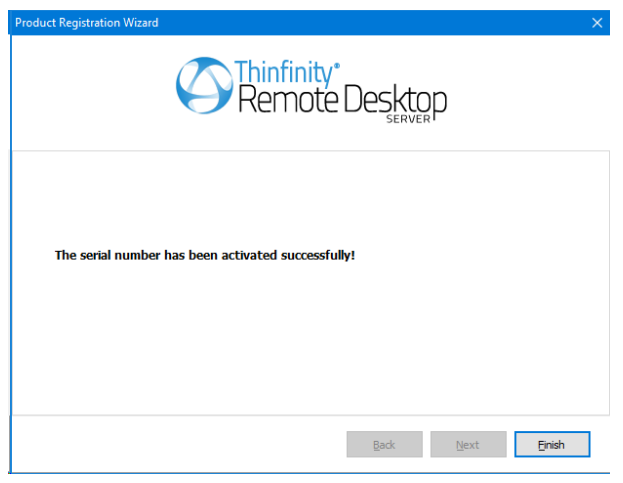
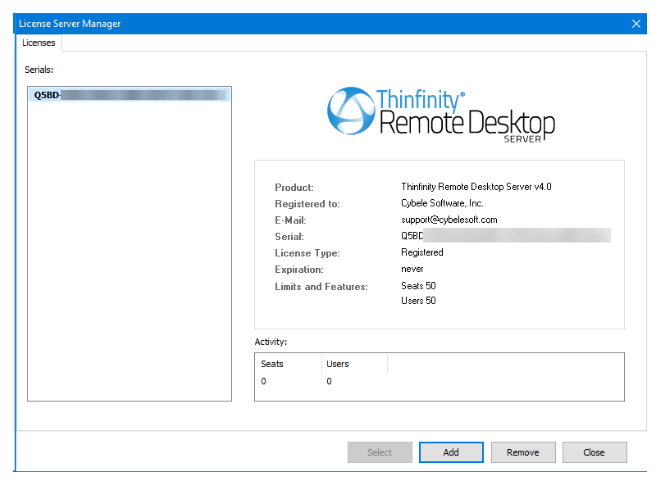
Just hit “Finish” and you’ll see your license registered on this Broker:
Now that you finished installing and registering your license, you are ready to start publishing Remote Desktops and RemoteApps on demand.
If you are interested in reading more, please take a look at this other article in our blog and learn to publish Windows applications to the web.

Thinfinity Solutions
As you already know, Thinfinity Remote Desktop provides remote access, desktop delivery, and app publishing solutions.
Explore our other remoting and web-enabling solutions, enjoy our free trials, or request a custom demo HERE. No commitment!
We will be happy to assist you and show you our portfolio for remote desktop, screen sharing, digital workspace, and application virtualization.