Today we’ll learn how to install and configure a secondary broker. A Secondary Broker is in charge of creating the final server process that connects the user to the remote desktop. These nodes may be used for delivering virtual desktops (running on the public cloud or on premises environments) and balancing the access among single desktops or terminal servers.
Learn more about Multi-Cloud Benefits >
To use a secondary broker, which is triggered by a registry key, you will have to install the broker services first and then edit a registry key to change its behavior. Below you will find a step by step on how to configure this:
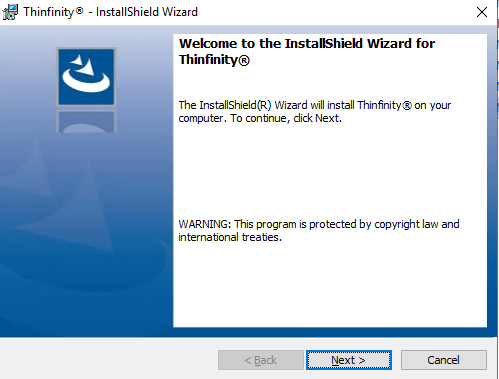
First of all, execute the Thinfinity Workspace Installer. Accept the License Agreement, and then click on “Next”:
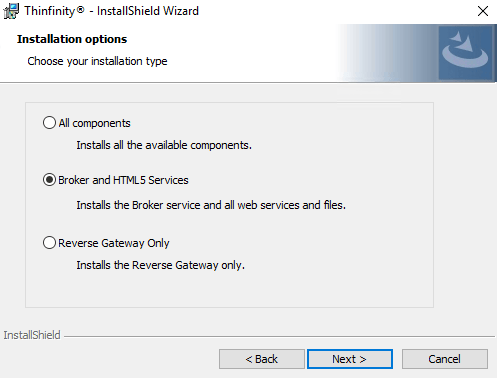
Select the “Broker and HTML5 Services” option and click on “Next”:
Select the Installation destination folder and click on “Next”:
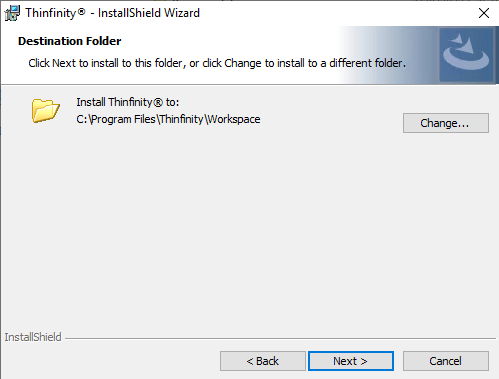
Now, click on “Install” to install the Thinfinity Workspace components.
How to Enable the Secondary Broker Option.
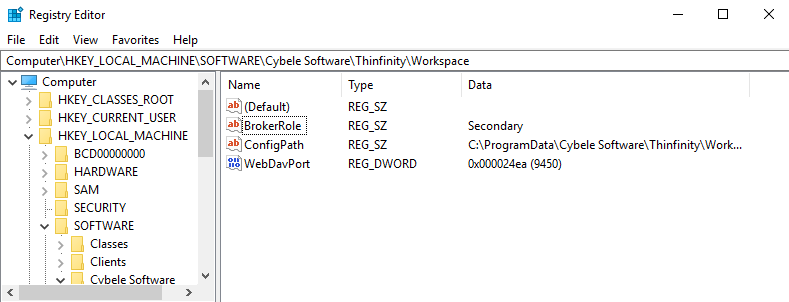
Open the registry (run: regedit) and search the following directory: HKEY_LOCAL_MACHINE\SOFTWARE\Cybele Software\Thinfinity\Workspace
Double-click on BrokerRole and replace the value primary for secondary.
Configure the Pool, NetworkID, and Gateway
Open the Thinfinity Workspace (Start/ Thinfinity/ Thinfinity Configuration Manager), and configure the required parameters (Pool, NetworkId, and Gateway URL).
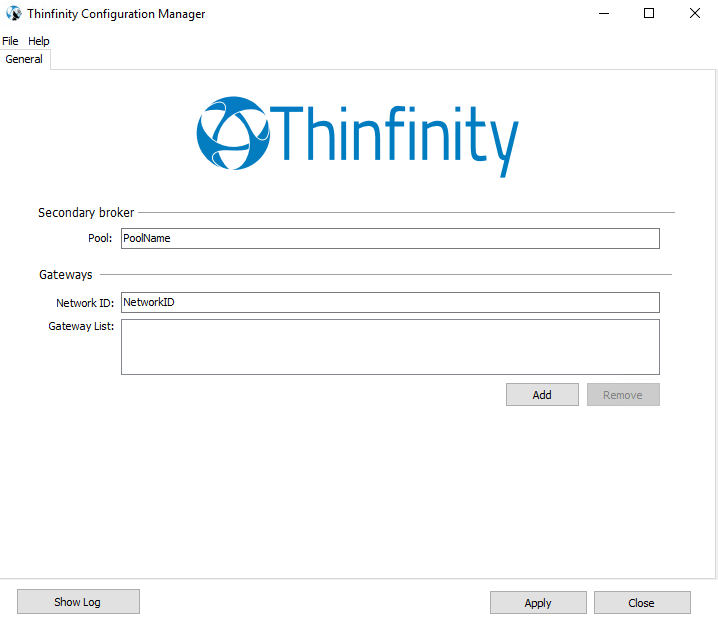
Pool: Use this parameter to specify the pool that the secondary broker will use.
Network ID: Use this parameter to specify the Network environment that the secondary broker will use.
Gateway List: Input the URL of the Thinfinity Workspace reverse Gateway. Click on “Add” and complete the URL information. Always specify the security protocol (HTTP/ HTTPS), DNS or IP and the connection port.
(e.g. https://My_Gateway_DNS:443)
Finally, click on “Apply” to save the changes.
You can click on “Show Log” to verify the status of the connection and ensure it is registering with the reverse Gateway.
Now that we have the secondary broker installed and configured we can continue configuring the primary broker server.
If you missed how to install Thinfinity Workspace, please check the Thinfinity Workspace Administrator’s Guide.
First thing, we need to ensure that the primary broker shares the same NetworkID as the secondary broker, and that both are registered to the same reverse gateway.
Once the above is verified, we can open the primary broker manager to ad
d this pool / secondary broker. In order to do so, start the Thinfinity’s Configuration Manager.
Click add in the “General” tab, below the “Secondary broker” box:
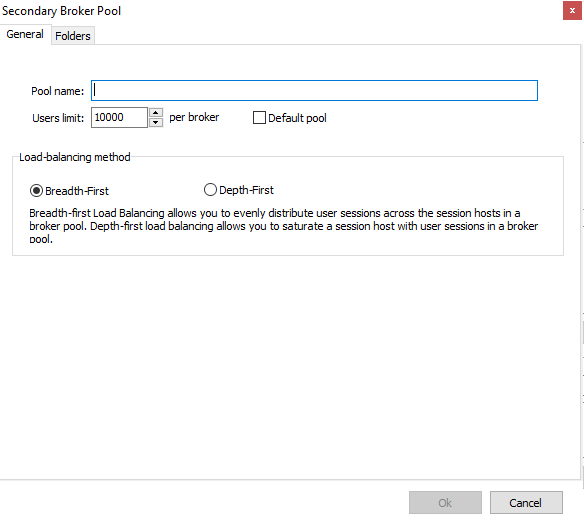
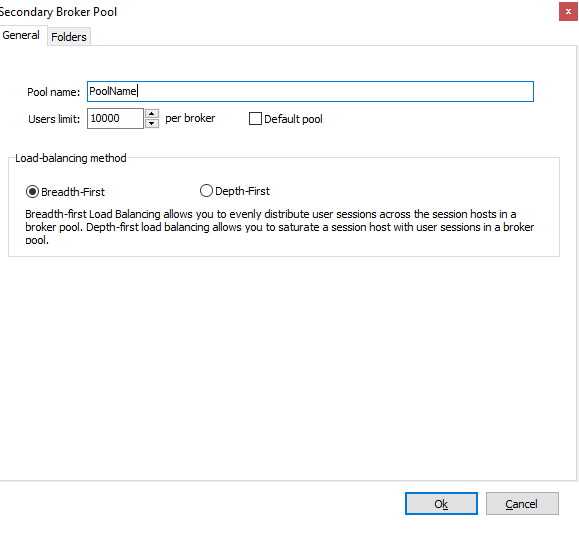
In the ‘Pool Name’ field, enter the name you gave to the pool in the secondary broker and click OK:
Now we will be able to create an ‘Access Profile’ that will start a connection to this pool.
Remember, you will be able to create ‘RDP’, ‘VNC’ and ‘SSH/Telnet’ connections using this option.
Now, we will show you how to configure an RDP connection.
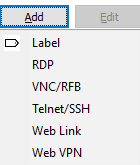
Go to the ‘Access Profile’ tab and click ‘Add > RDP’
For this example, we’ll assume we are connecting to ClassRoom ‘A’. So we will just call it “ClassRoom A”.
The computer address/IP will always be localhost (127.0.0.1), given that the connection will end on the secondary broker, we want the connection to be established on that location.
To instruct the profile which secondary broker it has to connect to, we just need to specify the pool name in the ‘Broker Pool’ field, as shown below
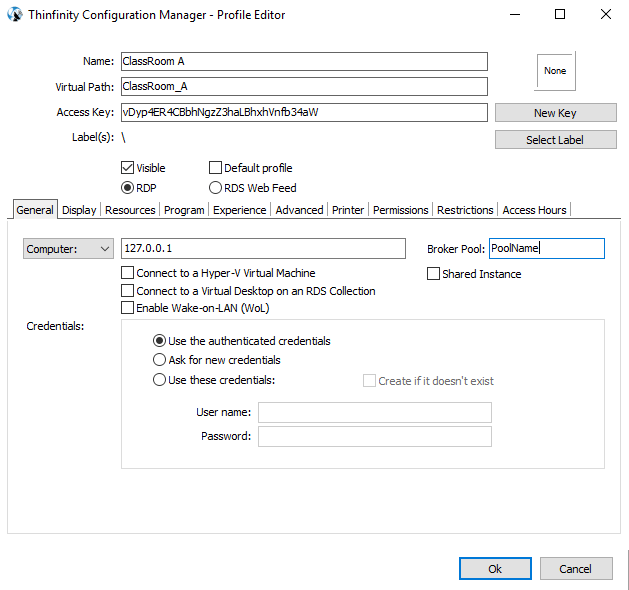
Finally, click on ‘OK’ and then ‘Apply’.
Congratulations, you configured your first secondary broker! Now you should be able to navigate to your Gateway’s URL and test the connection to this newly added pool.
Enjoy the new Remote & Hybrid Work era
There are so many other beneficial features on Thinfinity® Workspace, like Direct File Transfer, H264 protocol support and Bi-directional audio support, to name a few. The only way to experience everything is to try it out for yourself.