
In this guide, we will explain step by step how to install Thinfinity Remote Workspace Essentials.
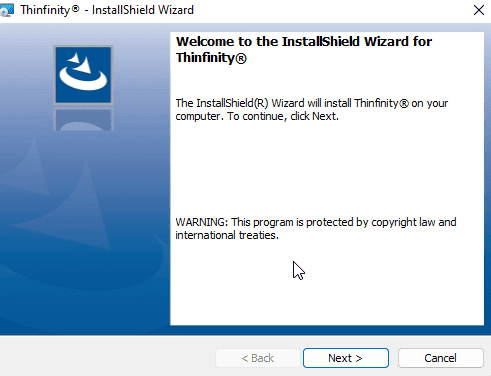
- First off, open the installation setup for Thinfinity Remote Workspace where you’ll see the following screen, click on “Next”.
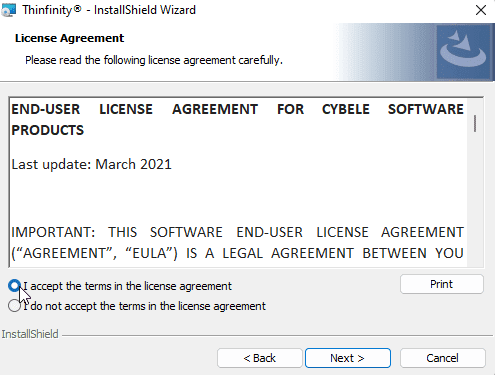
- Make sure ‘I accept the terms in the license agreement’ is checked, then hit “Next”.
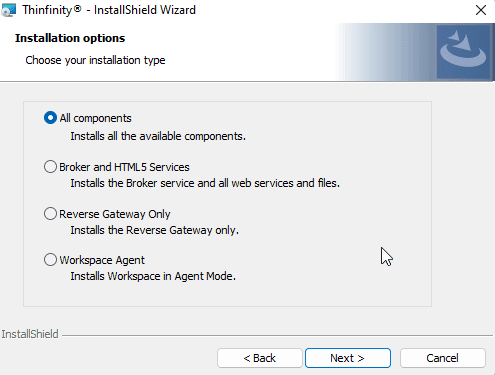
- In this screen, leave “All components” selected and press “Next”. This installs both the Gateway and Broker components on the same server. For more information regarding Load Balancing you can visit this link. Bear in mind that Load Balancing is an “Enterprise” feature.
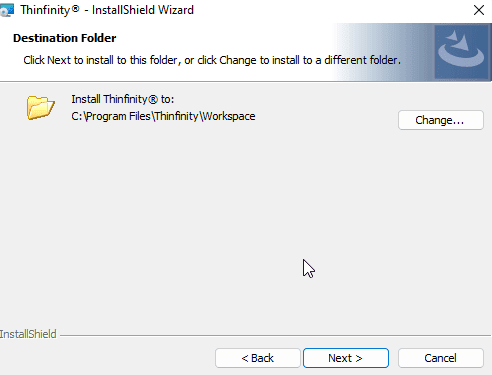
- Here, you can choose a different folder for Thinfinity by pressing “Change”, otherwise you can hit “Next” directly.
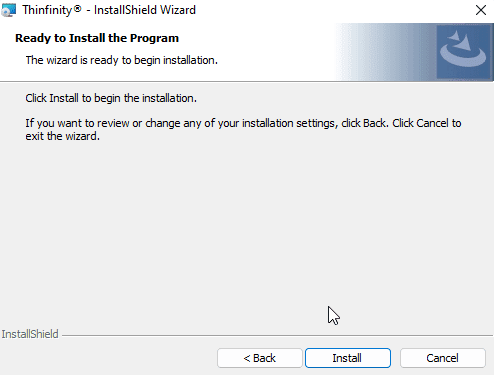
- Click “Install”.
- Click on “Finish” once the installation is ready.

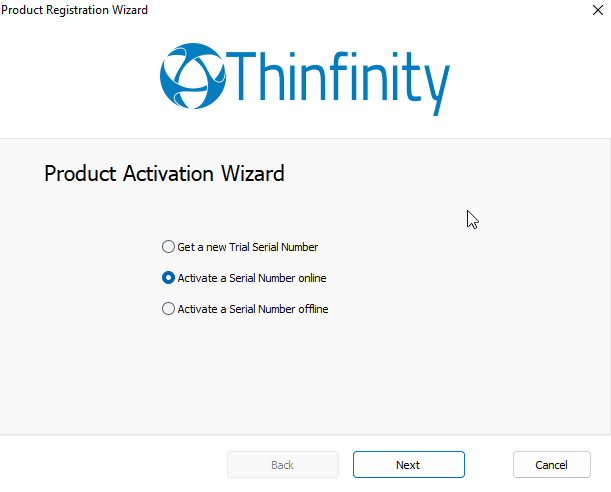
- After opening the Remote Workspace Essentials Manager for the first time, you’ll be prompted to register your trial license. To this end, check ‘”Activate a Serial Number online” and hit “Next”.
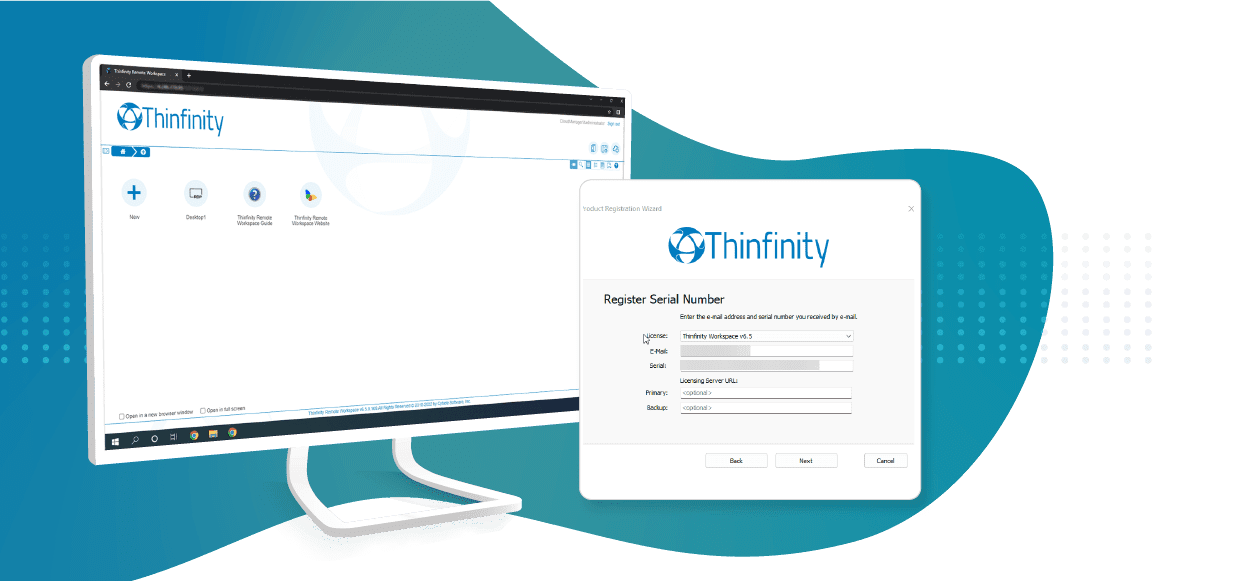
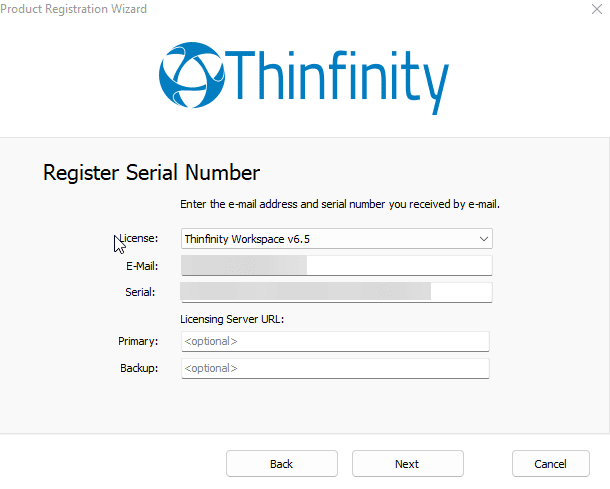
- Now you can fill out the form with the email and serial number provided via email to register your license.
Click ‘Next”.
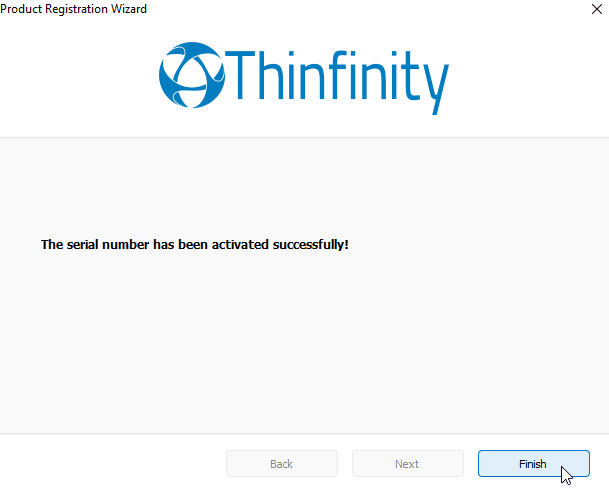
- Hit “Finish” and the registration will be complete.
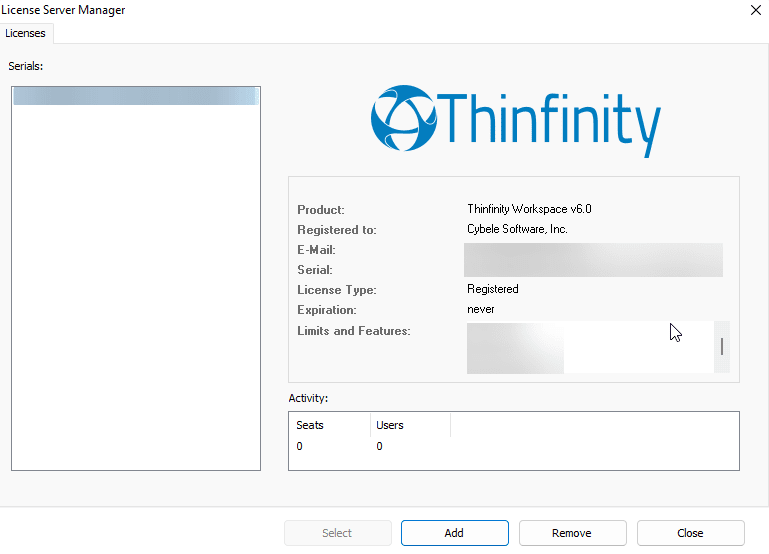
If you open the Remote Desktop Essentials Manager and go to the “License” tab, you would see the license you introduced and all of its details.