In this guide, we’ll be installing Thinfinity Remote Desktop server on a Vultr Windows Server 2016 cloud. You’ll find the steps to do so below:
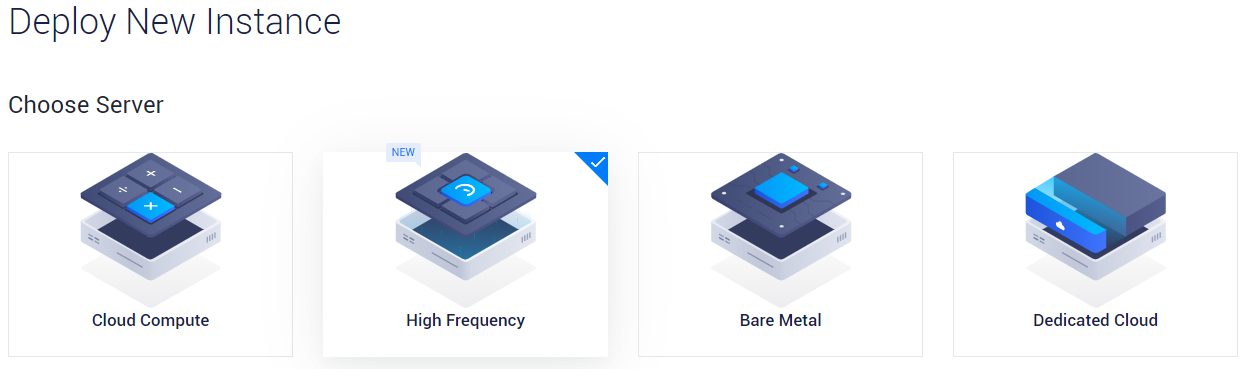
First, set up a Vultr VM. After configuring a Vultr account, go to my.vultr.com/deploy where you’ll be able to select the following:
1. Select the type of server you wish to deploy:
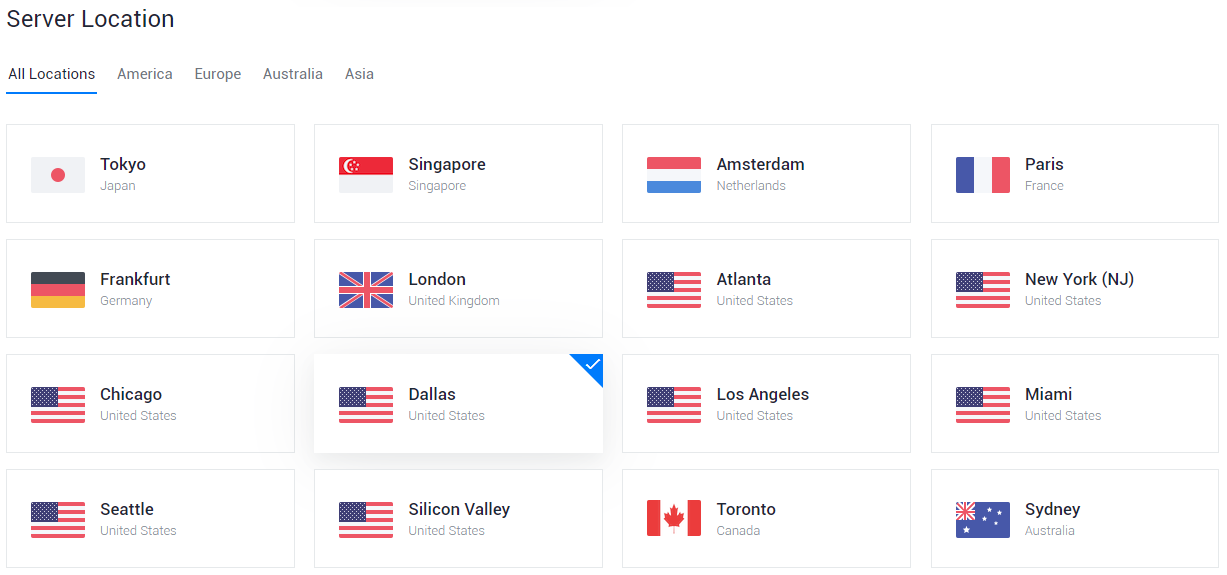
2. Choose the location of the server:
3. You’ll be prompted to choose a Server Type, for our purposes that would mean choosing an Operating System:

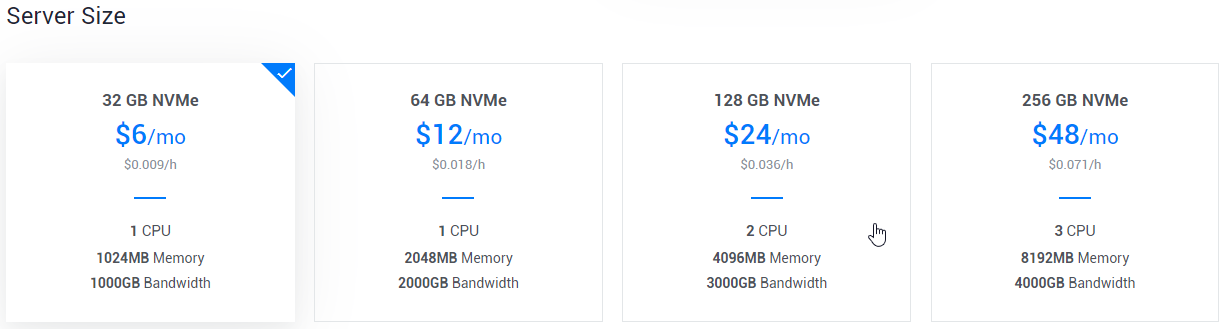
4. Now you would need to choose the Server Size:
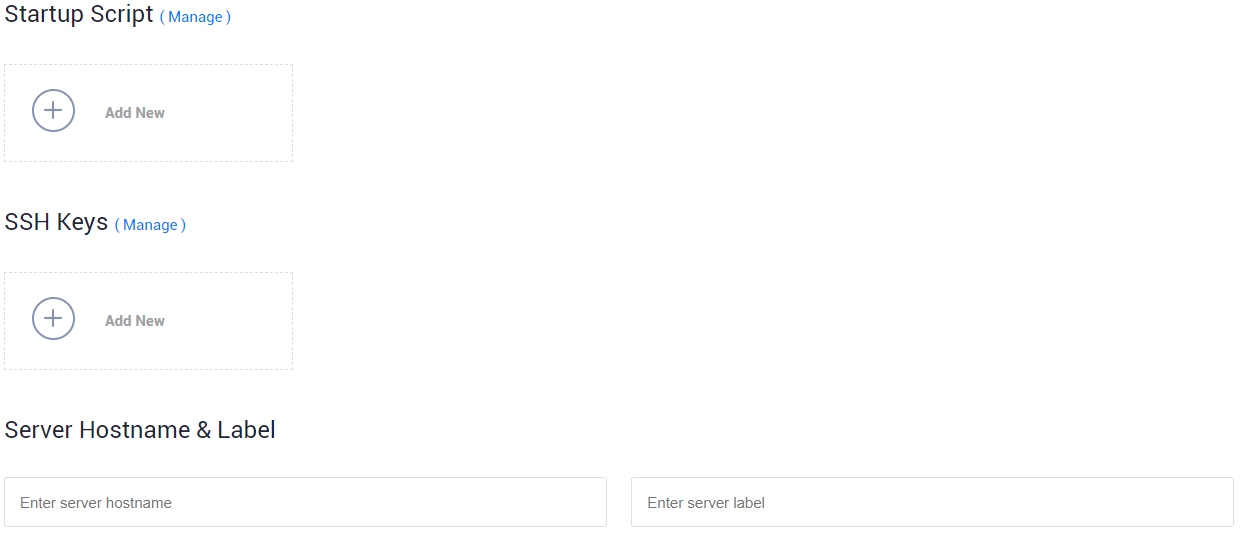
5. You can set up a Startup Script and SSH Keys if you wish, and finally, you would need to input a Server Hostname and Label to finish setting up the VM:
6. Once the setup is complete, press Deploy.
7. Now that a Vultr VM was successfully created, we can move on to installing Remote Desktop Server.
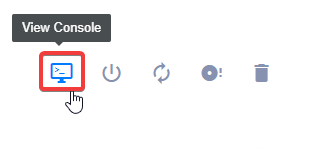
8. After setting up a Vultr server, select it and then click the “View Console” button, like so:
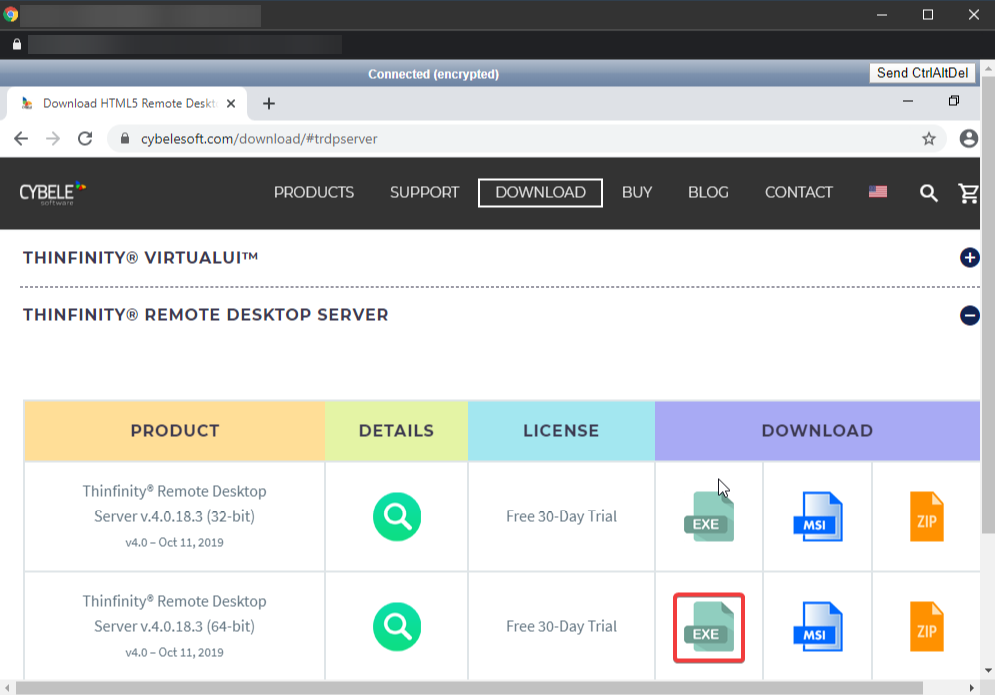
9. Once on the server, download Thinfinity Remote Desktop Server:
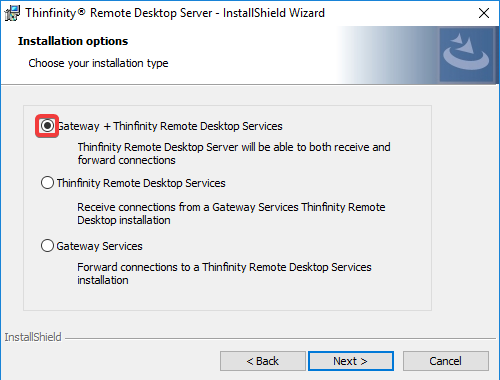
10. Run the Remote Desktop Server setup, in this case we’re choosing to install both the Gateway and Broker on the same cloud:
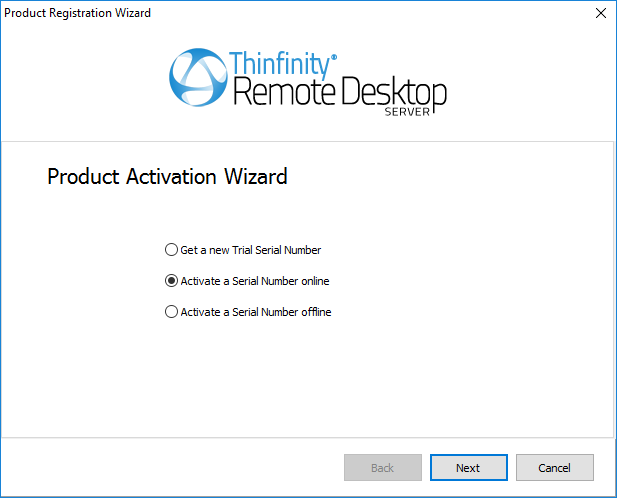
11. Register your Remote Desktop Server license:
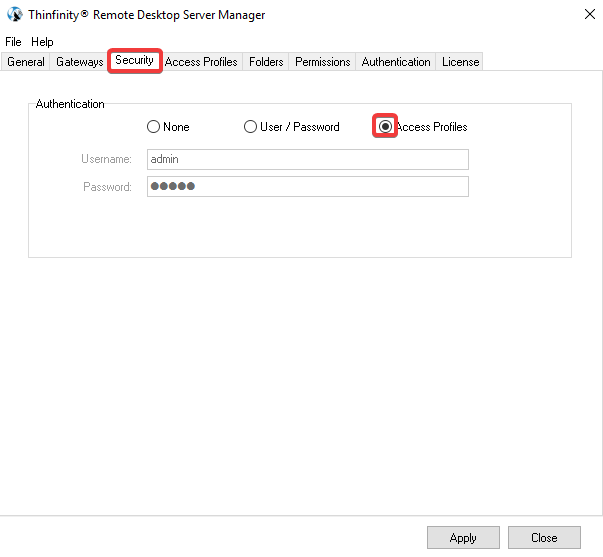
12. Now open Remote Desktop Server Manager and make sure “Access Profiles” is selected on the “Security” tab:
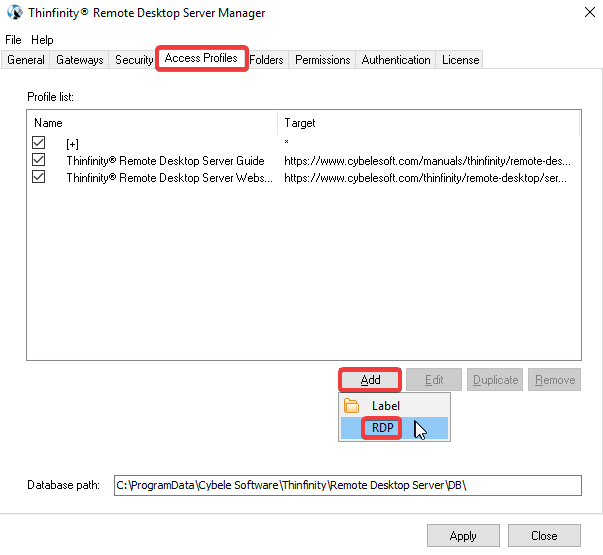
13. Now go to Add > RDP on the “Access Profiles” tab:
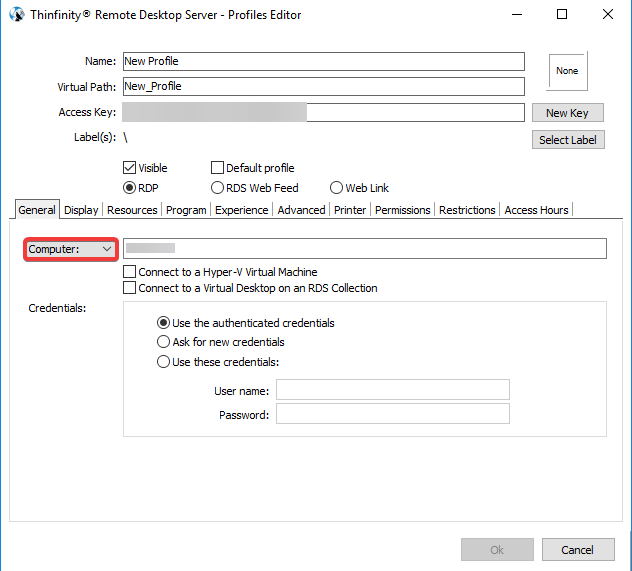
14. On the Profile Editor type the IP address of the server you wish to connect to. Click OK, then Apply:
15. Enter a browser and type the address to the Remote Desktop Server index page (ex: http://localhost:8443). Then click on the newly created connection.

16. And that’s it! You now have Remote Desktop Server ready for use on your Vultr cloud.

Should you have any questions, contact us at support@cybelesoft.com or leave a message on this same post.