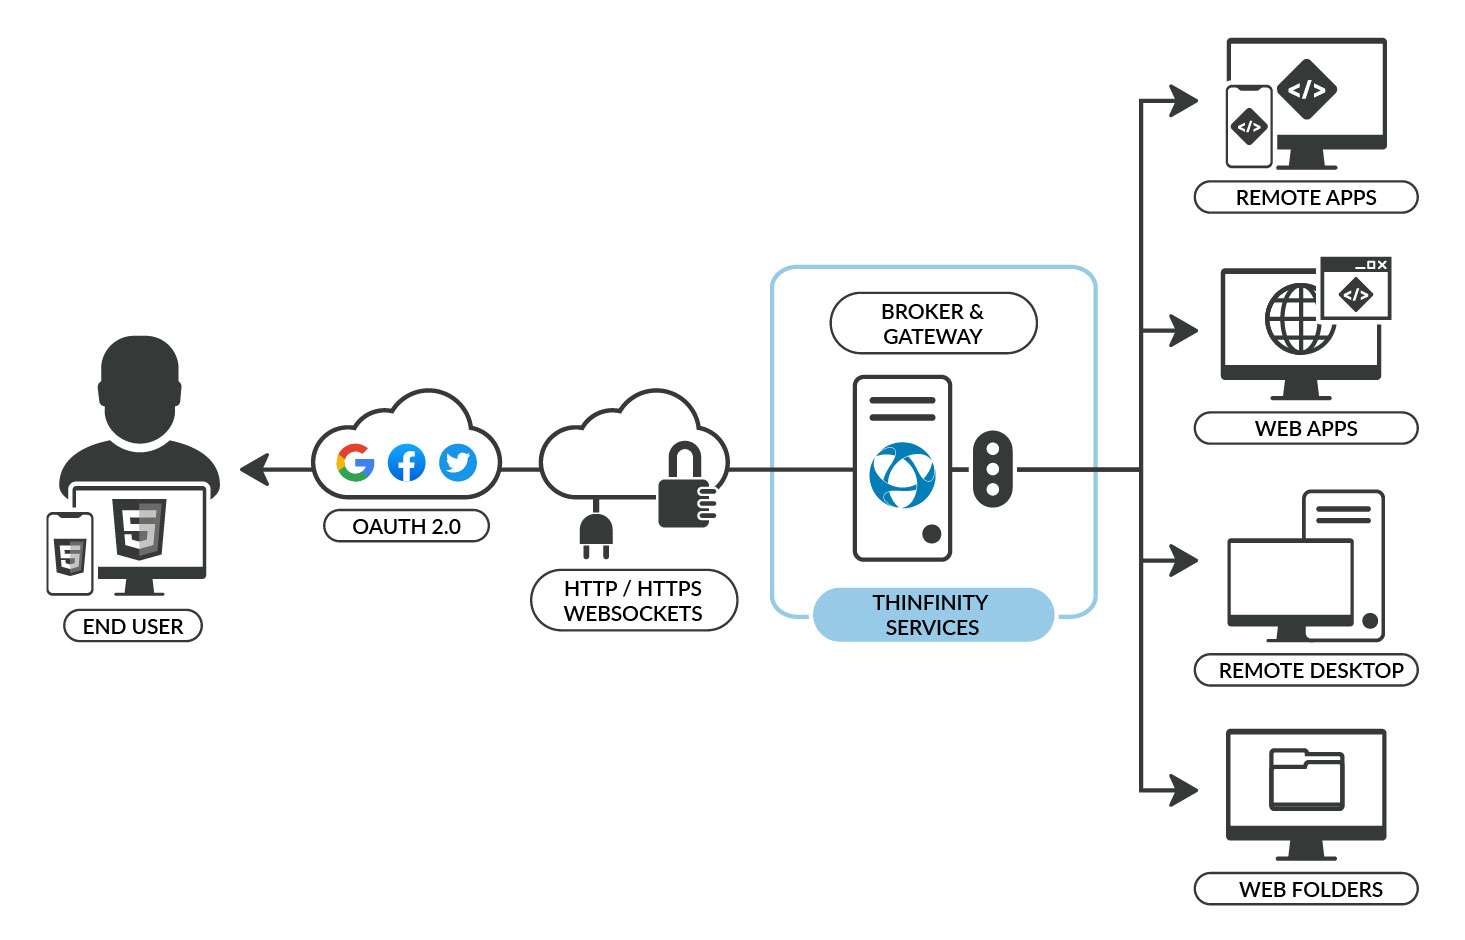

Publish any remote Windows Desktop online to grant access from any place, and any device. Access cloud machines like Azure VM’S, Amazon VM’s, Rackspace, Google Cloud, etc. It also works to access remotely into any VM hosted locally, like a Hyper-V or VMWare VM or even any regular Desktop computer on your network.
Once you install Thinfinity® Workspace on one of your computers, all you need is a web browser to access all the rest!
You don’t need to have any programming skills or make any modifications to Windows in order to accomplish it. This tutorial will teach you how to do it in less than 5 minutes.
Lets gets started:
1. First, install Thinfinity® Workspace. Here you will find the product guide. There’s a FREE 15-day trial period, so you have no excuses!
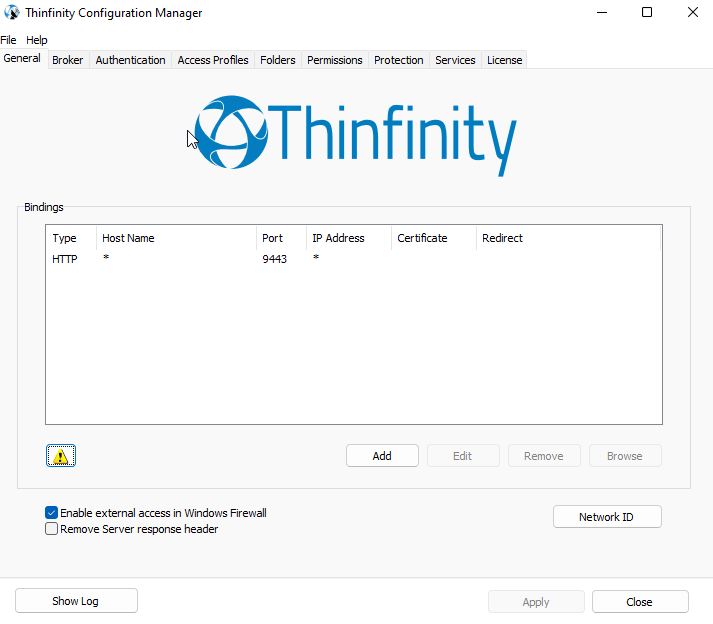
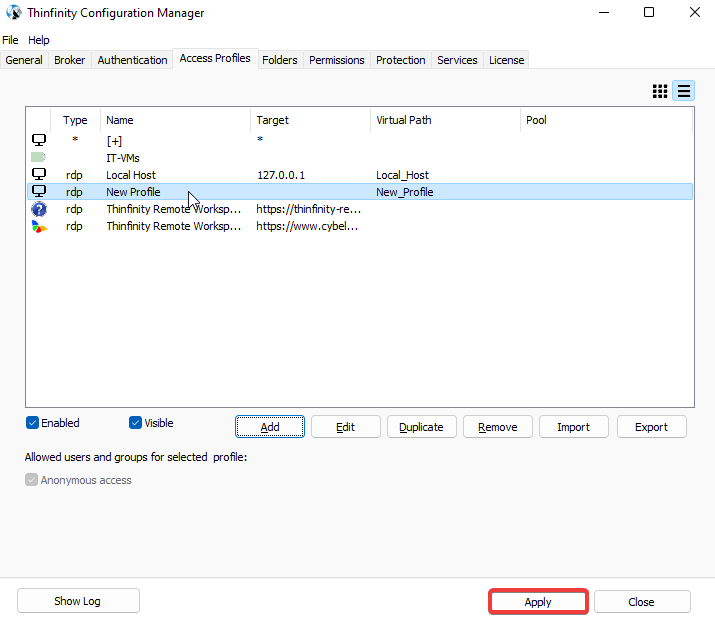
Once you’re ready to go, open the Thinfinity Configuration Manager.
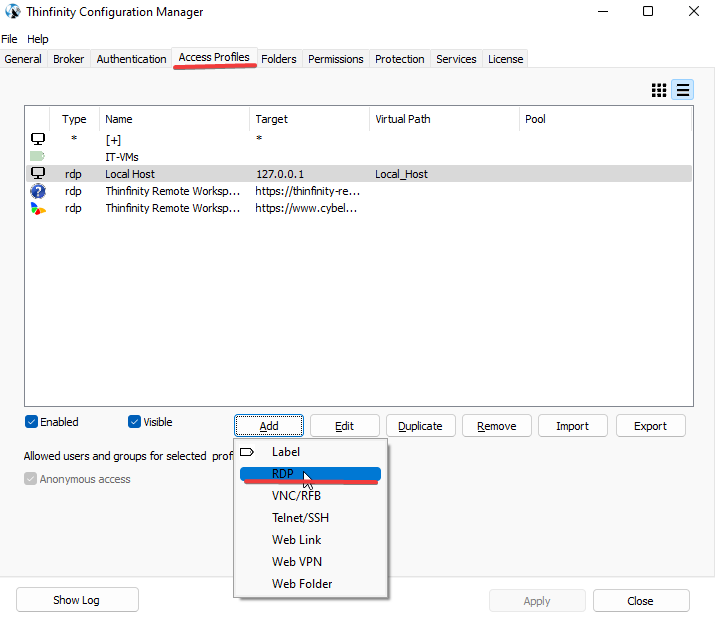
2. Click on the newly added “Access Profiles” tab, and press “Add”.
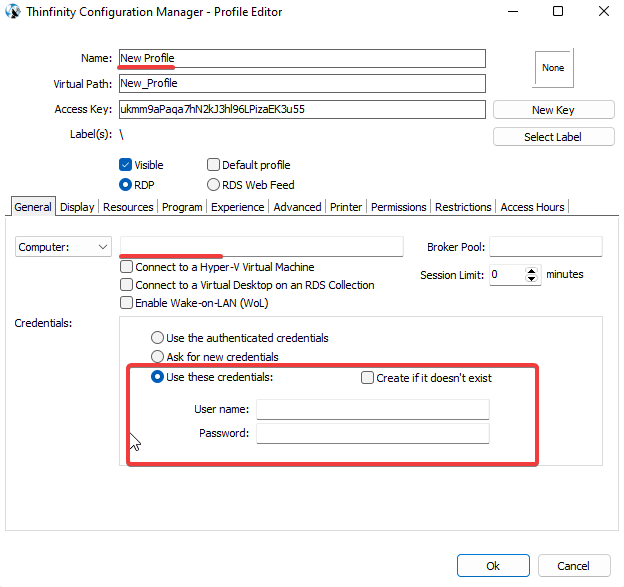
3. Configure the Access Profile with a name, the IP Address of the server, and the Windows credentials you want to use to authenticate to that server.
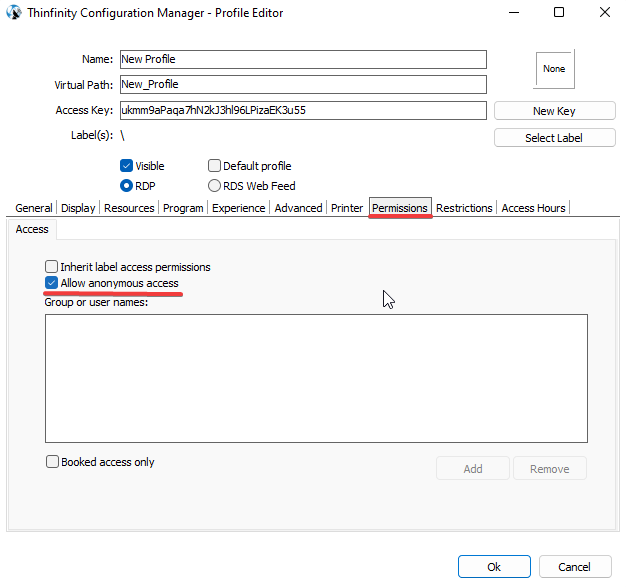
4. For testing purposes, check “Allow anonymous access” on the Permissions tab.
5. Press “OK” and then “Apply”. For testing purposes also, check “Allow anonymous access“ under the Authentication tab.
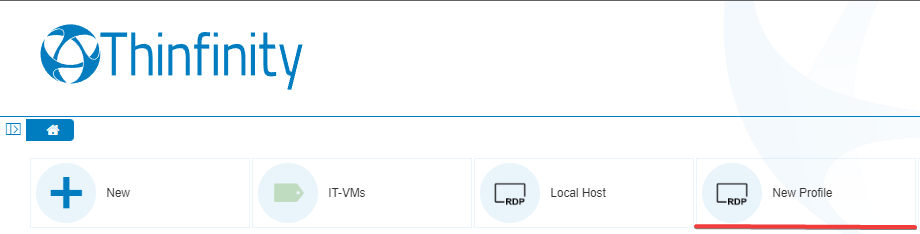
6. You can check the Access Profile published by going to http://localhost:[ThinfinityIPort] ( by default is 9443 ), and clicking on the Access Profile you just created.
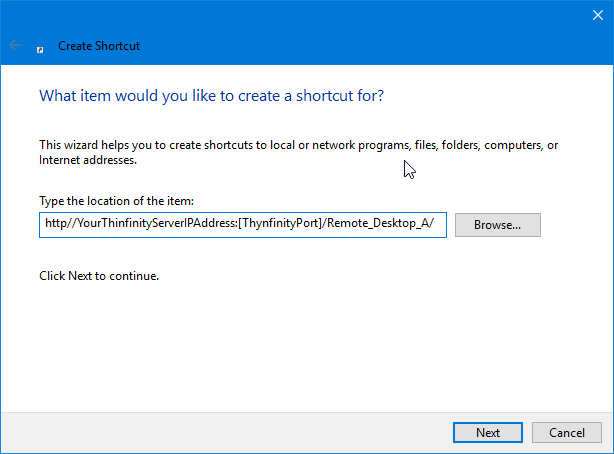
7. If you want to give your users quick access to your applications, you can create a desktop shortcut to the URL of Thinfinity® Workspace with the virtual path of the application, here’s an example: