
Introduction
Thinfinity® Workspace provides a solution to publish Windows applications on the web, allowing users to access them from any device with an HTML5 browser. By doing this, you eliminate the need to access the entire remote desktop, as users can interact with only the desired application as if it’s running locally.
With Thinfinity® Workspace, you can easily configure and publish any Windows application on the web in less than 5 minutes without requiring any programming skills or modifications to the application’s source code. However, it’s important to note that this solution only works on Windows Server with Remote Desktop Services installed. Before following this tutorial, we recommend checking if your environment is compatible with Thinfinity® Workspace.
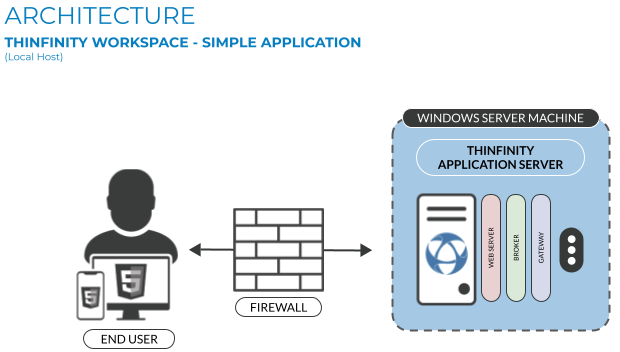
In this tutorial, we will show you how to set up a RemoteApp connection using a single server. This means that you will install Thinfinity® Workspace on the same server where the application environment is hosted. While this setup may not be suitable for production environments, it is ideal for testing.
By following this tutorial, you will be able to quickly and easily get started with Thinfinity® Workspace.
Additionally, the same principles and steps can be applied when configuring RemoteApp connections in more complex environments.
Let’s get started:
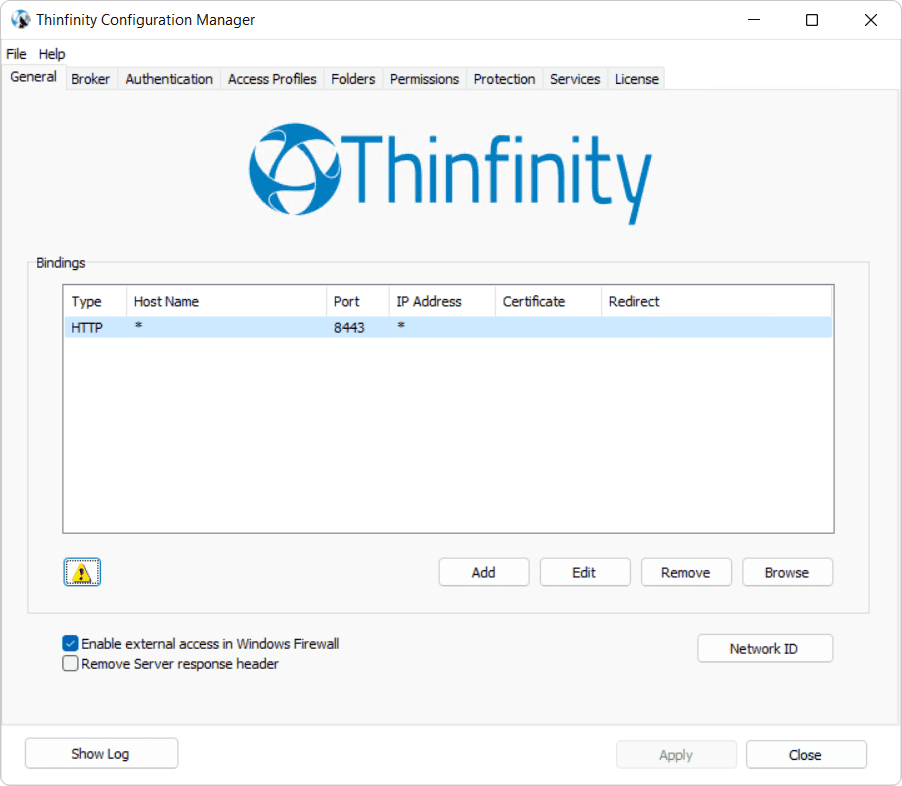
- First, open the Thinfinity® Configuration Manager:
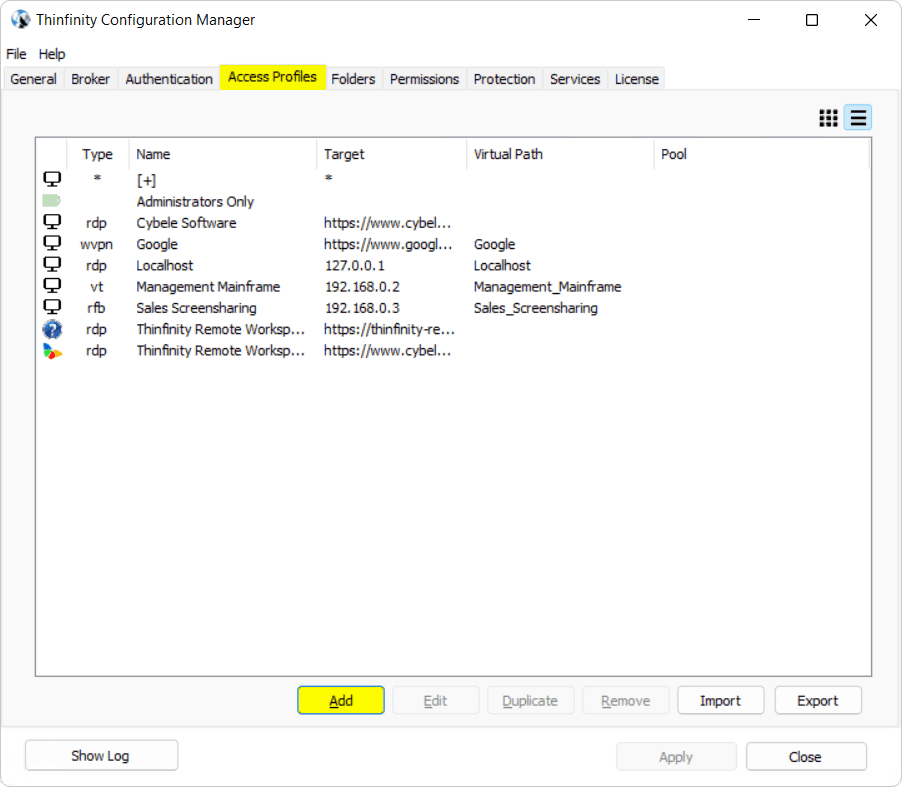
- Click on the “Access Profiles” tab, and press “Add”. For this guide, we’ll be creating an “RDP” connection:
- Configure the Access Profile with a “Name”, then on “Computer” enter the IP Address or domain name of the server, and on “Credentials” enter the Windows credentials to authenticate to said server:
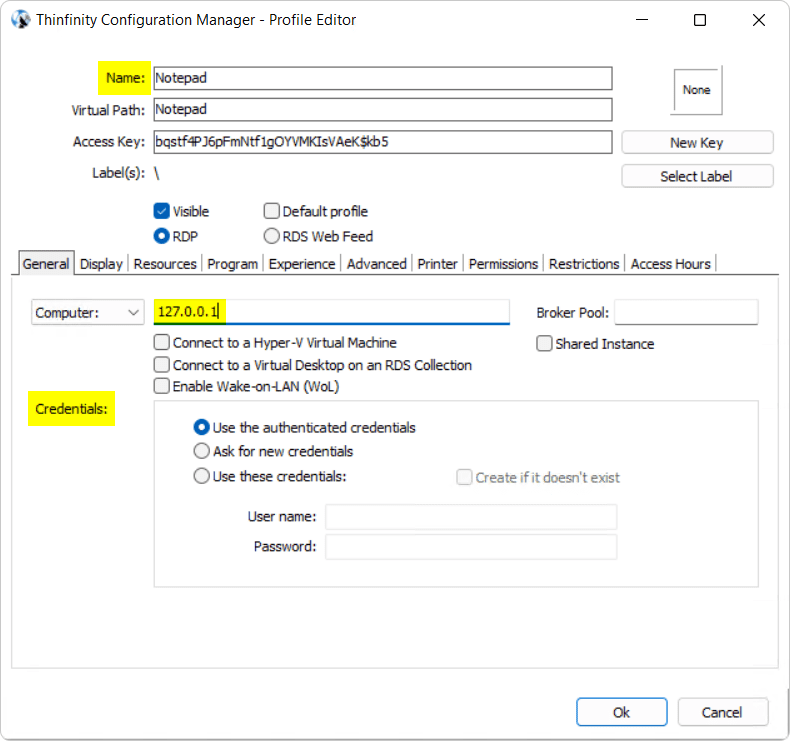
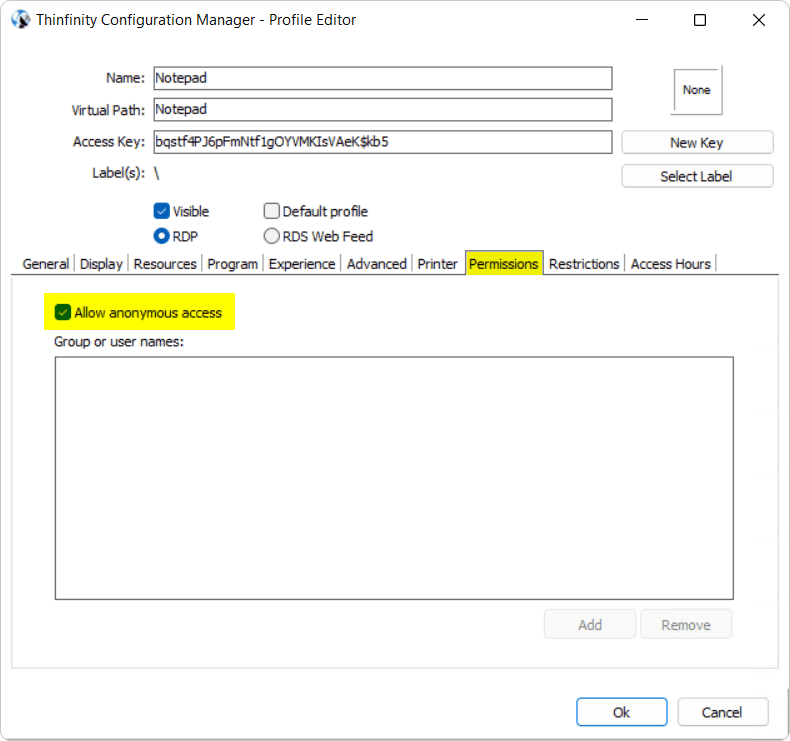
- For testing purposes, check the “Allow anonymous access” option:
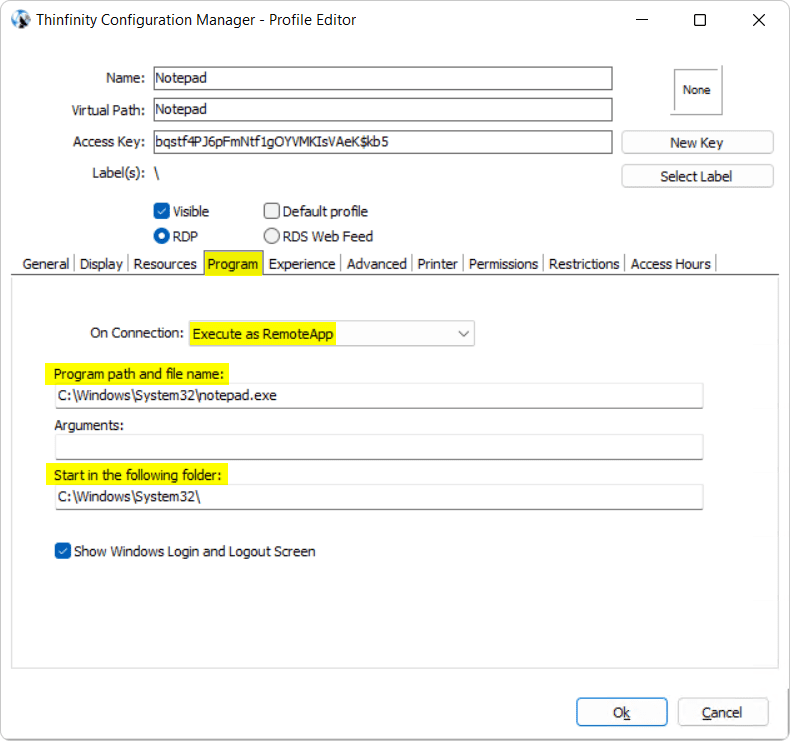
- Under the ‘Program’ tab, choose the “Execute as RemoteApp” option.
Then, point both the “Program path and the filename” and “Start in the following folder” fields to the executable’s directory and its root folder, respectively.
You can also pass arguments to your application in the “Arguments” field:
- For testing purposes, mark the check-box for “Allow anonymous access” under the “Authentication” tab:
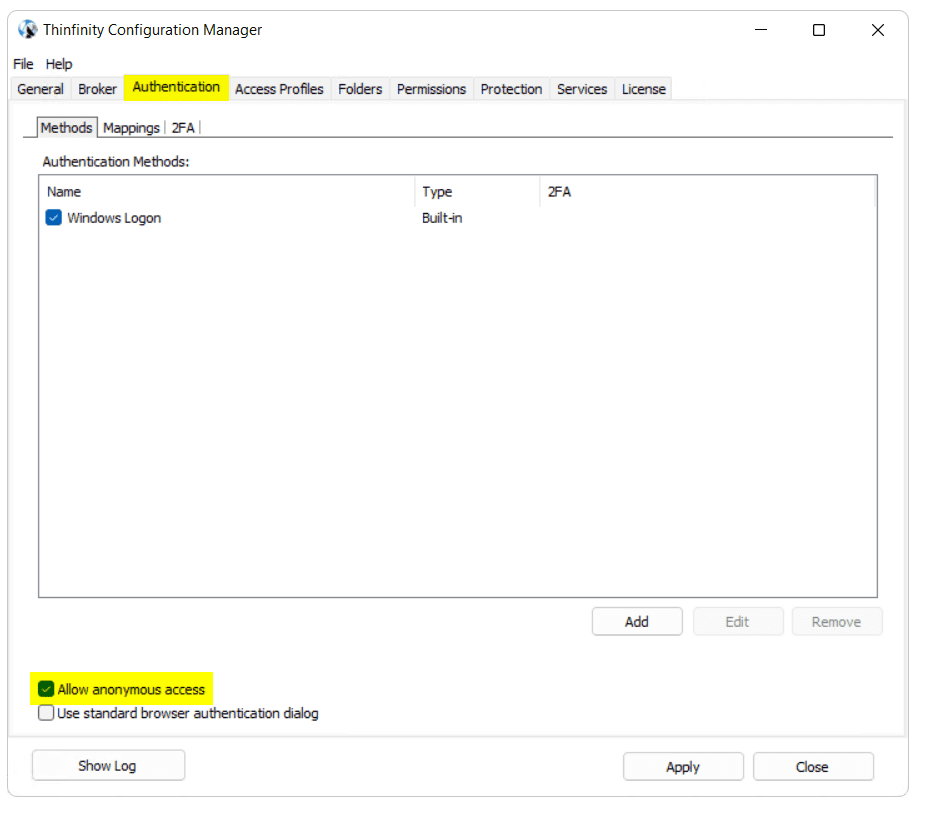
- Press “Apply”:
- You can open the published application by going to http://127.0.0.1:Port and clicking on the newly created Profile:
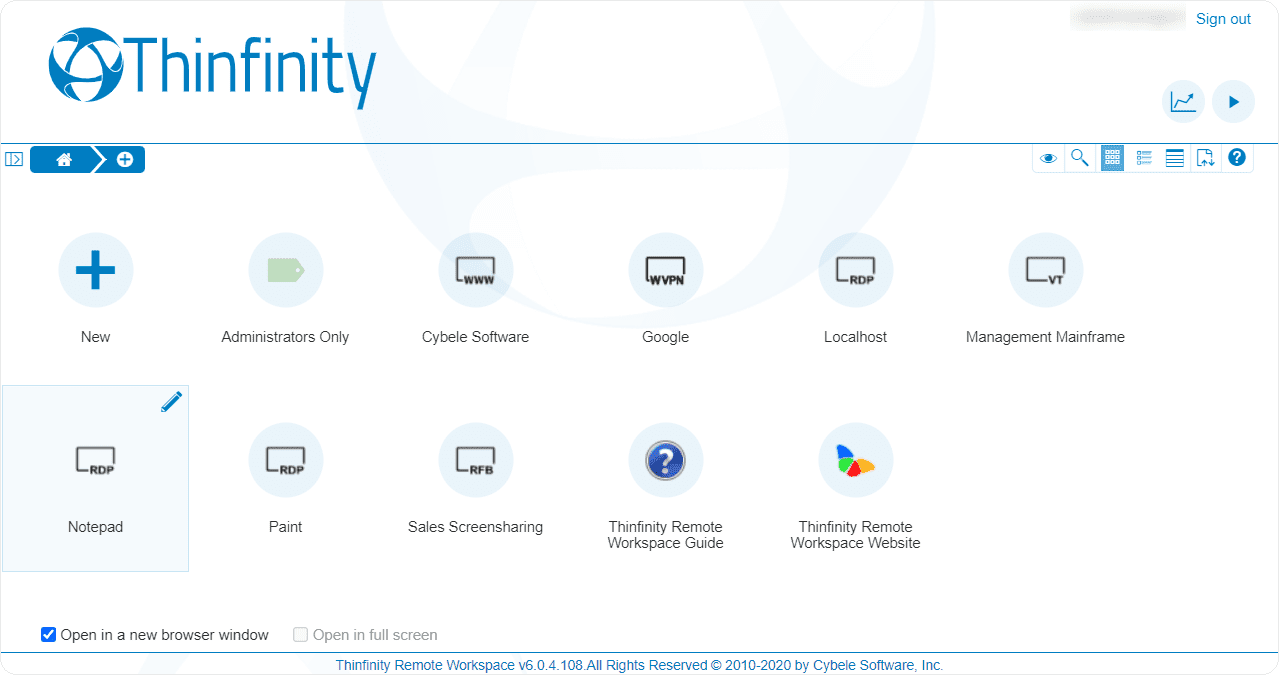
- If you start multiple RemoteApps, you’ll find a dock menu at the bottom of the browser screen, this allows you to toggle between different applications of the same connection.
You can resize the App’s windows and be able to see more than one at the same time.
You can also pin this menu to be always on top, or unpin it to automatically hide it.
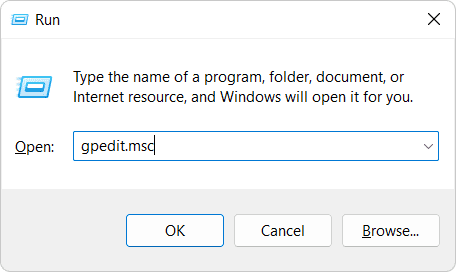
If you get an “access denied” error, you would need to enable a group policy to allow unlisted programs to be started. To this end, open the ‘Group Policy Editor’ by going to ‘Start > Run > gpedit.msc’:
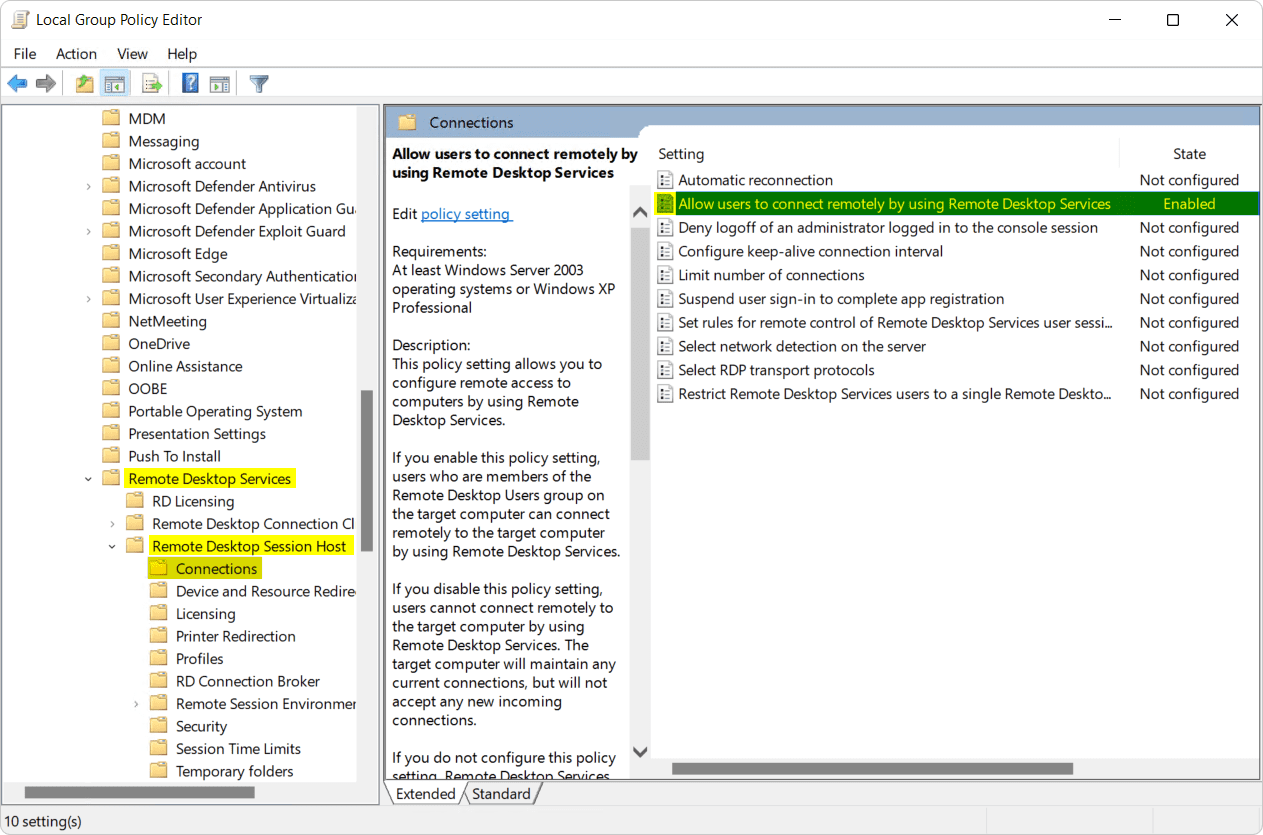
- On the ‘Group Policy Editor’ navigate to:
“Computer Configuration > Administrative Templates > Windows Components > Remote Desktop Services > Remote Desktop Session Host > Connections > Allow users to connect remotely by using Remote Desktop Services”
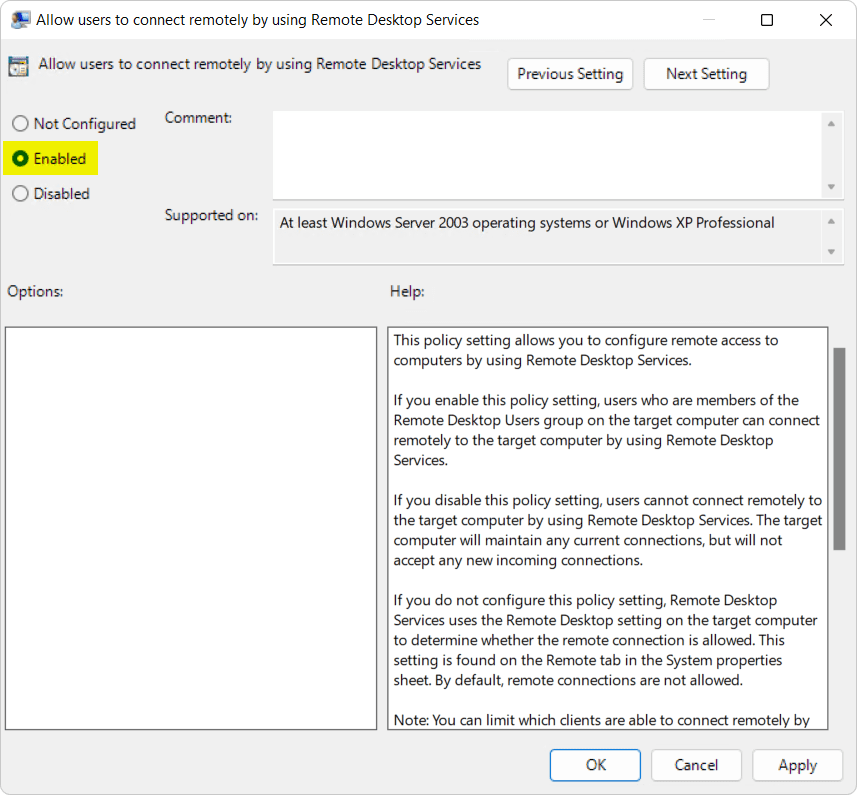
- Double-click on this policy and then click on the check-box next to “Enabled“:
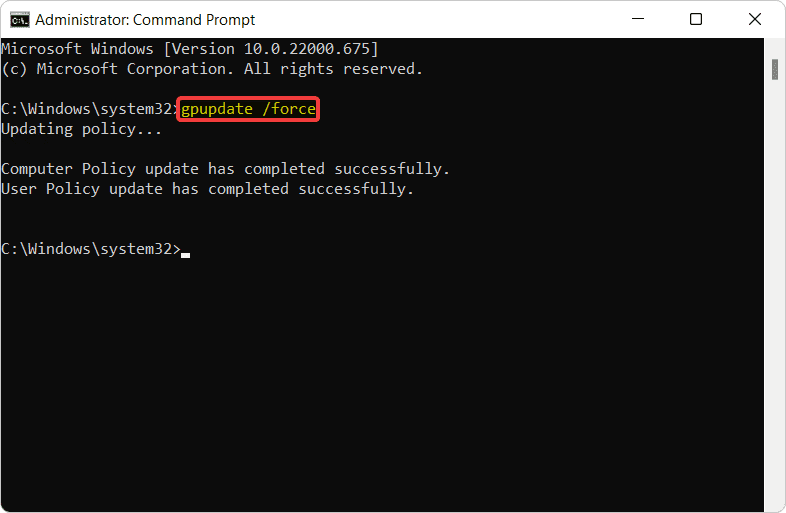
- Afterwards, you’ll have to update the group policies. In order to do this, call “gpupdate /force” from a “Command Prompt”’ window elevated as an Administrator:
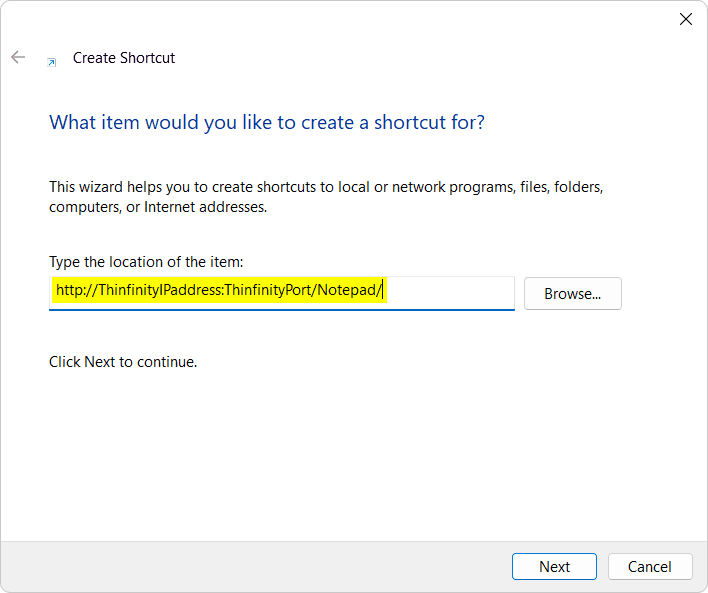
- If you want to give your users quick access to your applications, you can create a desktop shortcut to the URL of Thinfinity® Workspace with the Virtual Path of the application. Here’s an example:
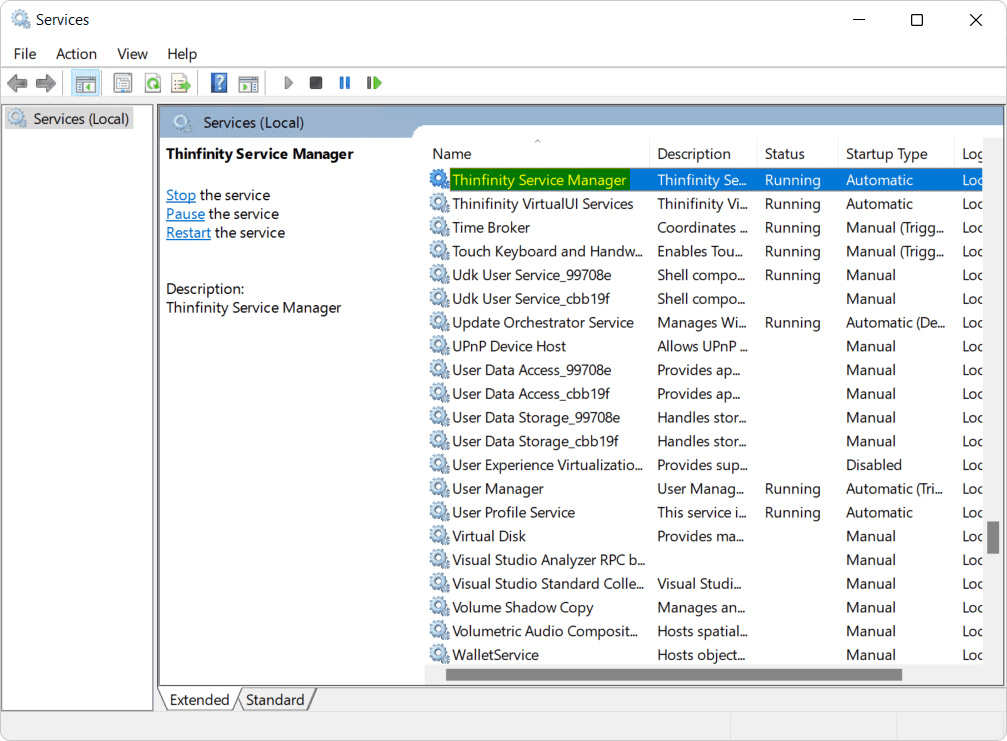
- To ensure these changes are applied, you can go to “Start > Run > services.msc” and restart the “Thinfinity Service Manager“:
- You can check our live demo and experience this feature yourself. You will be able to test this feature with the following Profiles:
- Desktop
- Notepad
- Paint
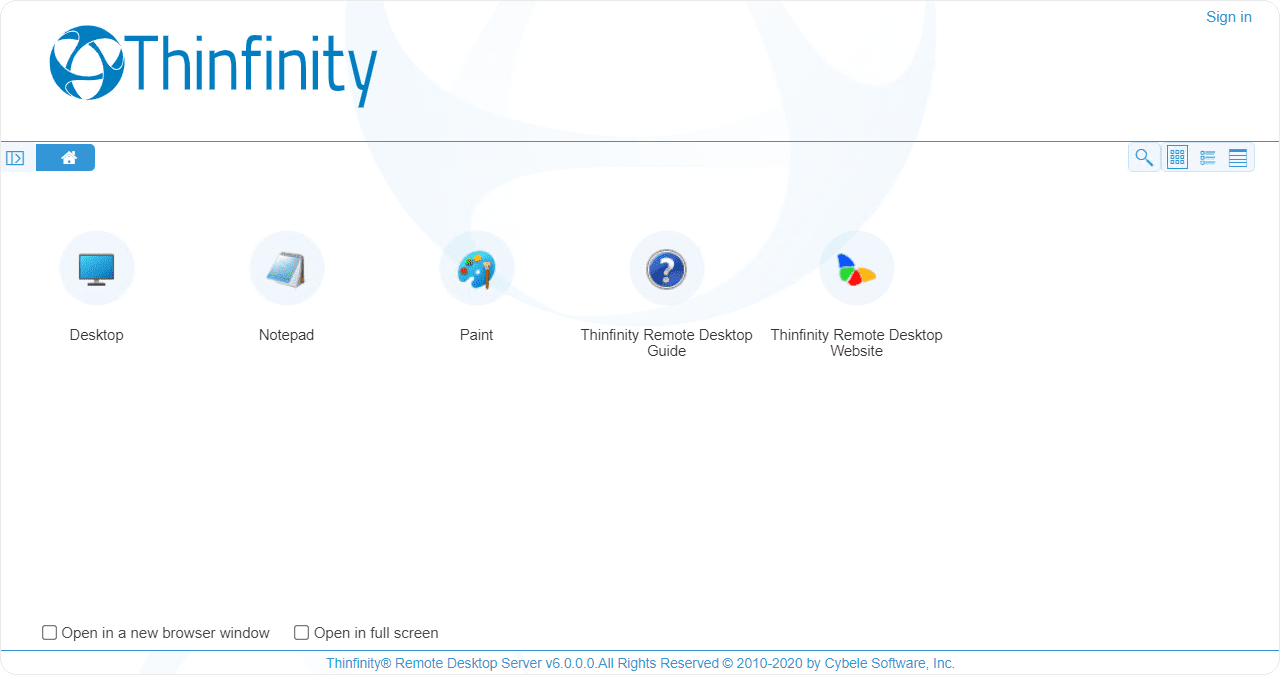
To experience the feature of publishing Windows applications on the web with Thinfinity® Workspace, we invite you to check out our live demo. You can test this feature using standard Microsoft Desktop applications like Desktop, Notepad, and Paint.
We hope this tutorial has provided you with the necessary information to get started with Thinfinity® Workspace and that you can now effortlessly publish your Windows applications on the web and access them from anywhere using an HTML5 browser.